Linux Fundamentals Note
Lecture 1: Setting Up a Linux Practice Environment
In this lecture, I learned how to set up a basic Linux practice environment using Oracle VM VirtualBox and Ubuntu Linux. Instead of installing Linux directly on my main computer, I used a virtual machine so I could practice safely inside my existing Windows environment.
The overall setup process was:
1
2
3
4
5
6
-> Download VirtualBox
-> Download the Ubuntu ISO file
-> Install VirtualBox
-> Create a new virtual machine
-> Allocate RAM and virtual disk space
-> Boot and install Ubuntu
Downloading VirtualBox
VirtualBox is a virtualization tool that allows one computer to run another operating system inside a virtual machine. In this setup, Windows acts as the host operating system, and Ubuntu runs as the guest operating system.
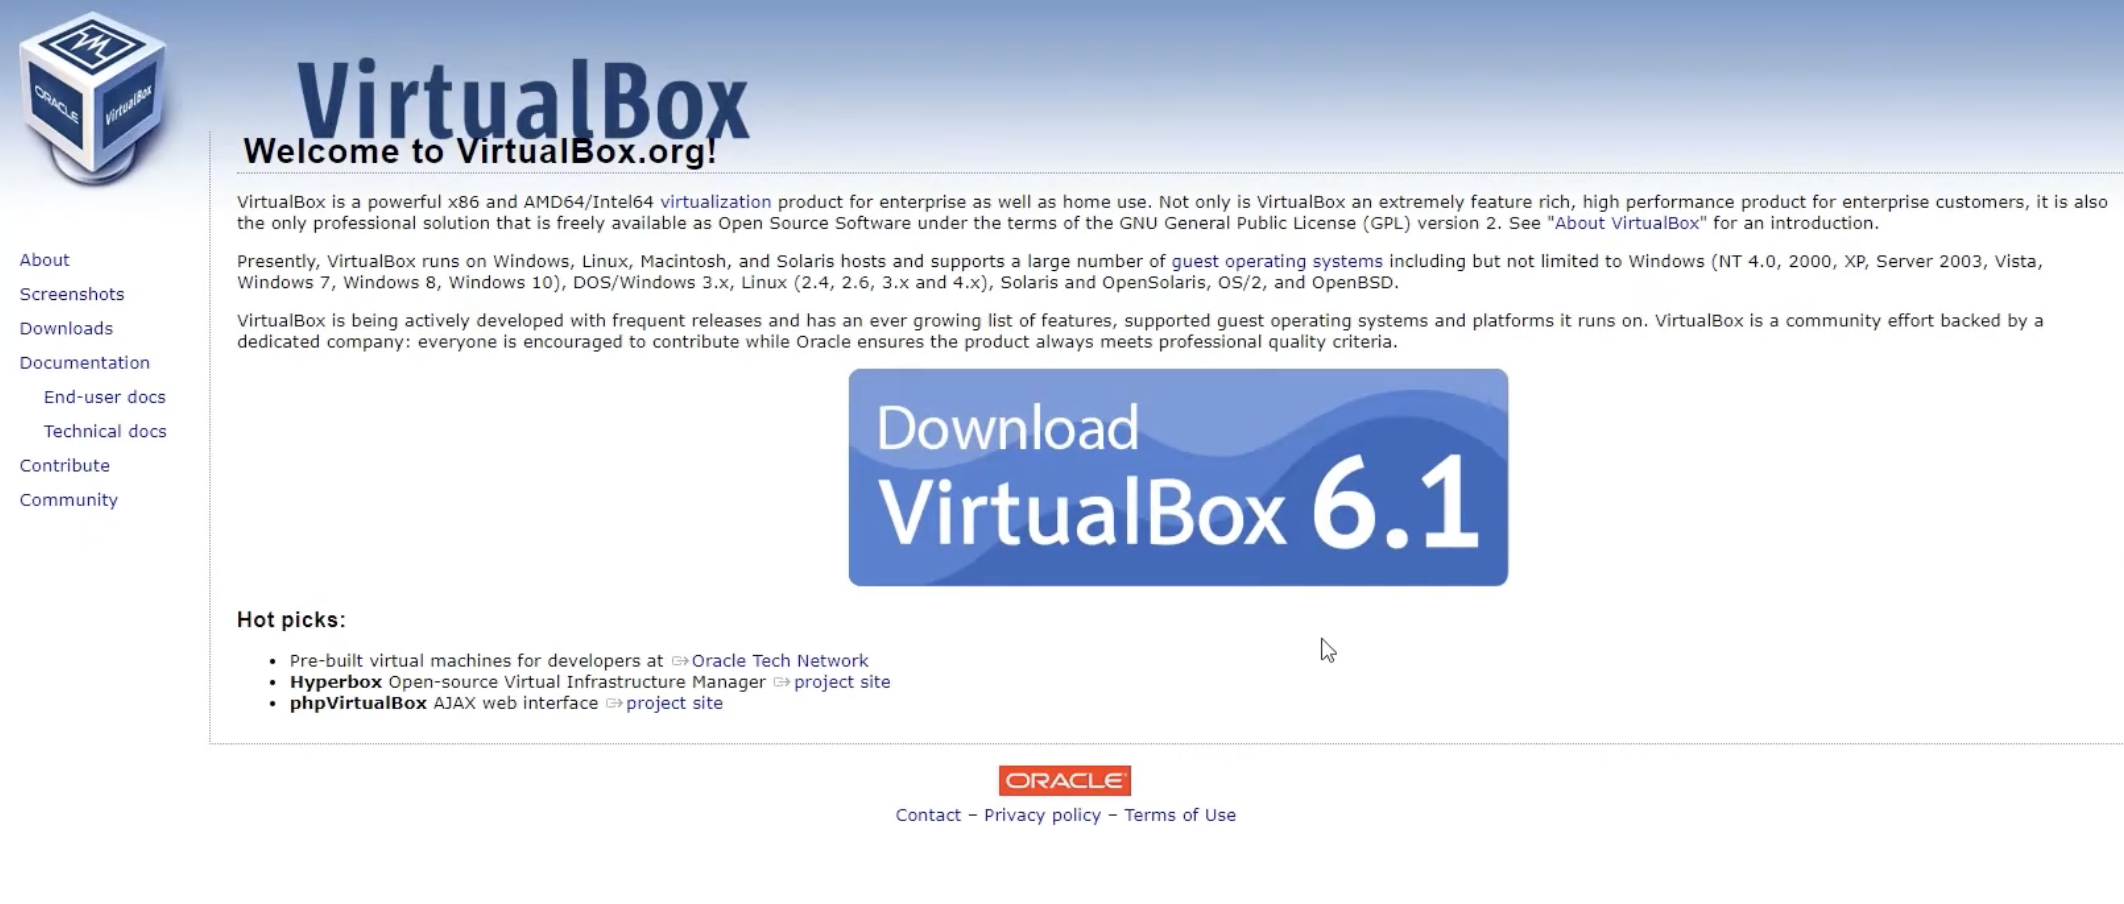
Downloading Oracle VM VirtualBox from the official website
Key Takeaways
- VirtualBox allows me to create and run virtual machines.
- A virtual machine uses part of the real computer’s CPU, memory, disk, and network resources.
- This is a safe way to practice Linux without changing the main operating system.
Downloading Ubuntu
Ubuntu is a popular Linux distribution that is commonly used for learning, desktop use, servers, and cloud environments. For this lecture, I downloaded the Ubuntu Desktop ISO file and used it as the installer inside VirtualBox.
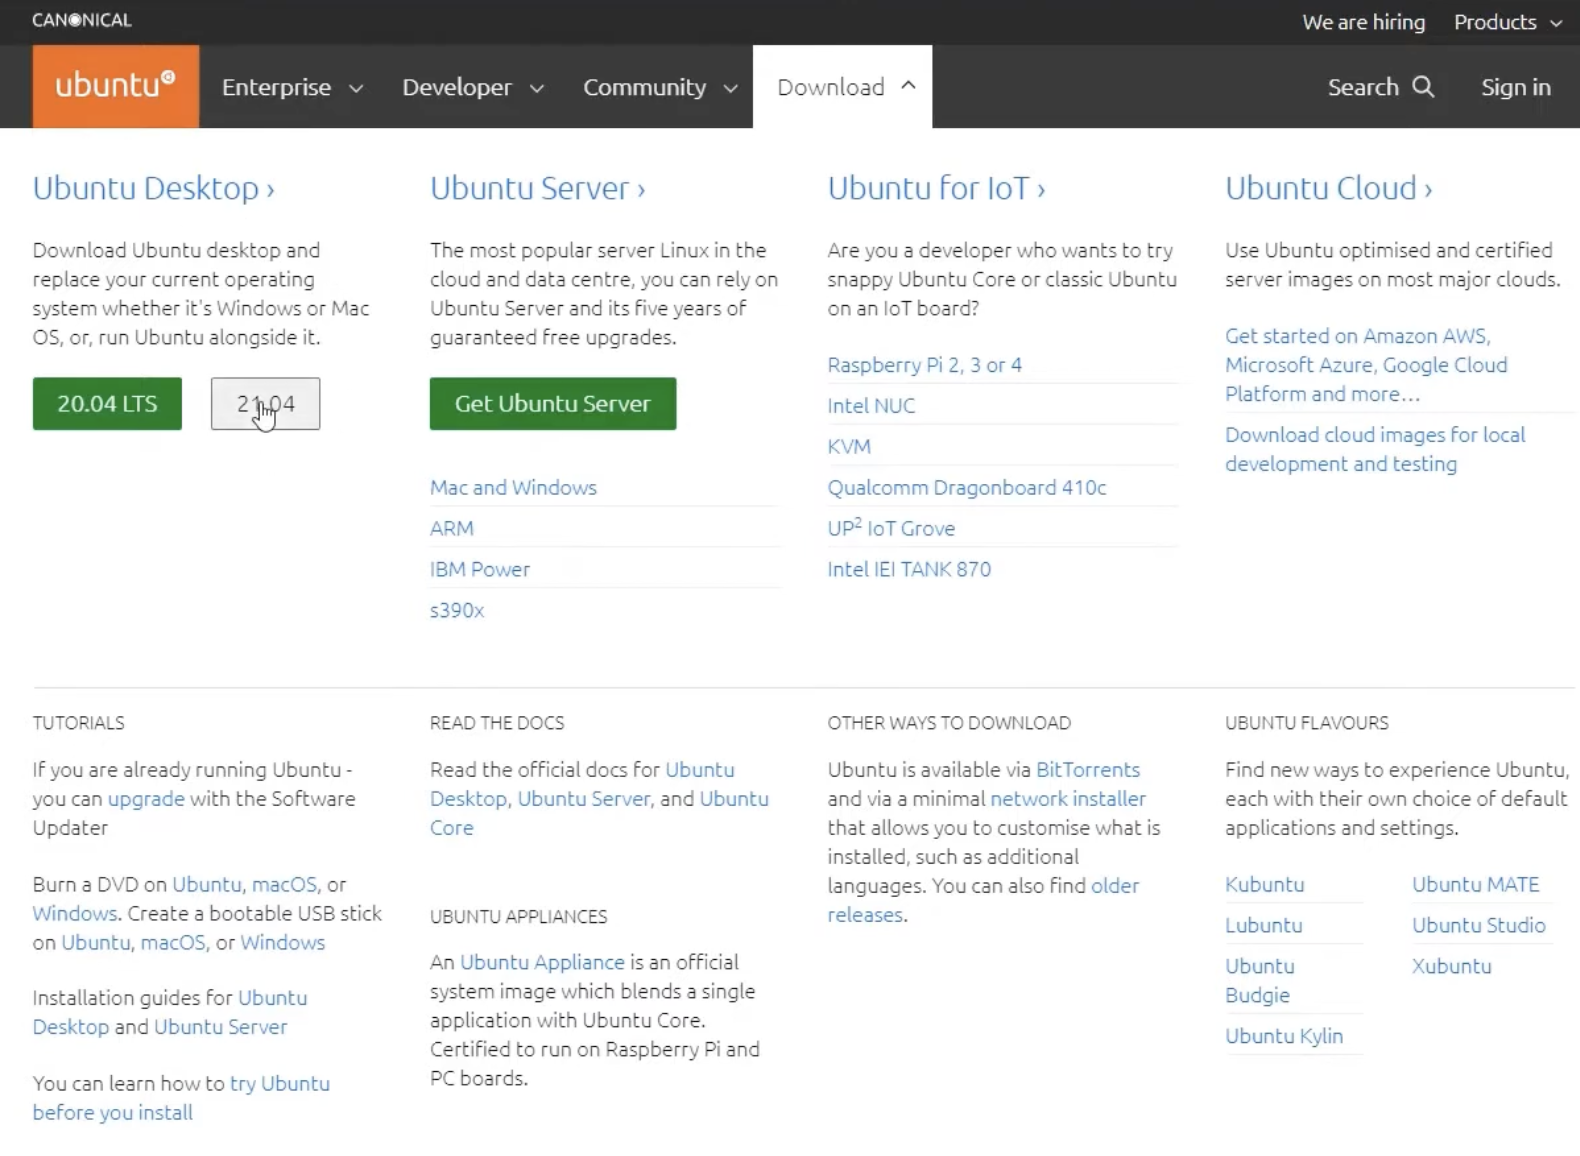
Selecting the Ubuntu Desktop download option
What Is an ISO File?
An ISO file is a disk image used to install an operating system. In a physical setup, an operating system might be installed from a DVD or USB drive. In VirtualBox, the ISO file can be attached like a virtual installation disk.
Installing VirtualBox
After downloading the installer, I launched the VirtualBox setup wizard and continued with the default installation options. The installer includes components such as the main VirtualBox application, USB support, and networking support.
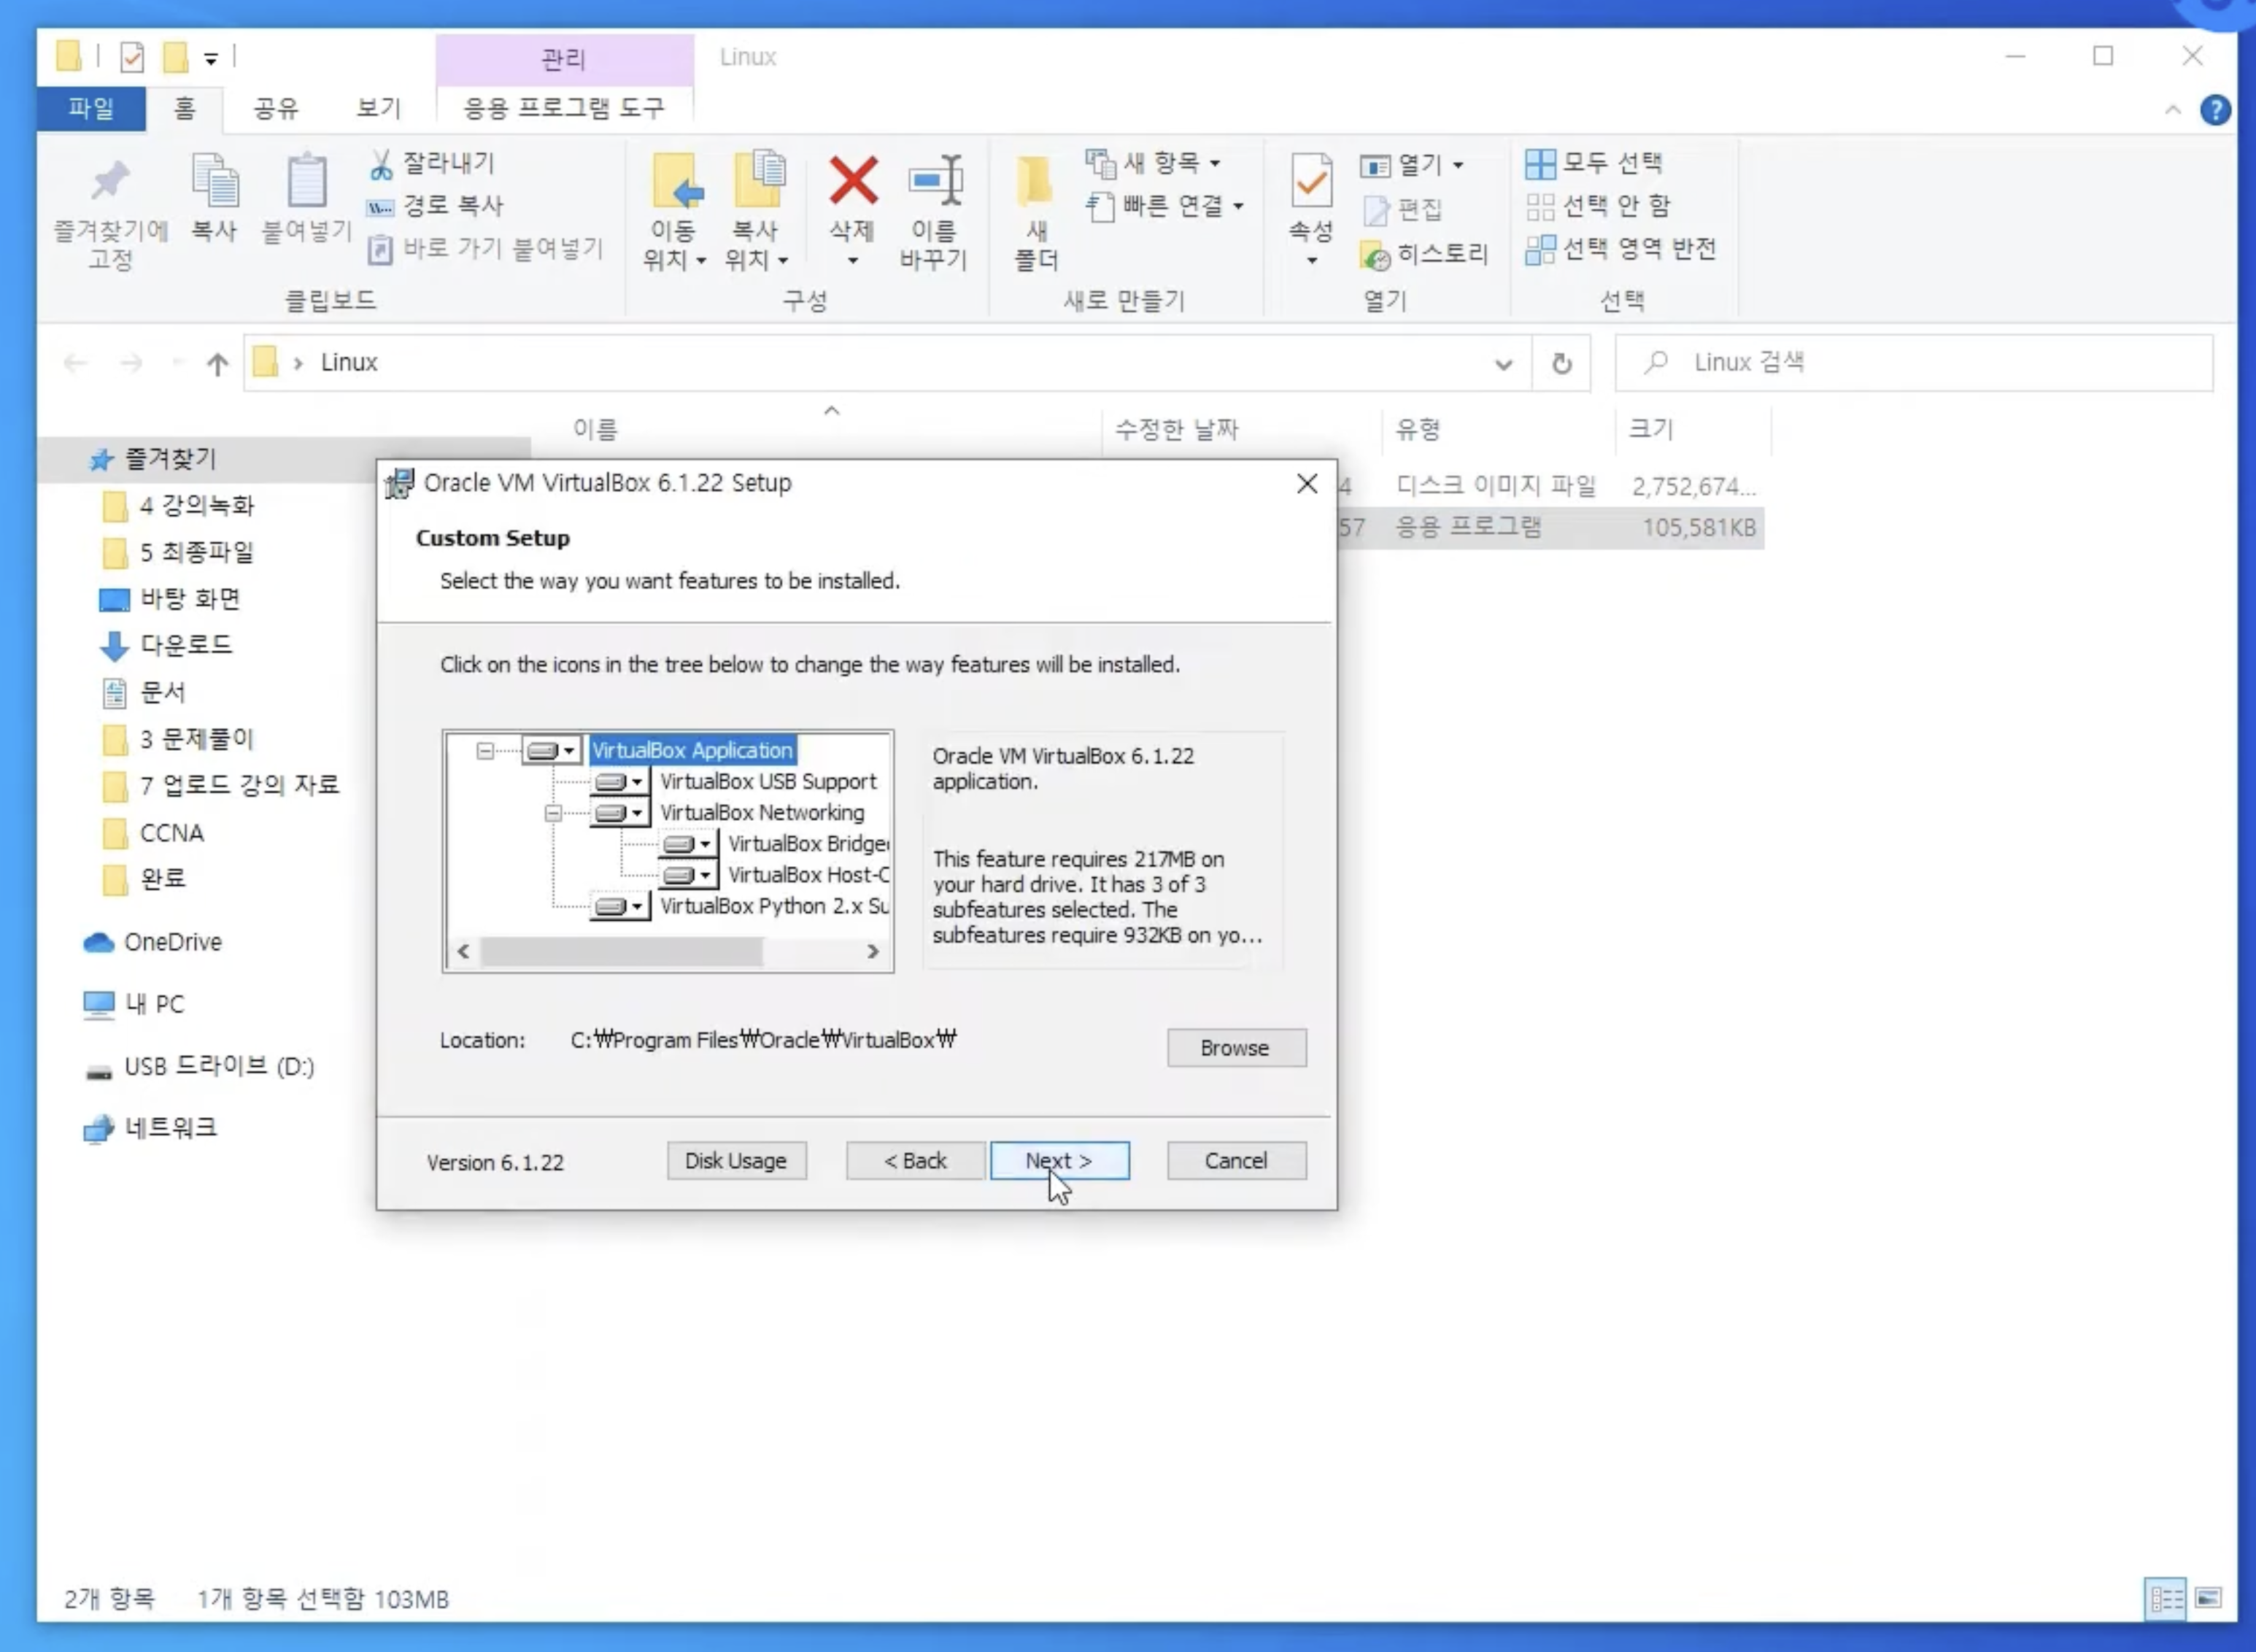
Installing VirtualBox with the default setup components
Why These Components Matter
- VirtualBox Networking allows the guest operating system to connect to networks.
- VirtualBox USB Support allows USB devices to be used inside virtual machines.
- The default installation options are usually enough for a beginner Linux lab.
Creating a Virtual Machine and Allocating Resources
After installing VirtualBox, I created a new virtual machine for Ubuntu. I selected Linux as the operating system type and Ubuntu as the version. Then I configured the amount of memory and storage assigned to the virtual machine.
One important part of this lecture was understanding how to allocate RAM.
RAM Allocation
RAM is the memory used while the virtual machine is running. When I assign RAM to Ubuntu in VirtualBox, that memory comes from the physical computer.
- If I assign too little RAM, Ubuntu may run slowly.
- If I assign too much RAM, the host operating system may become slow.
- For a basic Ubuntu lab, 2 GB or more is usually enough for simple practice.
- The best setting depends on how much total RAM the physical computer has.
1
2
Host OS: the main operating system running on the physical computer
Guest OS: the operating system running inside the virtual machine
Creating a Virtual Hard Disk
A virtual machine does not use a physical hard drive directly. Instead, it stores its operating system and files inside a virtual disk file. In this lecture, I created a virtual disk named Linux.vdi and assigned it 10 GB of storage.
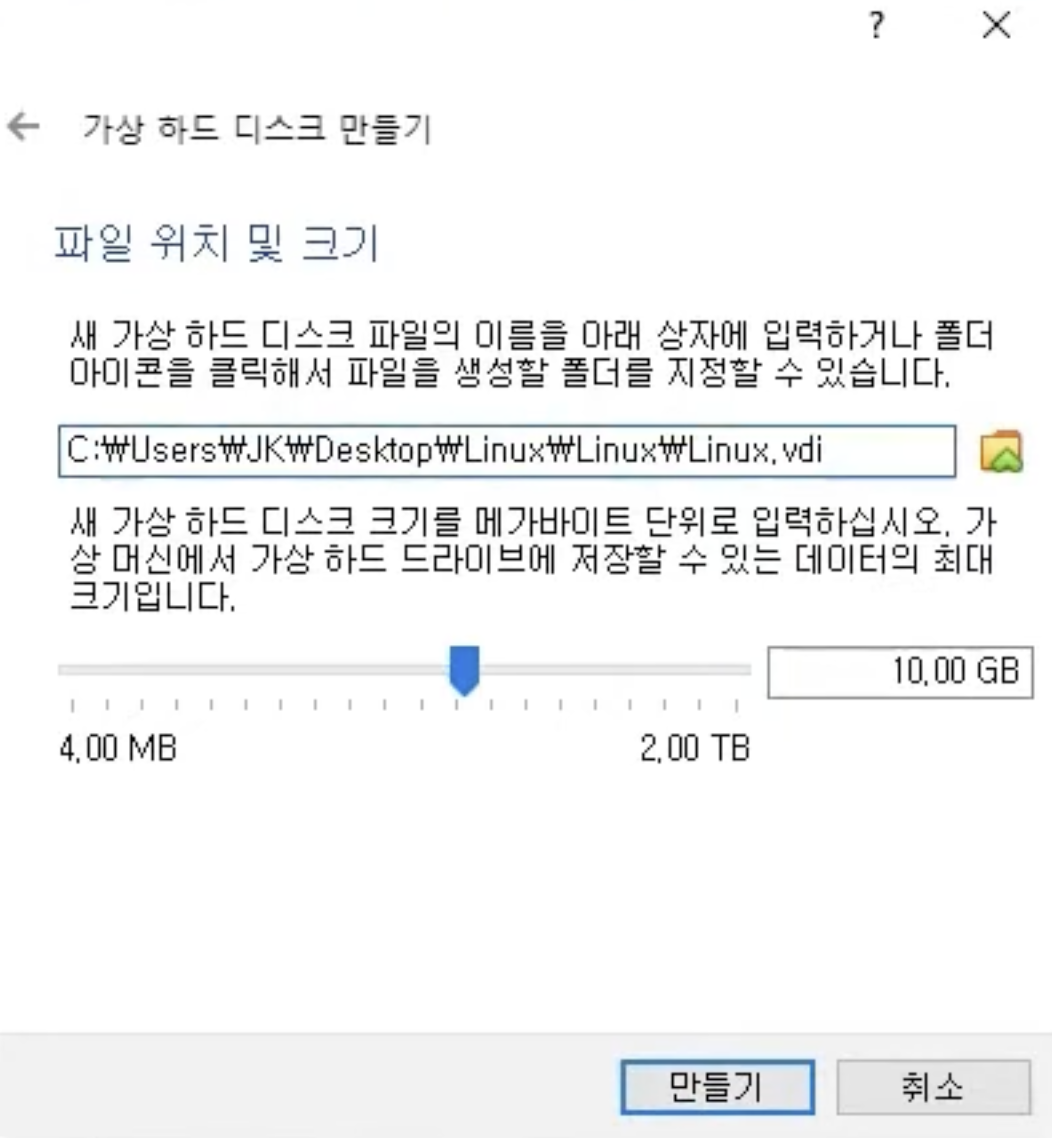
Creating a virtual hard disk for the Ubuntu virtual machine
VDI
VDI stands for Virtual Disk Image. It is the virtual hard disk format used by VirtualBox. To the Ubuntu guest operating system, the VDI file appears like a normal hard drive.
Booting Ubuntu
After creating the virtual machine and attaching the Ubuntu ISO file, I started the machine. The Ubuntu boot screen appeared inside the VirtualBox window.
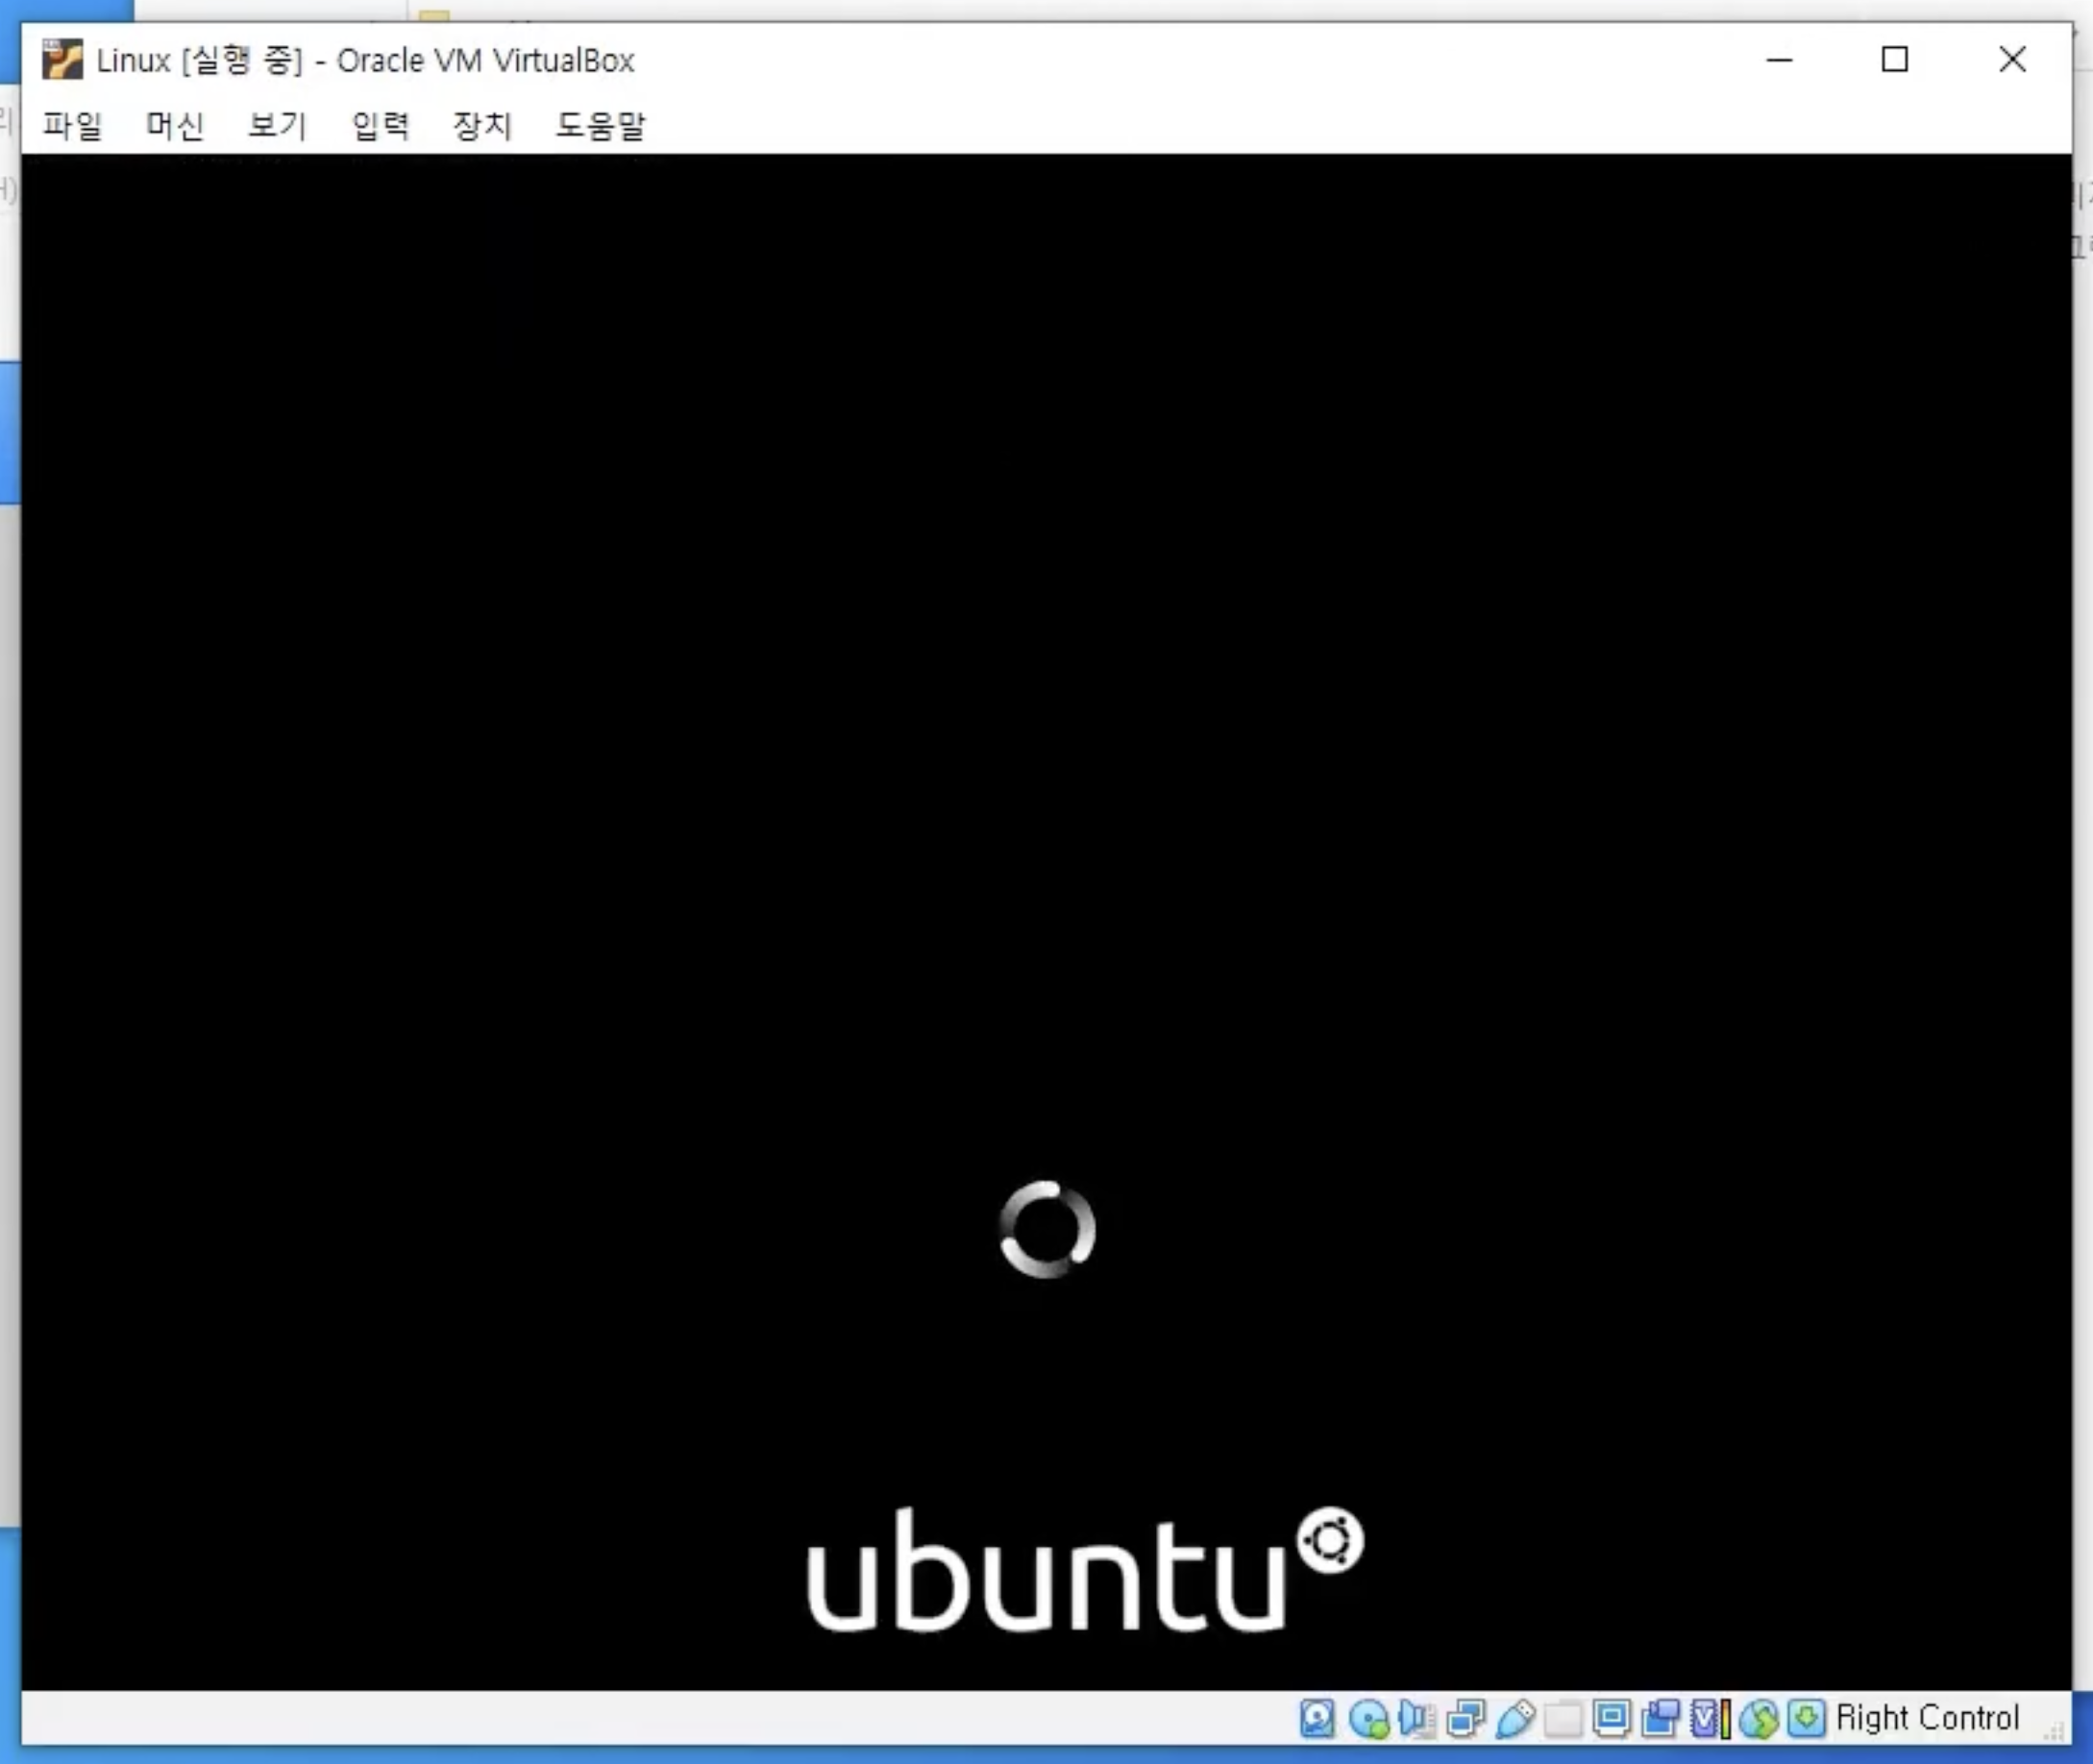
Ubuntu booting inside Oracle VM VirtualBox
The bottom-right corner shows Right Control, which is the VirtualBox Host Key. It can be used to release keyboard or mouse control from the virtual machine back to the host computer.
Ubuntu Installation Screen
The Ubuntu installer provides two main choices: Try Ubuntu and Install Ubuntu.
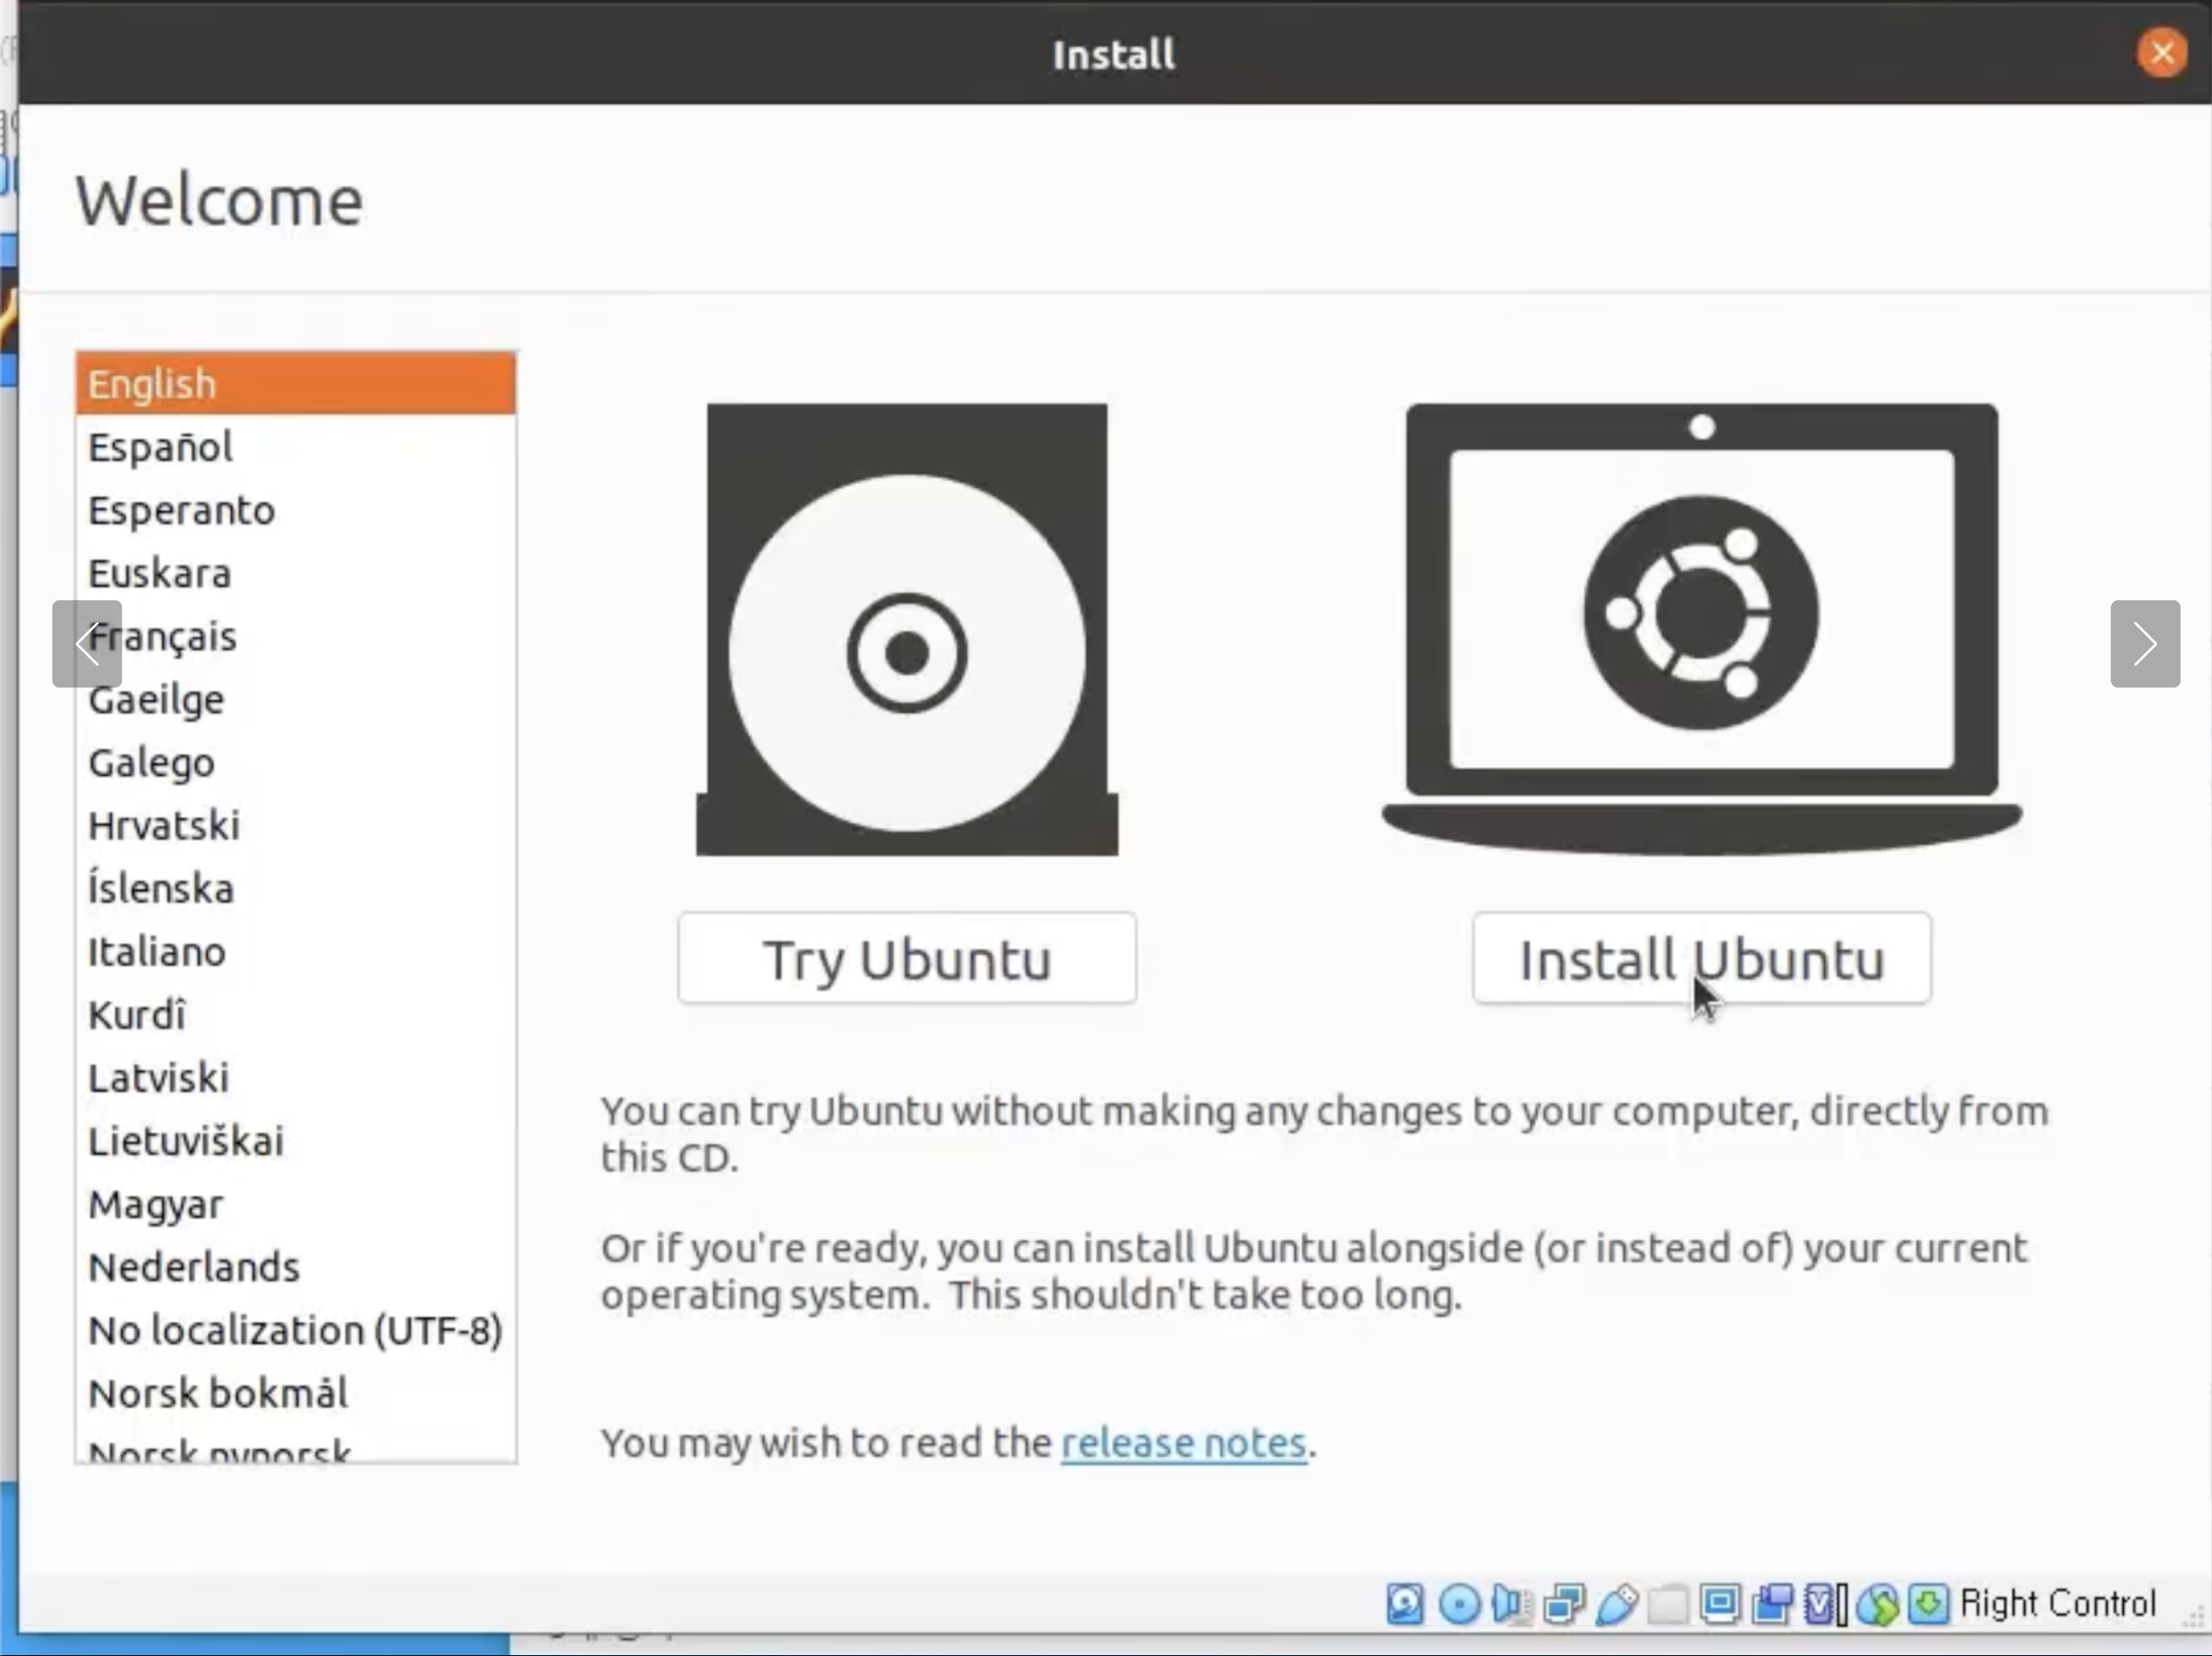
Ubuntu installation welcome screen
Try Ubuntu vs. Install Ubuntu
Try Ubuntu: runs Ubuntu temporarily without installing it.Install Ubuntu: installs Ubuntu onto the virtual hard disk.
For this lab, I selected Install Ubuntu so I could create a reusable Linux practice environment.
Ubuntu Login Screen
After the installation completed, the virtual machine rebooted into Ubuntu and displayed the login screen. From here, I could select the user account and sign in to the Ubuntu desktop.
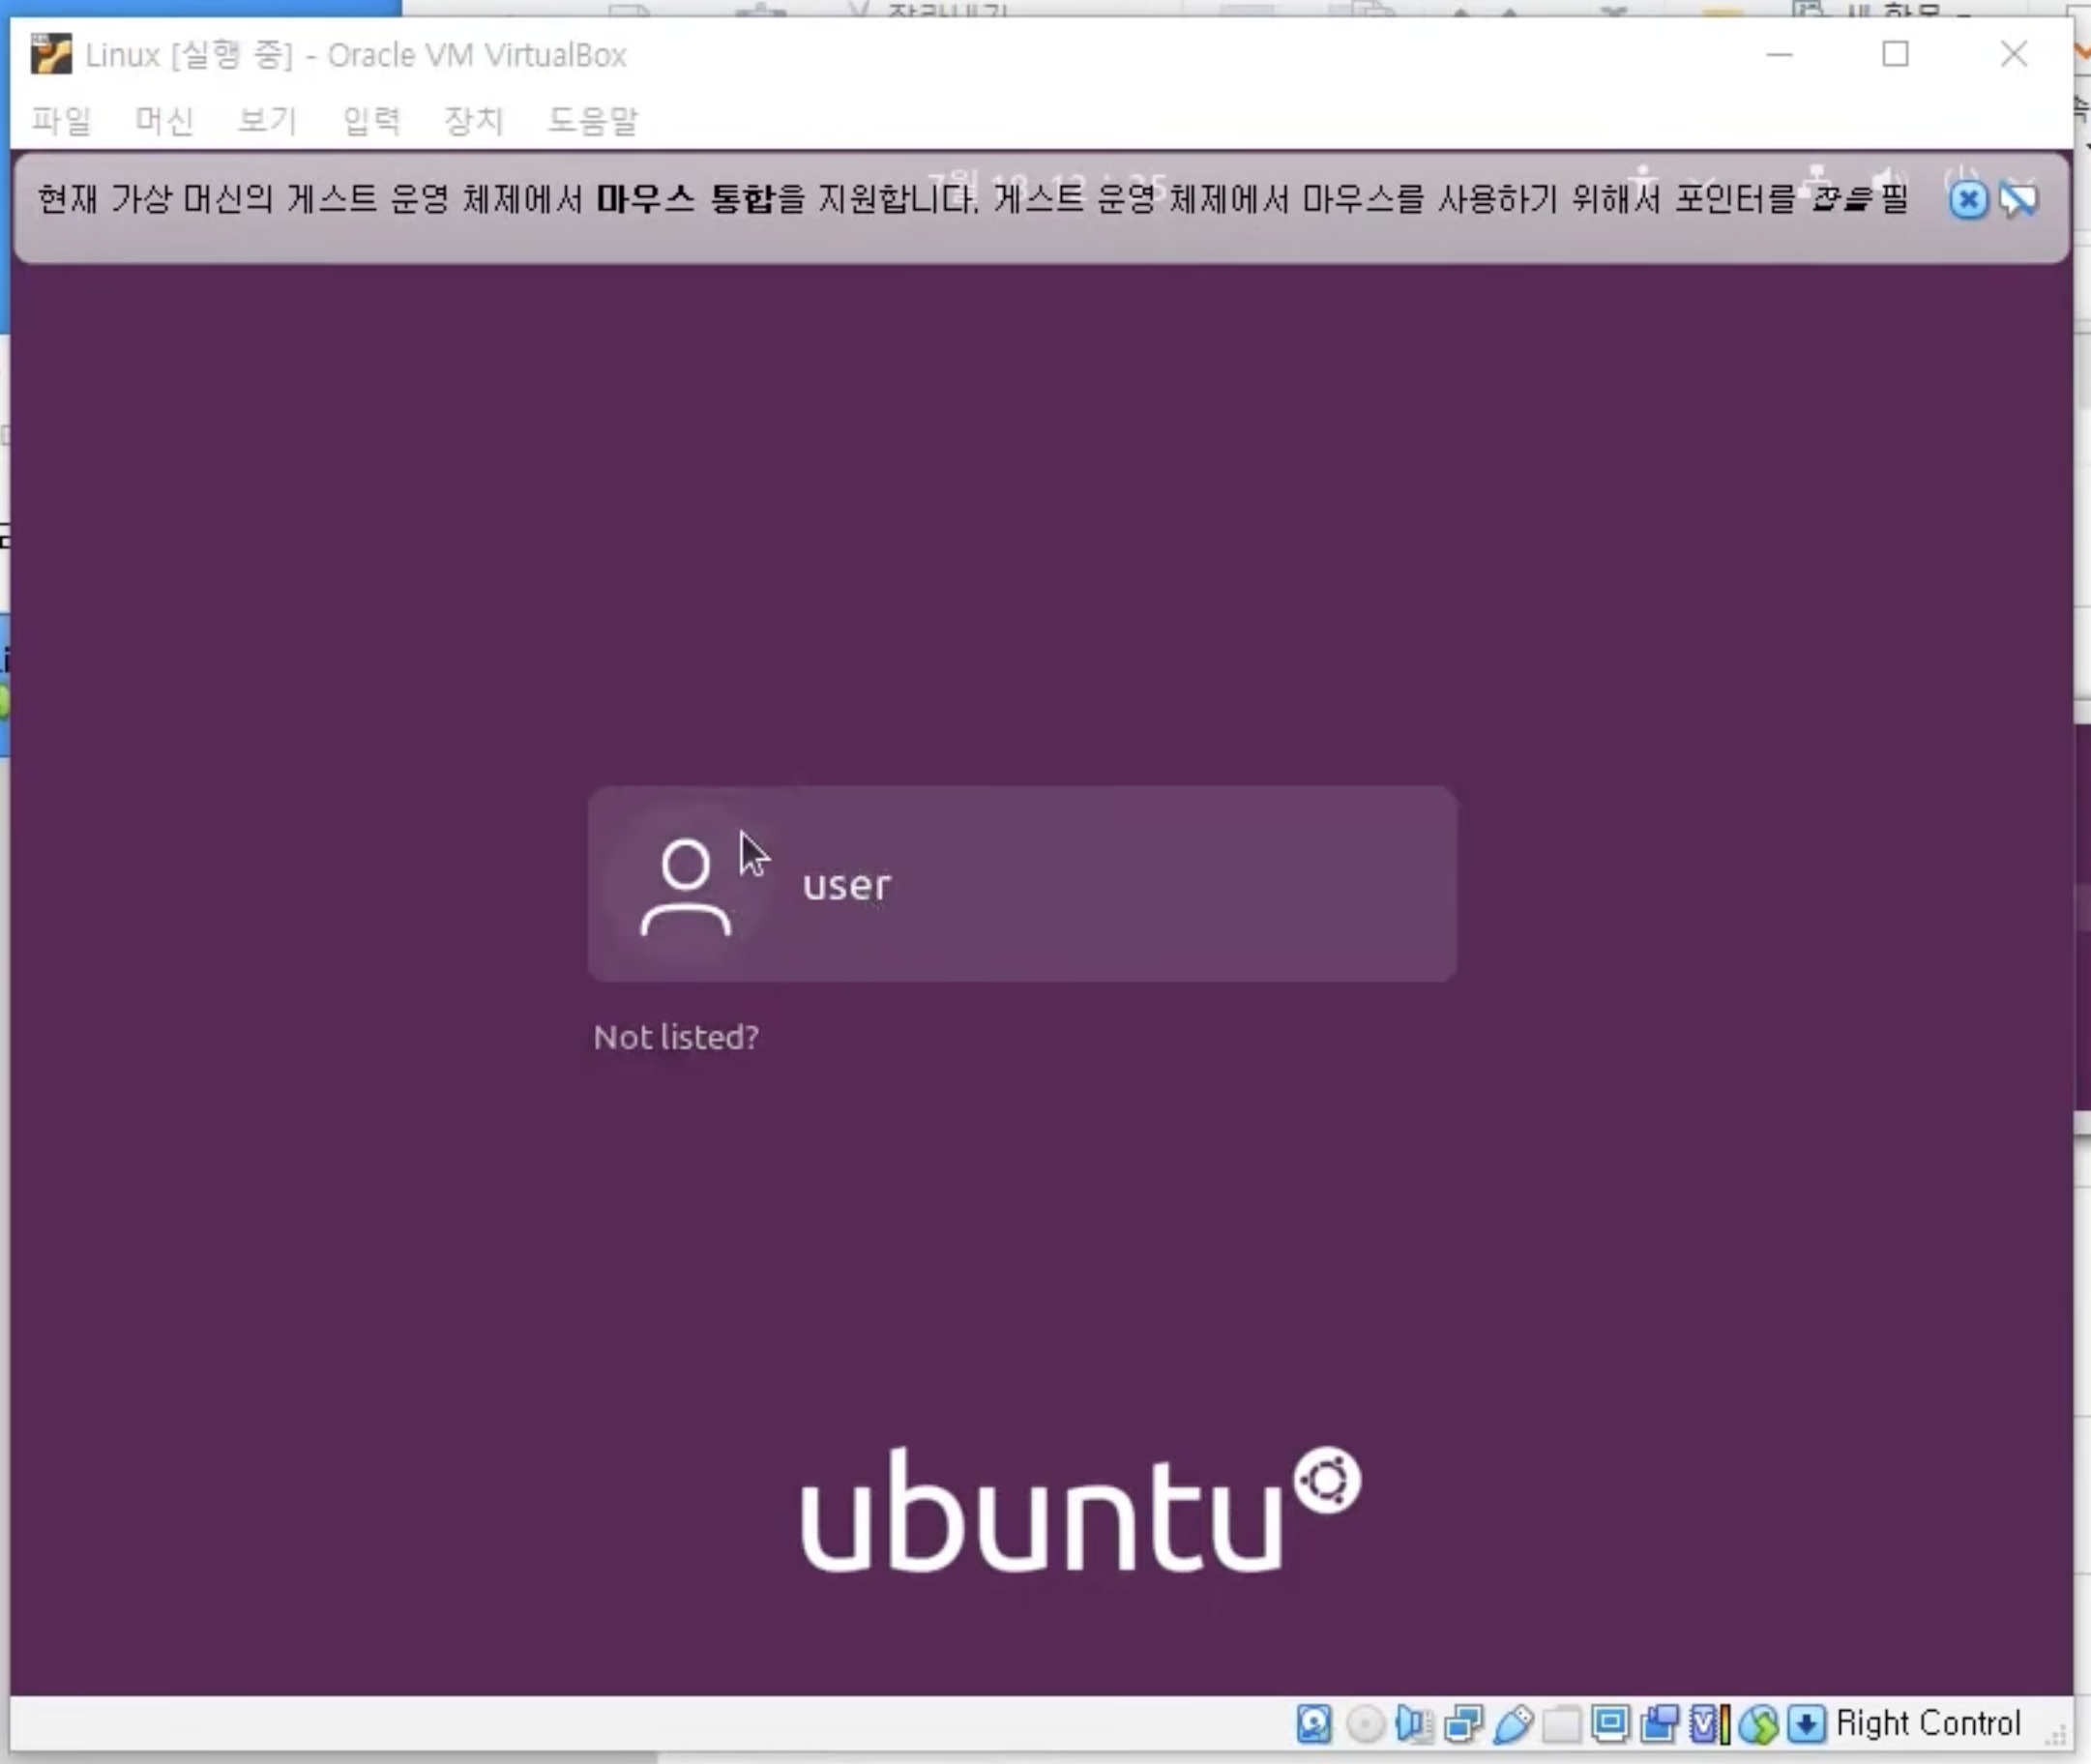
Ubuntu login screen after installation
The message at the top indicates that the guest operating system supports mouse integration. This makes it easier to move the mouse between the host operating system and the virtual machine.
Core Concepts Learned
VirtualBox
VirtualBox is a virtualization platform that allows me to run another operating system inside my current computer.
Ubuntu
Ubuntu is a Linux distribution. It provides a desktop environment and is widely used for learning Linux fundamentals.
Virtual Machine
A virtual machine is a software-based computer that uses allocated resources from the physical computer, including RAM, CPU, storage, and networking.
RAM Allocation
RAM allocation determines how much memory the guest operating system can use. It is important to provide enough memory for Ubuntu while still leaving enough resources for the host operating system. I set it as 1024MB. (Enough for learning/experiment purpose)
Virtual Hard Disk
A virtual hard disk stores the guest operating system and files. In VirtualBox, this can be saved as a .vdi file.
ISO
An ISO file is an installation disk image. In this lab, the Ubuntu ISO was attached to the virtual machine to start the installation process.
Lecture 2: Basic Terminal Commands and Command History
Printing Text with echo
1
echo "Hello, Linux"
1
Hello, Linux
Checking Time Settings with timedatectl
The timedatectl command displays the system clock and time configuration managed by systemd.
1
timedatectl
Its output can include:
- Local time: the current time in the configured time zone.
- Universal time: the current Coordinated Universal Time (UTC).
- RTC time: the hardware real-time clock value.
- Time zone: the system’s configured geographic time zone.
- System clock synchronized: whether the system clock is synchronized.
- NTP service: whether network-based time synchronization is active.
This command is useful when checking a Linux machine’s time zone or diagnosing incorrect system time.
Clearing the Terminal with clear
1
clear
Viewing Previous Commands with history
1
history
Example:
1
2
3
4
1  echo "Hello, Linux"
2  timedatectl
3  clear
4  history
Command history is useful for reviewing previous work, finding a long command, and avoiding unnecessary retyping.
Recalling Commands with the Up Arrow Key
Pressing the Up Arrow key recalls an earlier command at the prompt. Pressing it repeatedly moves backward through the command history.
1
Press Up Arrow -> review the command -> edit if needed -> press Enter
This method is useful when I want to inspect or modify a previous command before running it again.
Repeating the Last Command with !!
The !! history expansion runs the immediately preceding command again.
1
echo "Hello, Linux"
1
Hello, Linux
1
!!
1
Hello, Linux