Linux Home Lab Project
I set up this dual-node virtualization lab to practice hands-on Red Hat Enterprise Linux (RHEL 9) system administration in a realistic environment. To simulate real-world scenarios and RHCSA exam practice, I integrated a local simulation harness containing 25 practical tasks.
This post covers Task 01: Configure networking and set hostname, walking through each step from initial environment checks to configuring network parameters via NetworkManager and verifying persistence after reboot.
Lab Environment
- Hypervisor: VMware Fusion running on macOS.
- Nodes: Two RHEL 9 virtual machines (
node1andnode2). - Network Interfaces on node1:
enp2s0: Primary management network interface.rhcsa0: Dedicated interface for practicing static network assignments.
- Simulation Harness: Local practice suite with a web interface at
http://localhost:8200and automated CLI grading tools.
Task 01 Requirements
- Static IPv4 Address:
172.25.250.11/24 - Gateway:
172.25.250.254 - DNS Server:
172.25.250.254 - Hostname:
node1.lab.network17.com - Autoconnect: Enabled so the connection starts automatically on boot.
- Target Interface: Configure the profile bound to
rhcsa0. Avoid reconfiguring the active management interface (enp2s0) to prevent losing access to the machine.
Step-by-Step Walkthrough
Step 1: Virtual Machine Cluster Setup
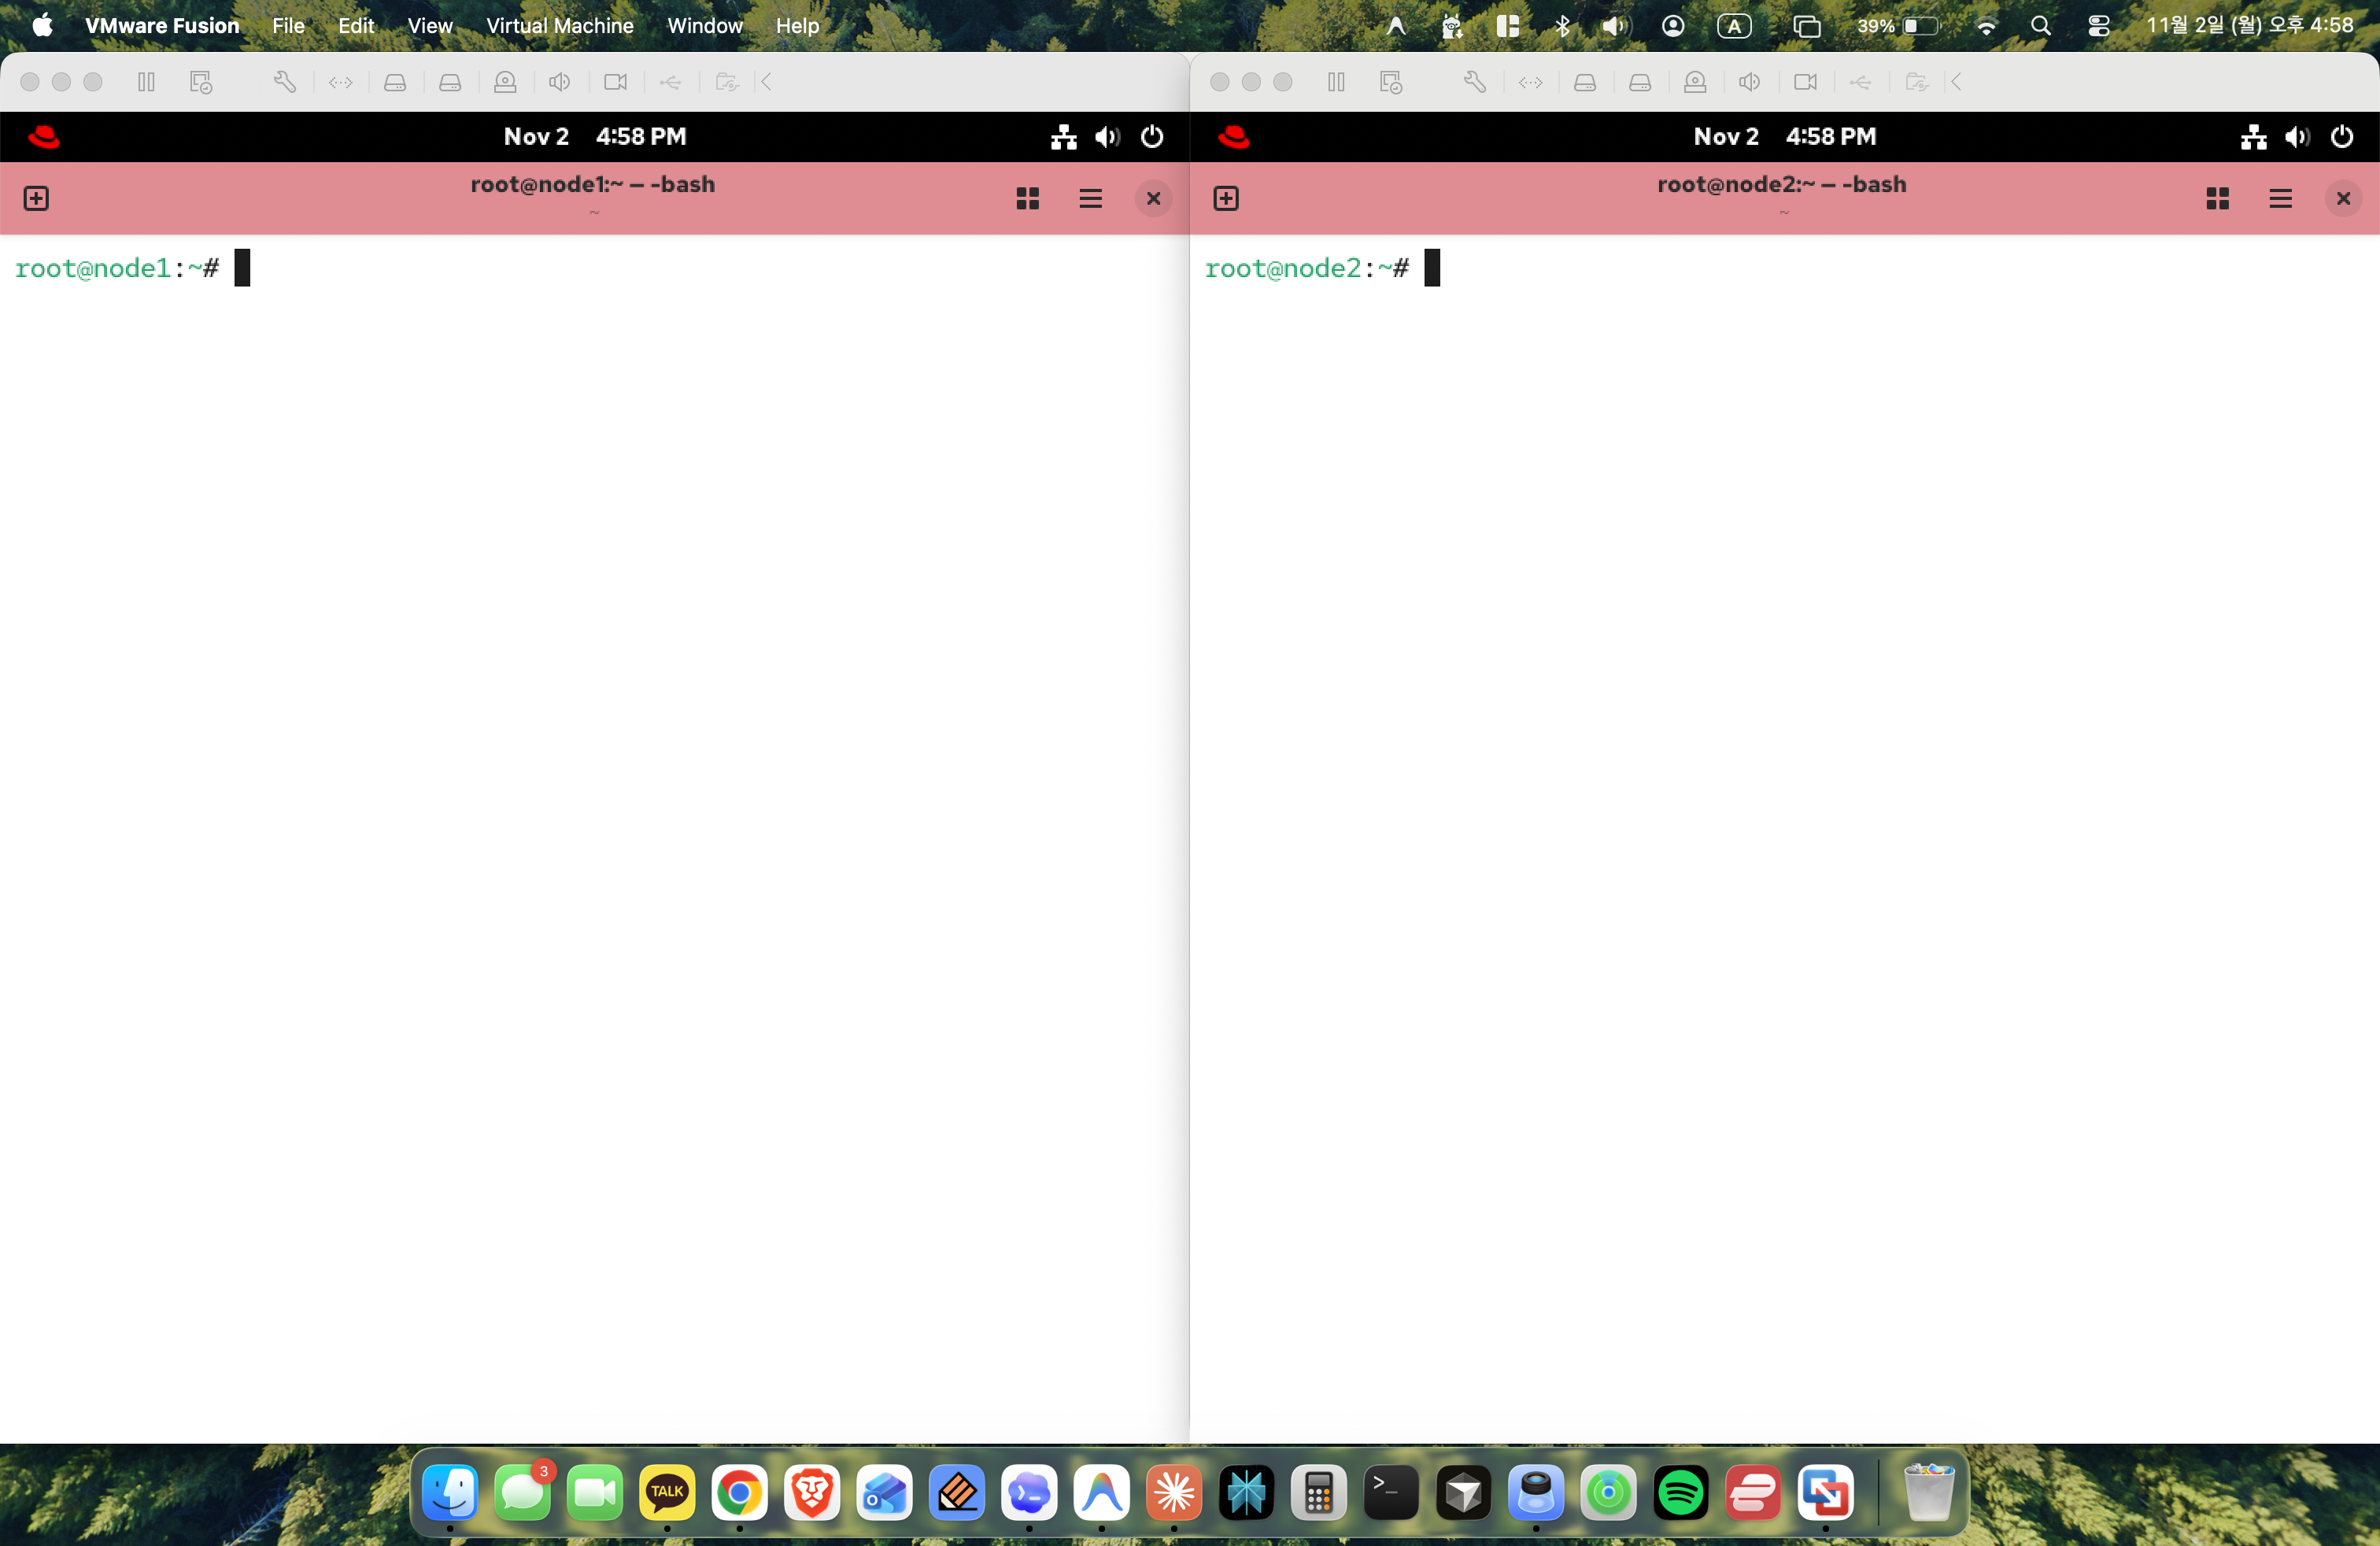
Figure 1: Dual RHEL 9 virtual machines (node1 and node2) running side-by-side in VMware Fusion.
Two independent RHEL 9 virtual machines (node1 on the left, node2 on the right) are running in VMware Fusion. Each node operates with its own virtual disk, network adapters, and dedicated resources.
Step 2: Console Verification
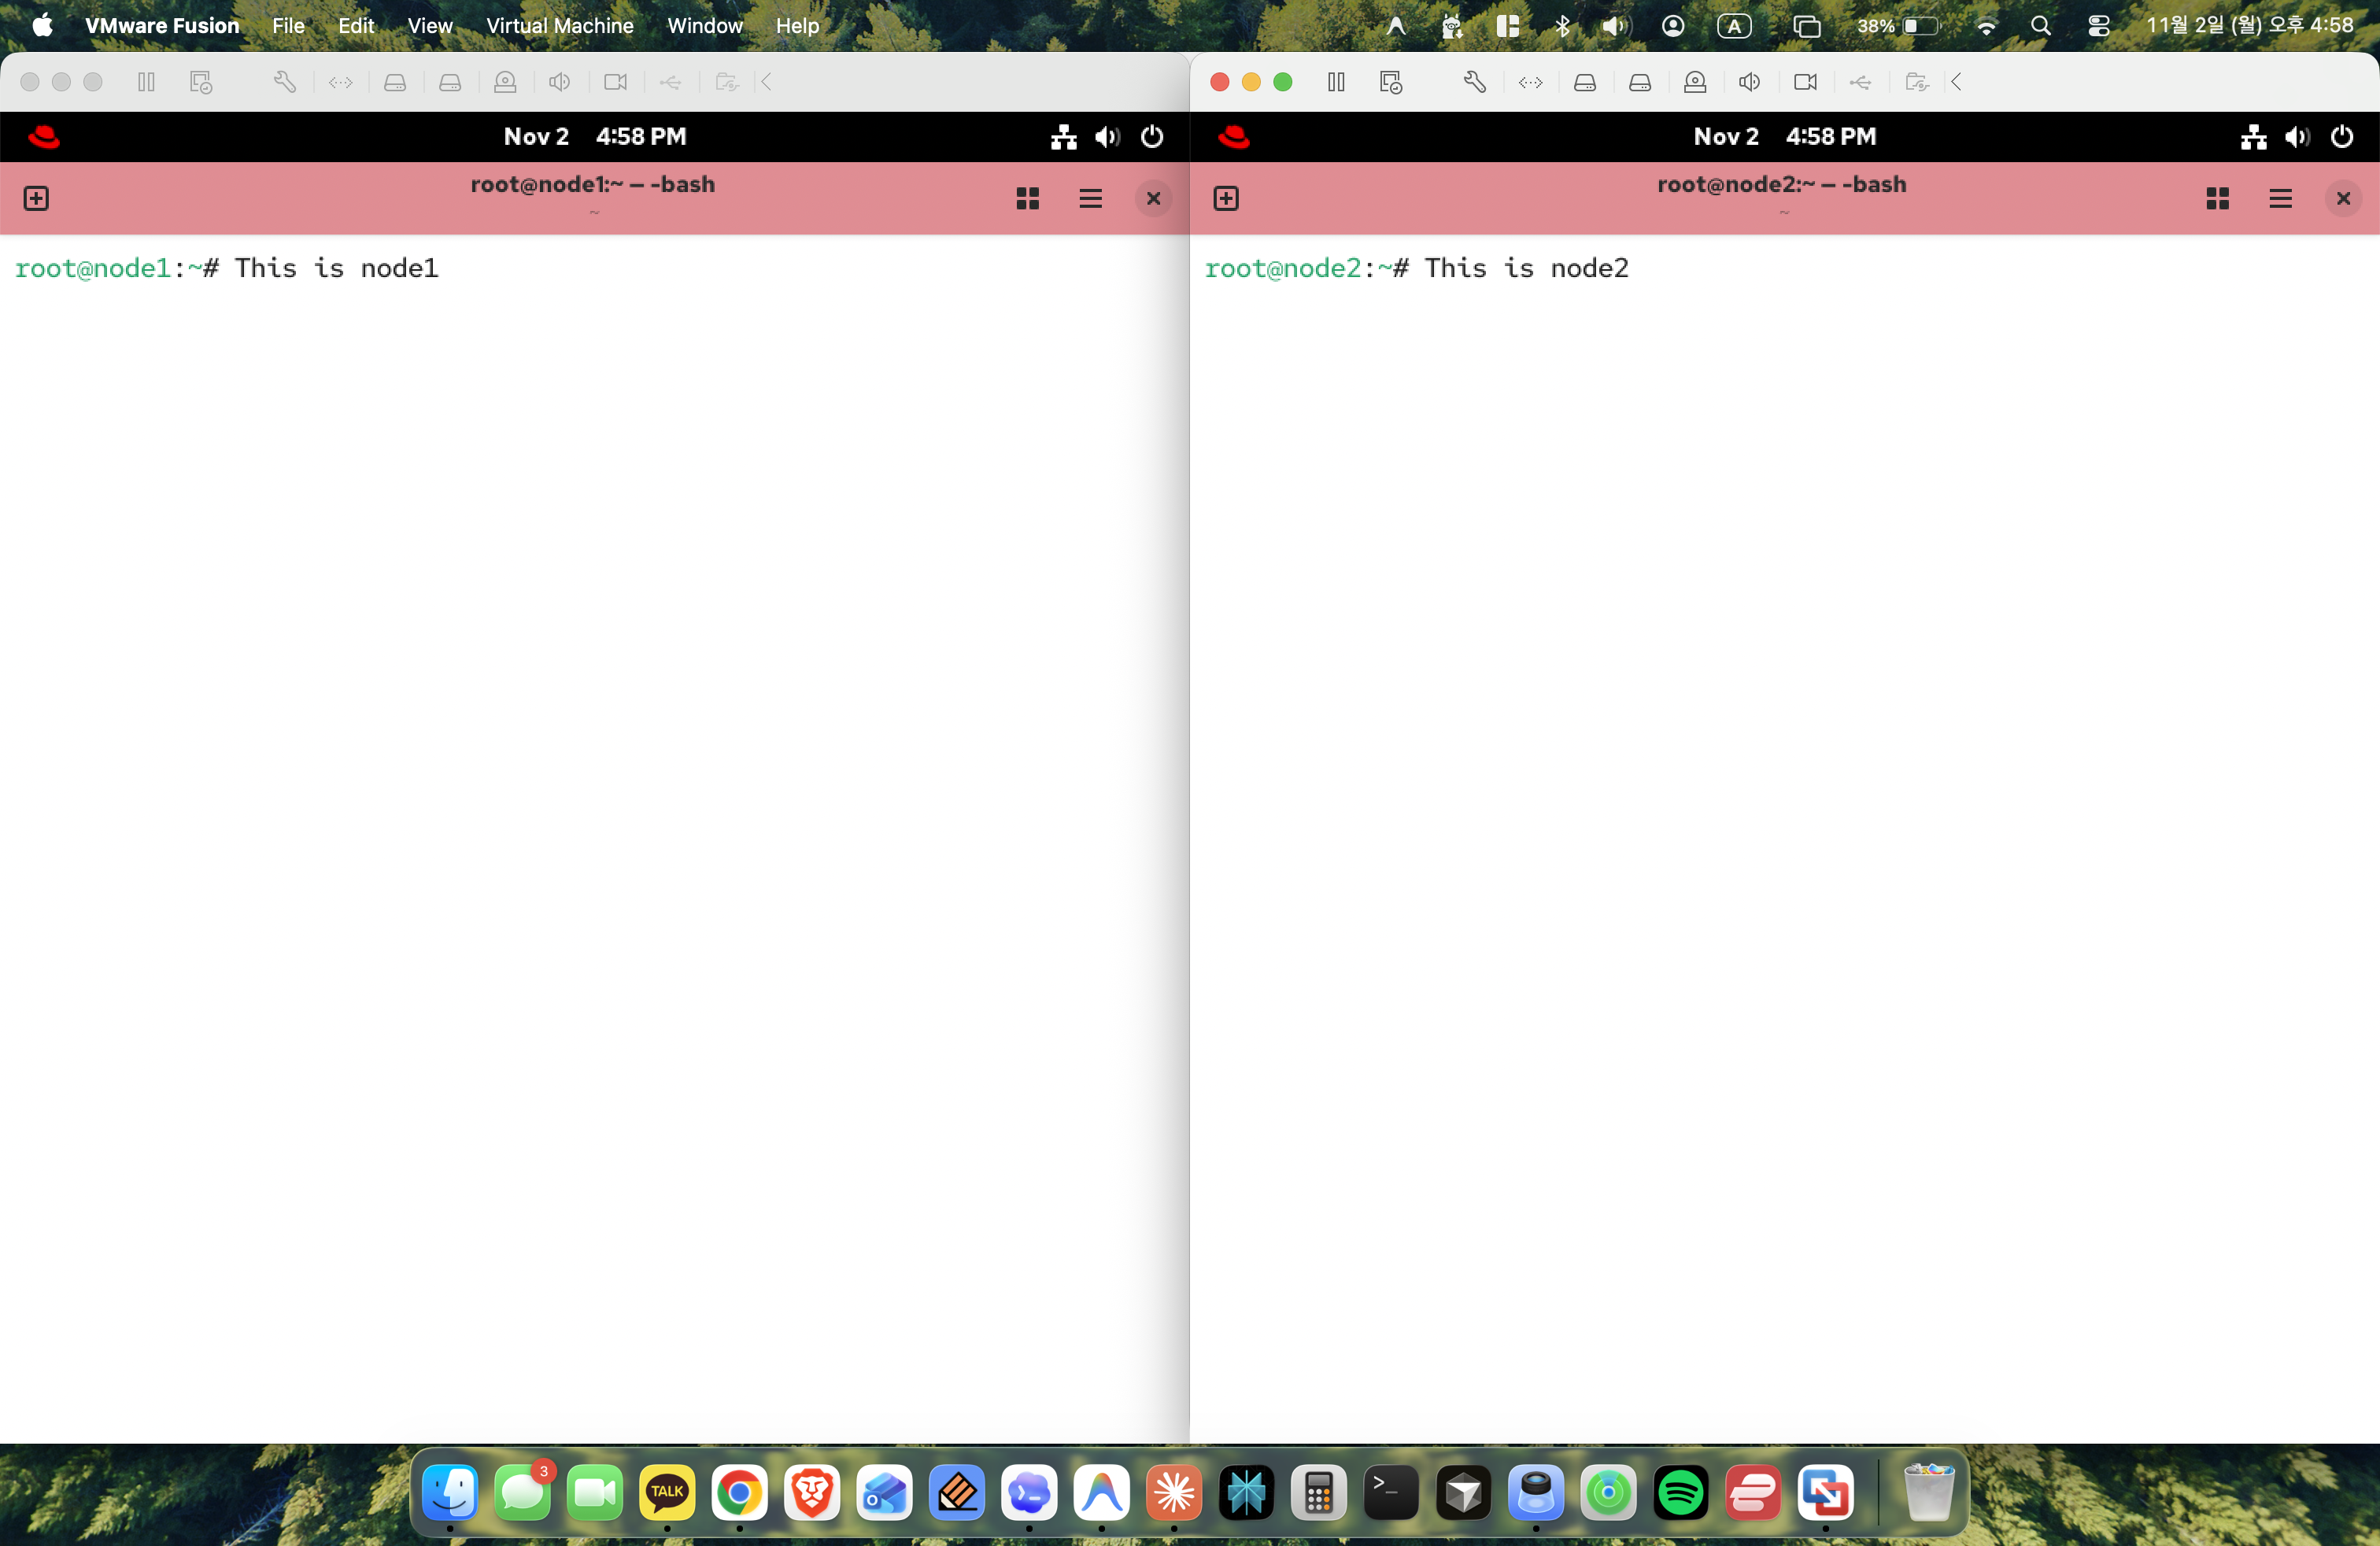
Figure 2: Verifying root terminal access and shell responsiveness on both nodes.
Logged in as root on both machines and ran a quick echo command (This is node1 and This is node2) to confirm terminal responsiveness and ensure commands are directed to the correct node.
Step 3: Simulator Source Tree
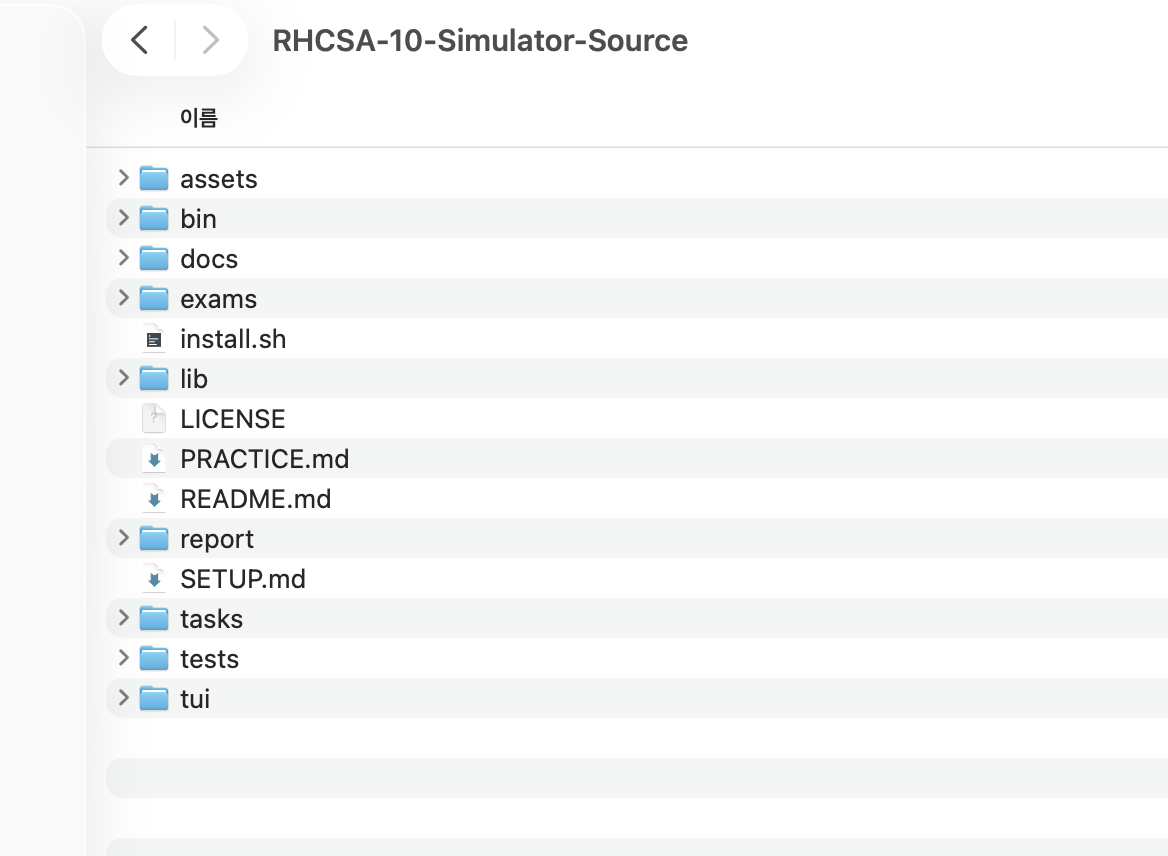
Figure 3: RHCSA practice simulator source tree containing tasks, exams, tests, and CLI tools.
Checked the local simulator directory structure, which organizes task definitions, exam profiles, and automated grading scripts into tasks/, exams/, tests/, and bin/.
Step 4: Accessing the Simulator Web Interface
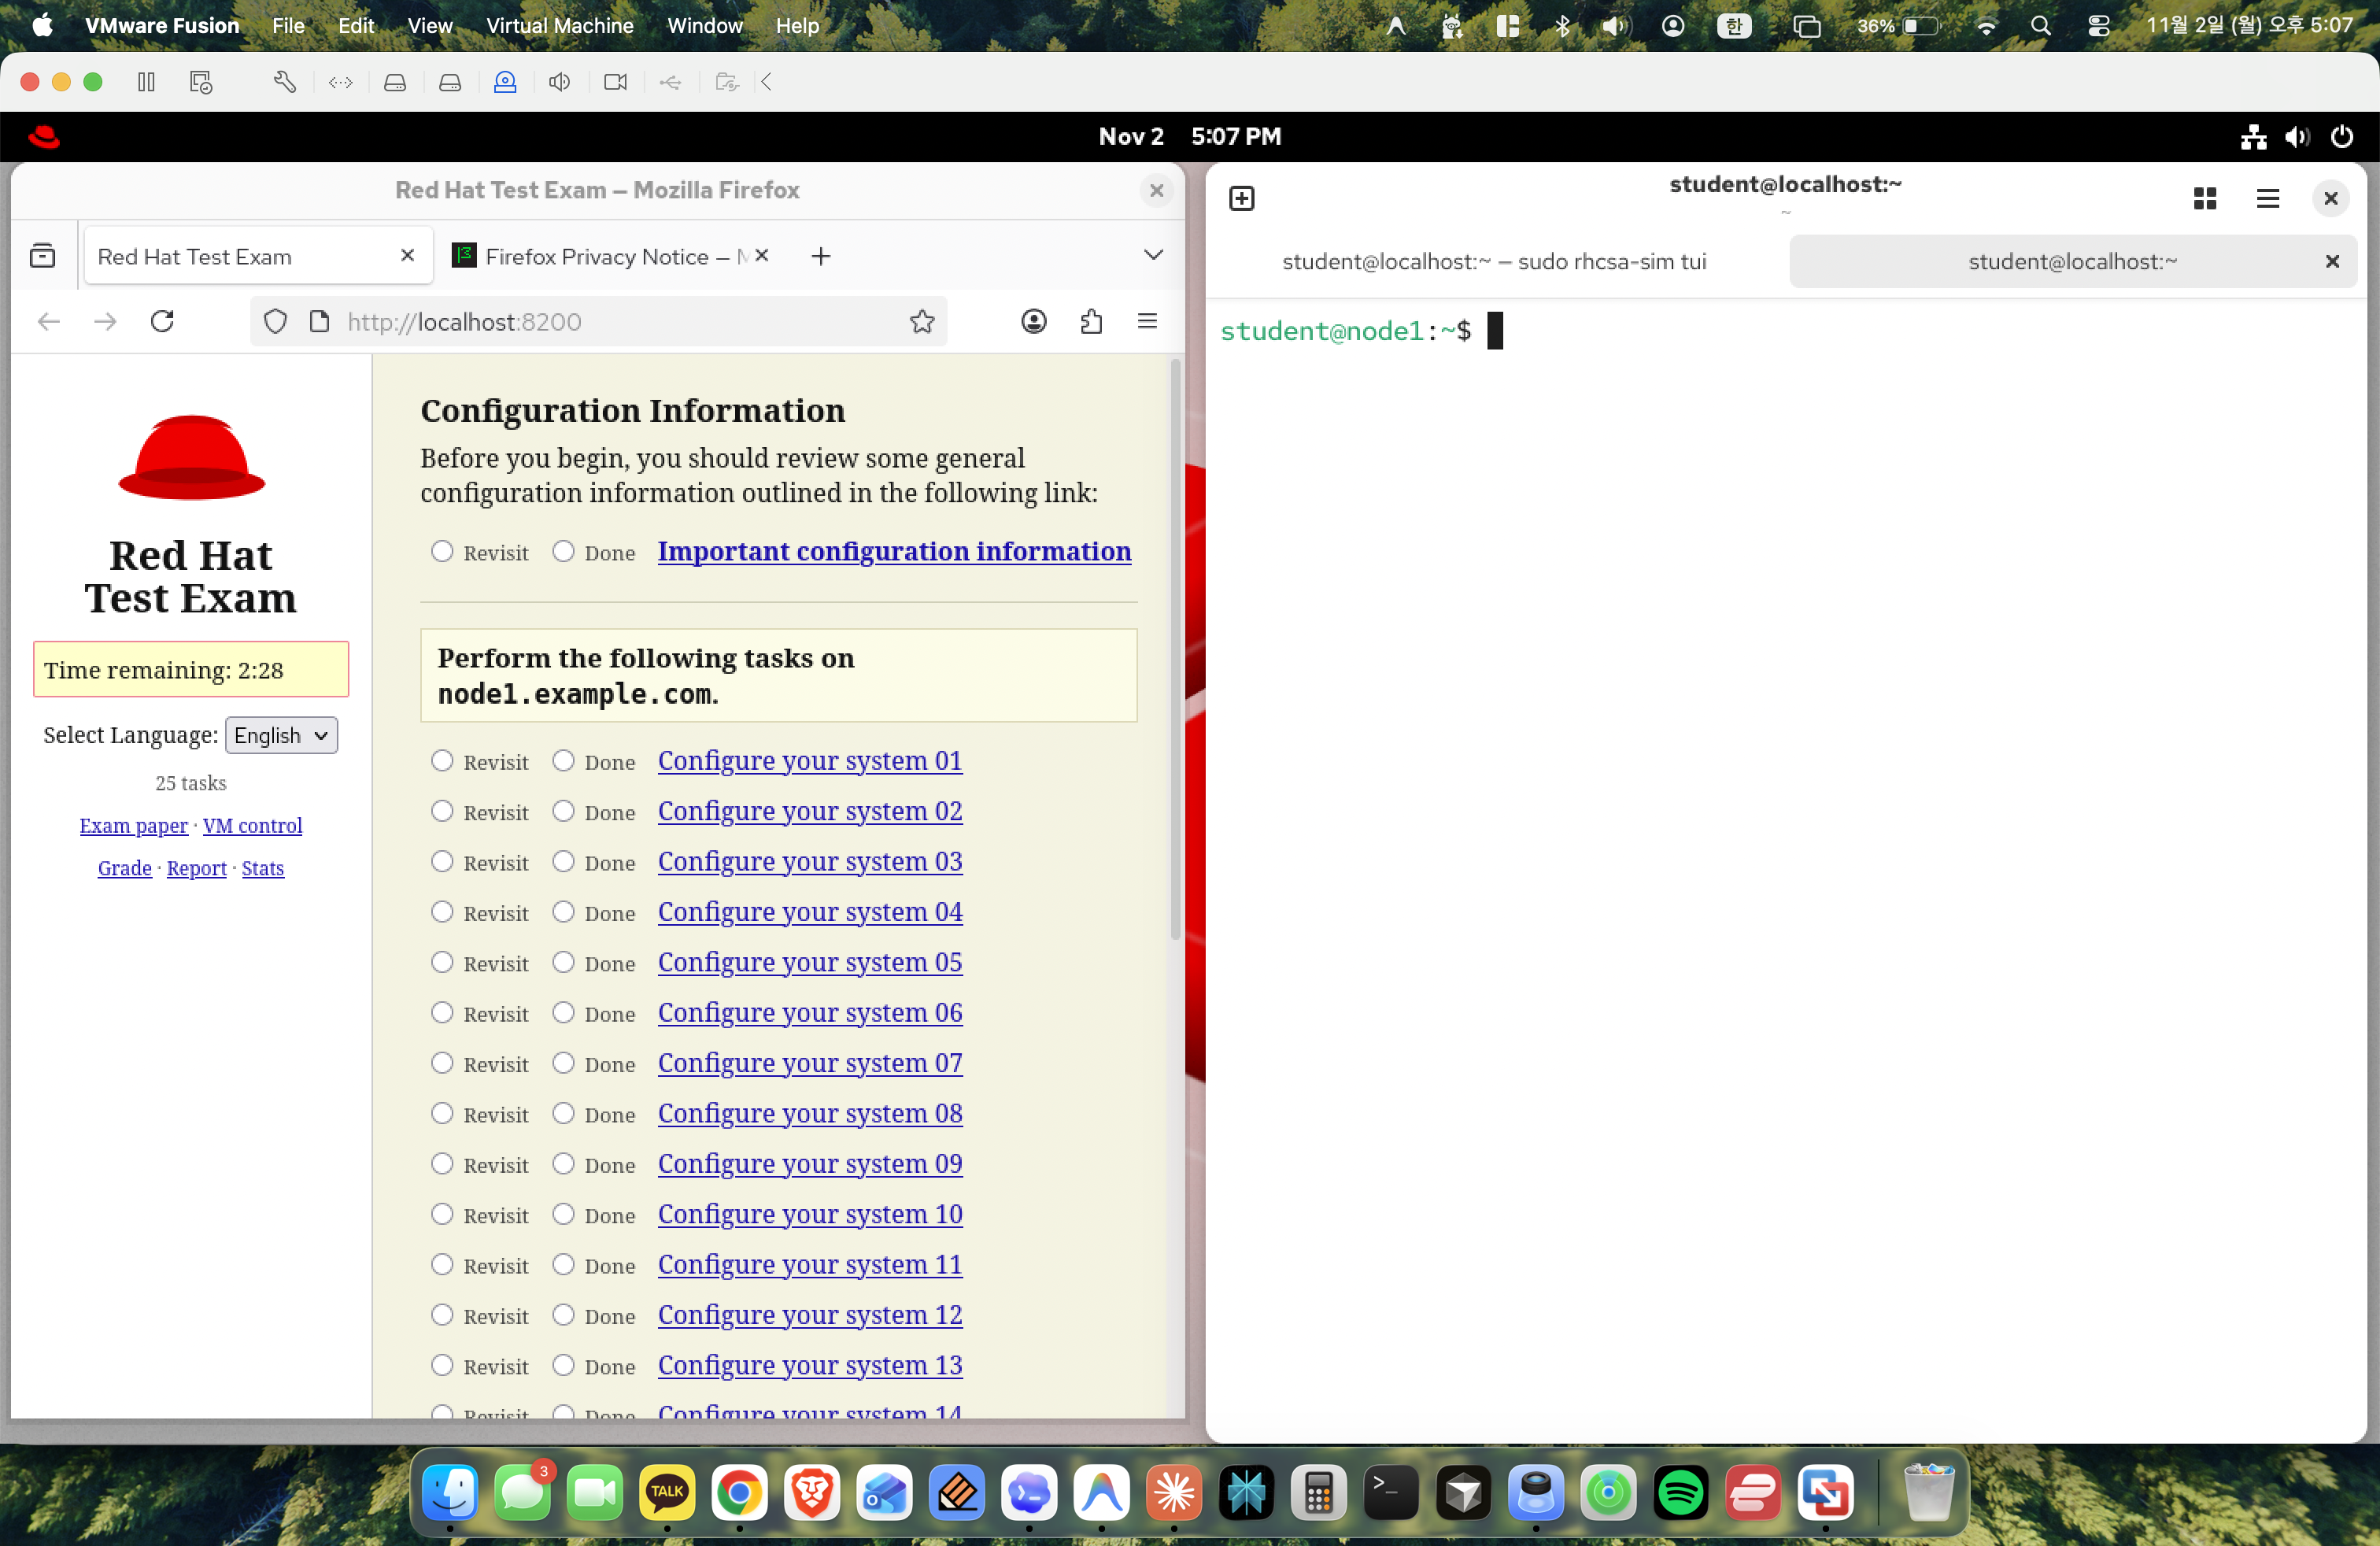
Figure 4: Simulator web interface at http://localhost:8200 displaying 25 practical tasks.
Opened the simulator web interface at http://localhost:8200. The exam consists of 25 practical tasks designed to replicate an RHCSA exam environment with an active countdown timer.
Step 5: Reviewing Task 01 Requirements
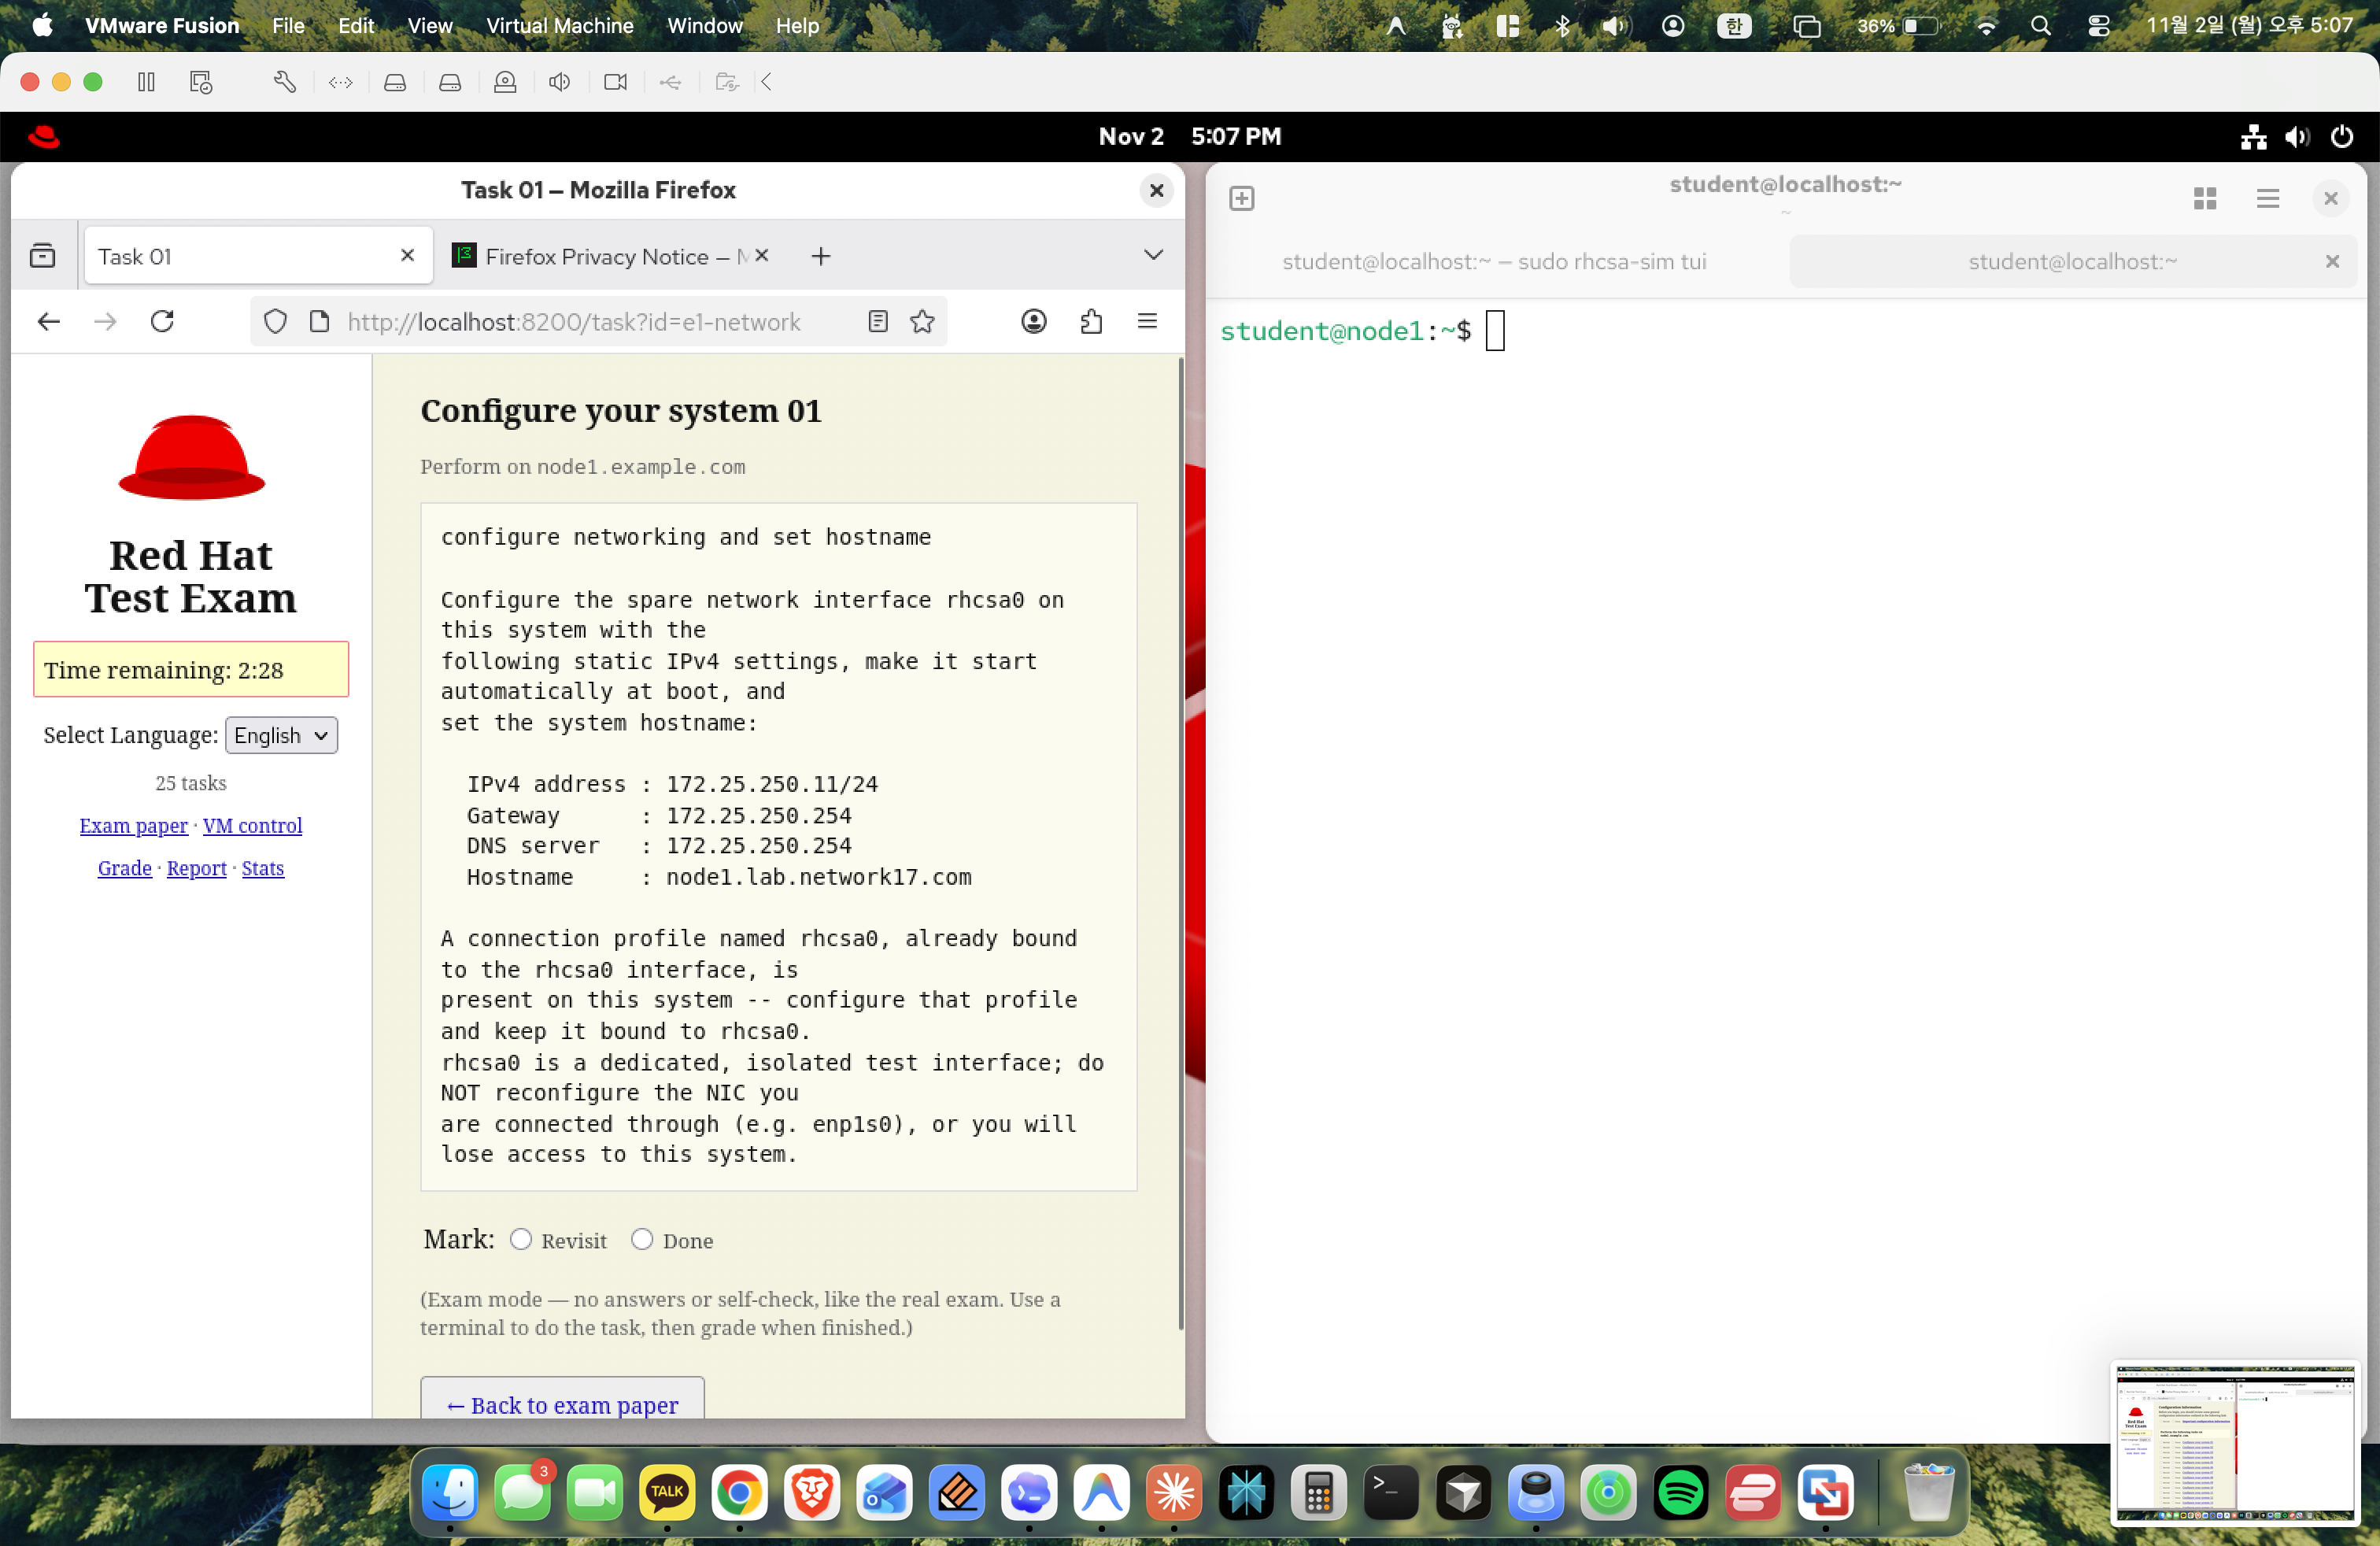
Figure 5: Task 01 prompt: Configure networking and set hostname.
Reviewed the instructions for Task 01:
- Configure interface
rhcsa0with static IP172.25.250.11/24. - Set Gateway to
172.25.250.254and DNS to172.25.250.254. - Set the hostname to
node1.lab.network17.com. - Ensure autoconnect is enabled.
Step 6: Checking Current Network Status
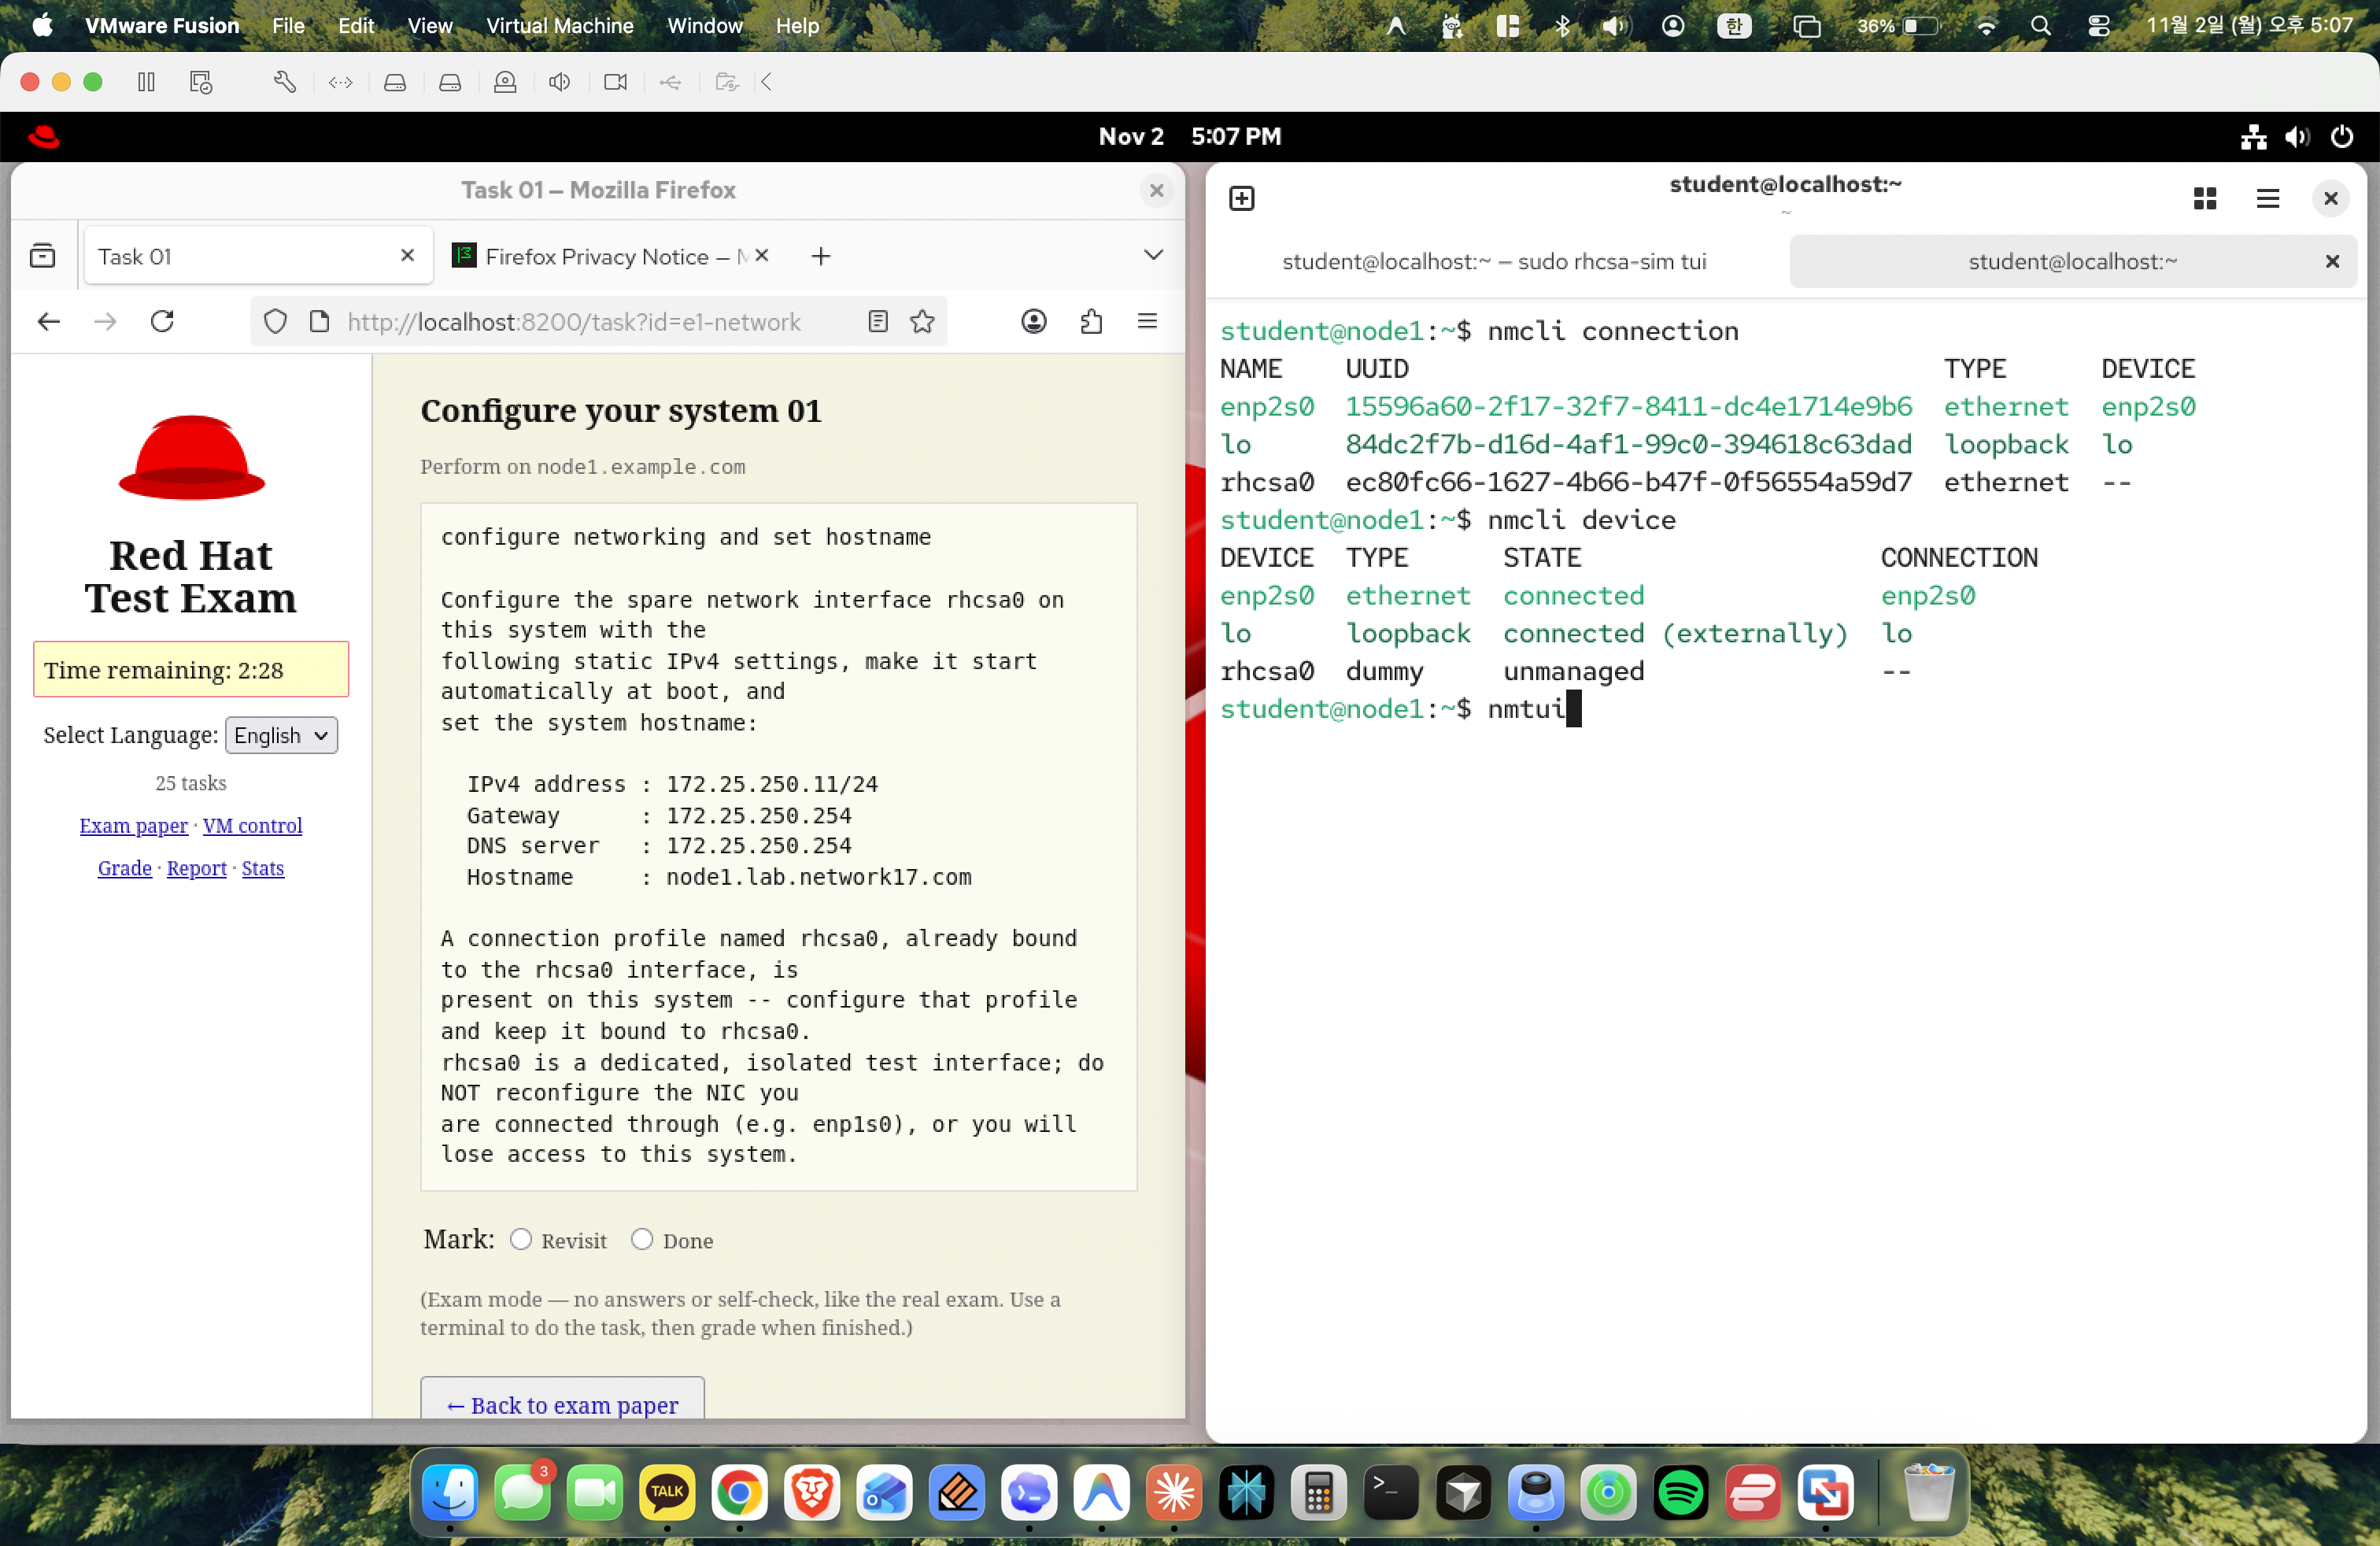
Figure 6: Checking network profiles and devices with nmcli.
On node1, checked current connections and devices:
1
2
nmcli connection show
nmcli device status
enp2s0: Connected ethernet interface.rhcsa0: Dummy network interface profile.
Step 7: Launching nmtui
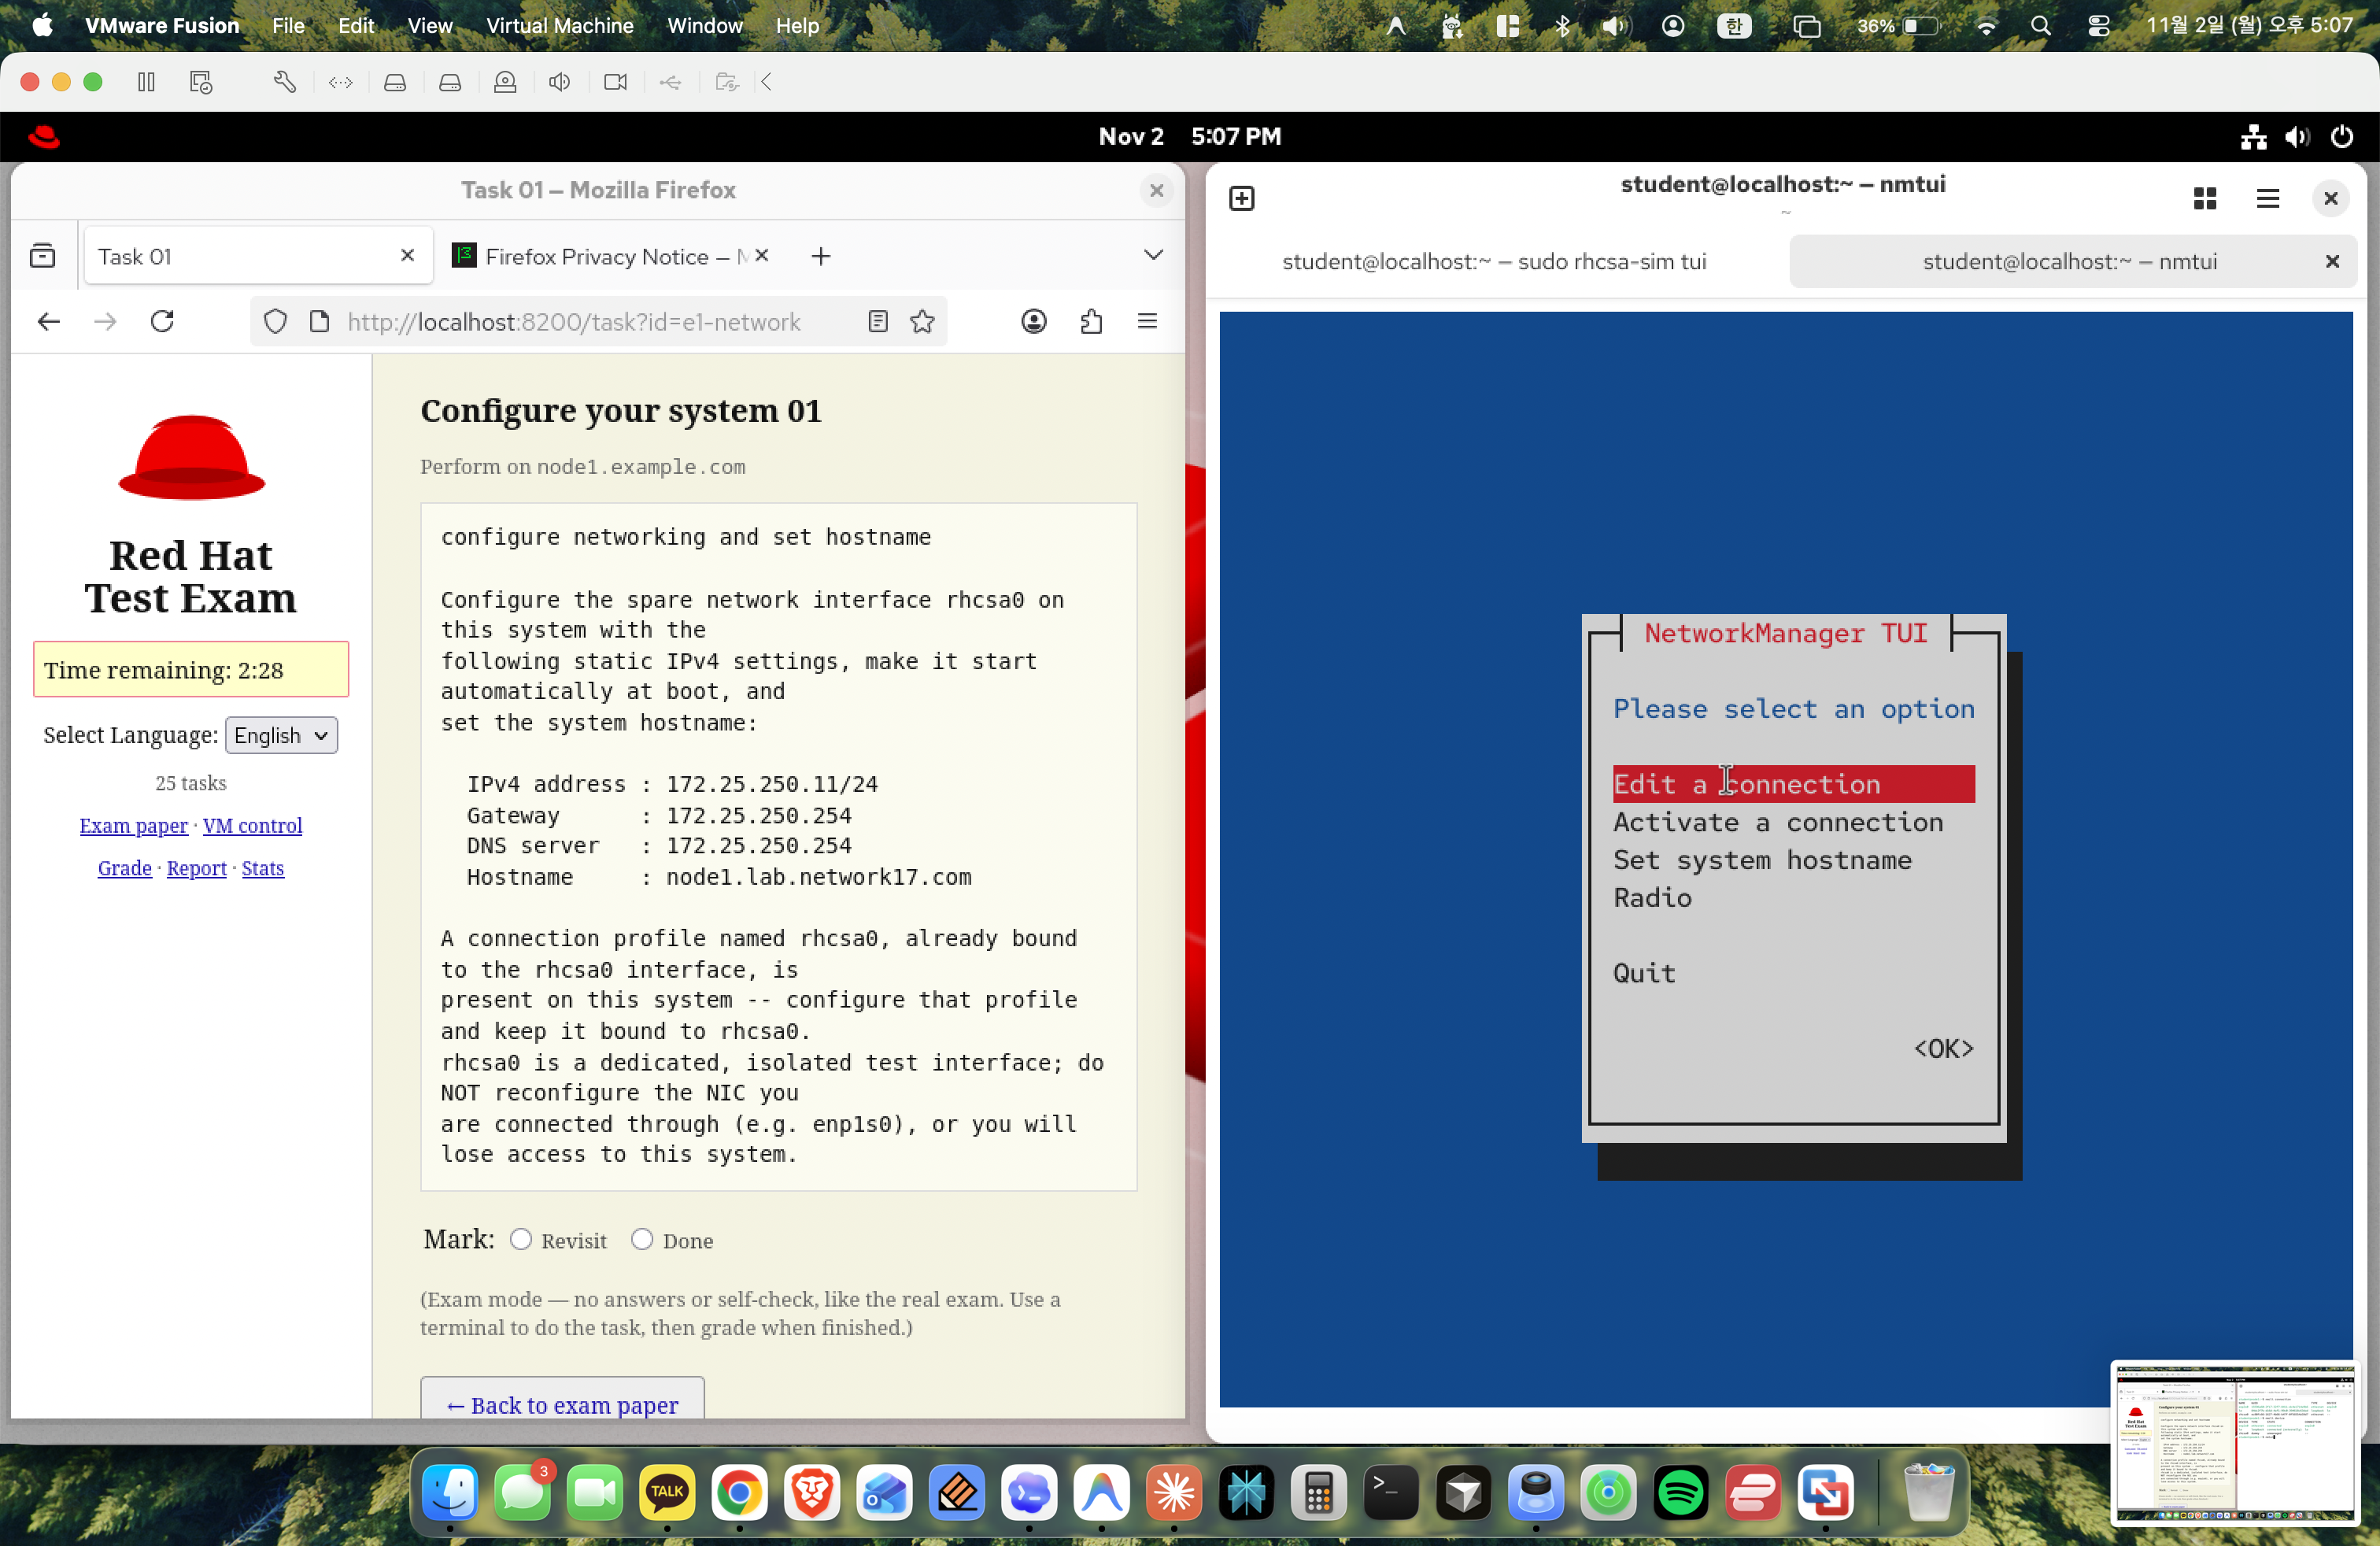
Figure 7: Opening the NetworkManager Text User Interface (nmtui).
Launched nmtui in the terminal to configure network settings and hostname via the interactive menu.
Step 8: nmtui Main Menu
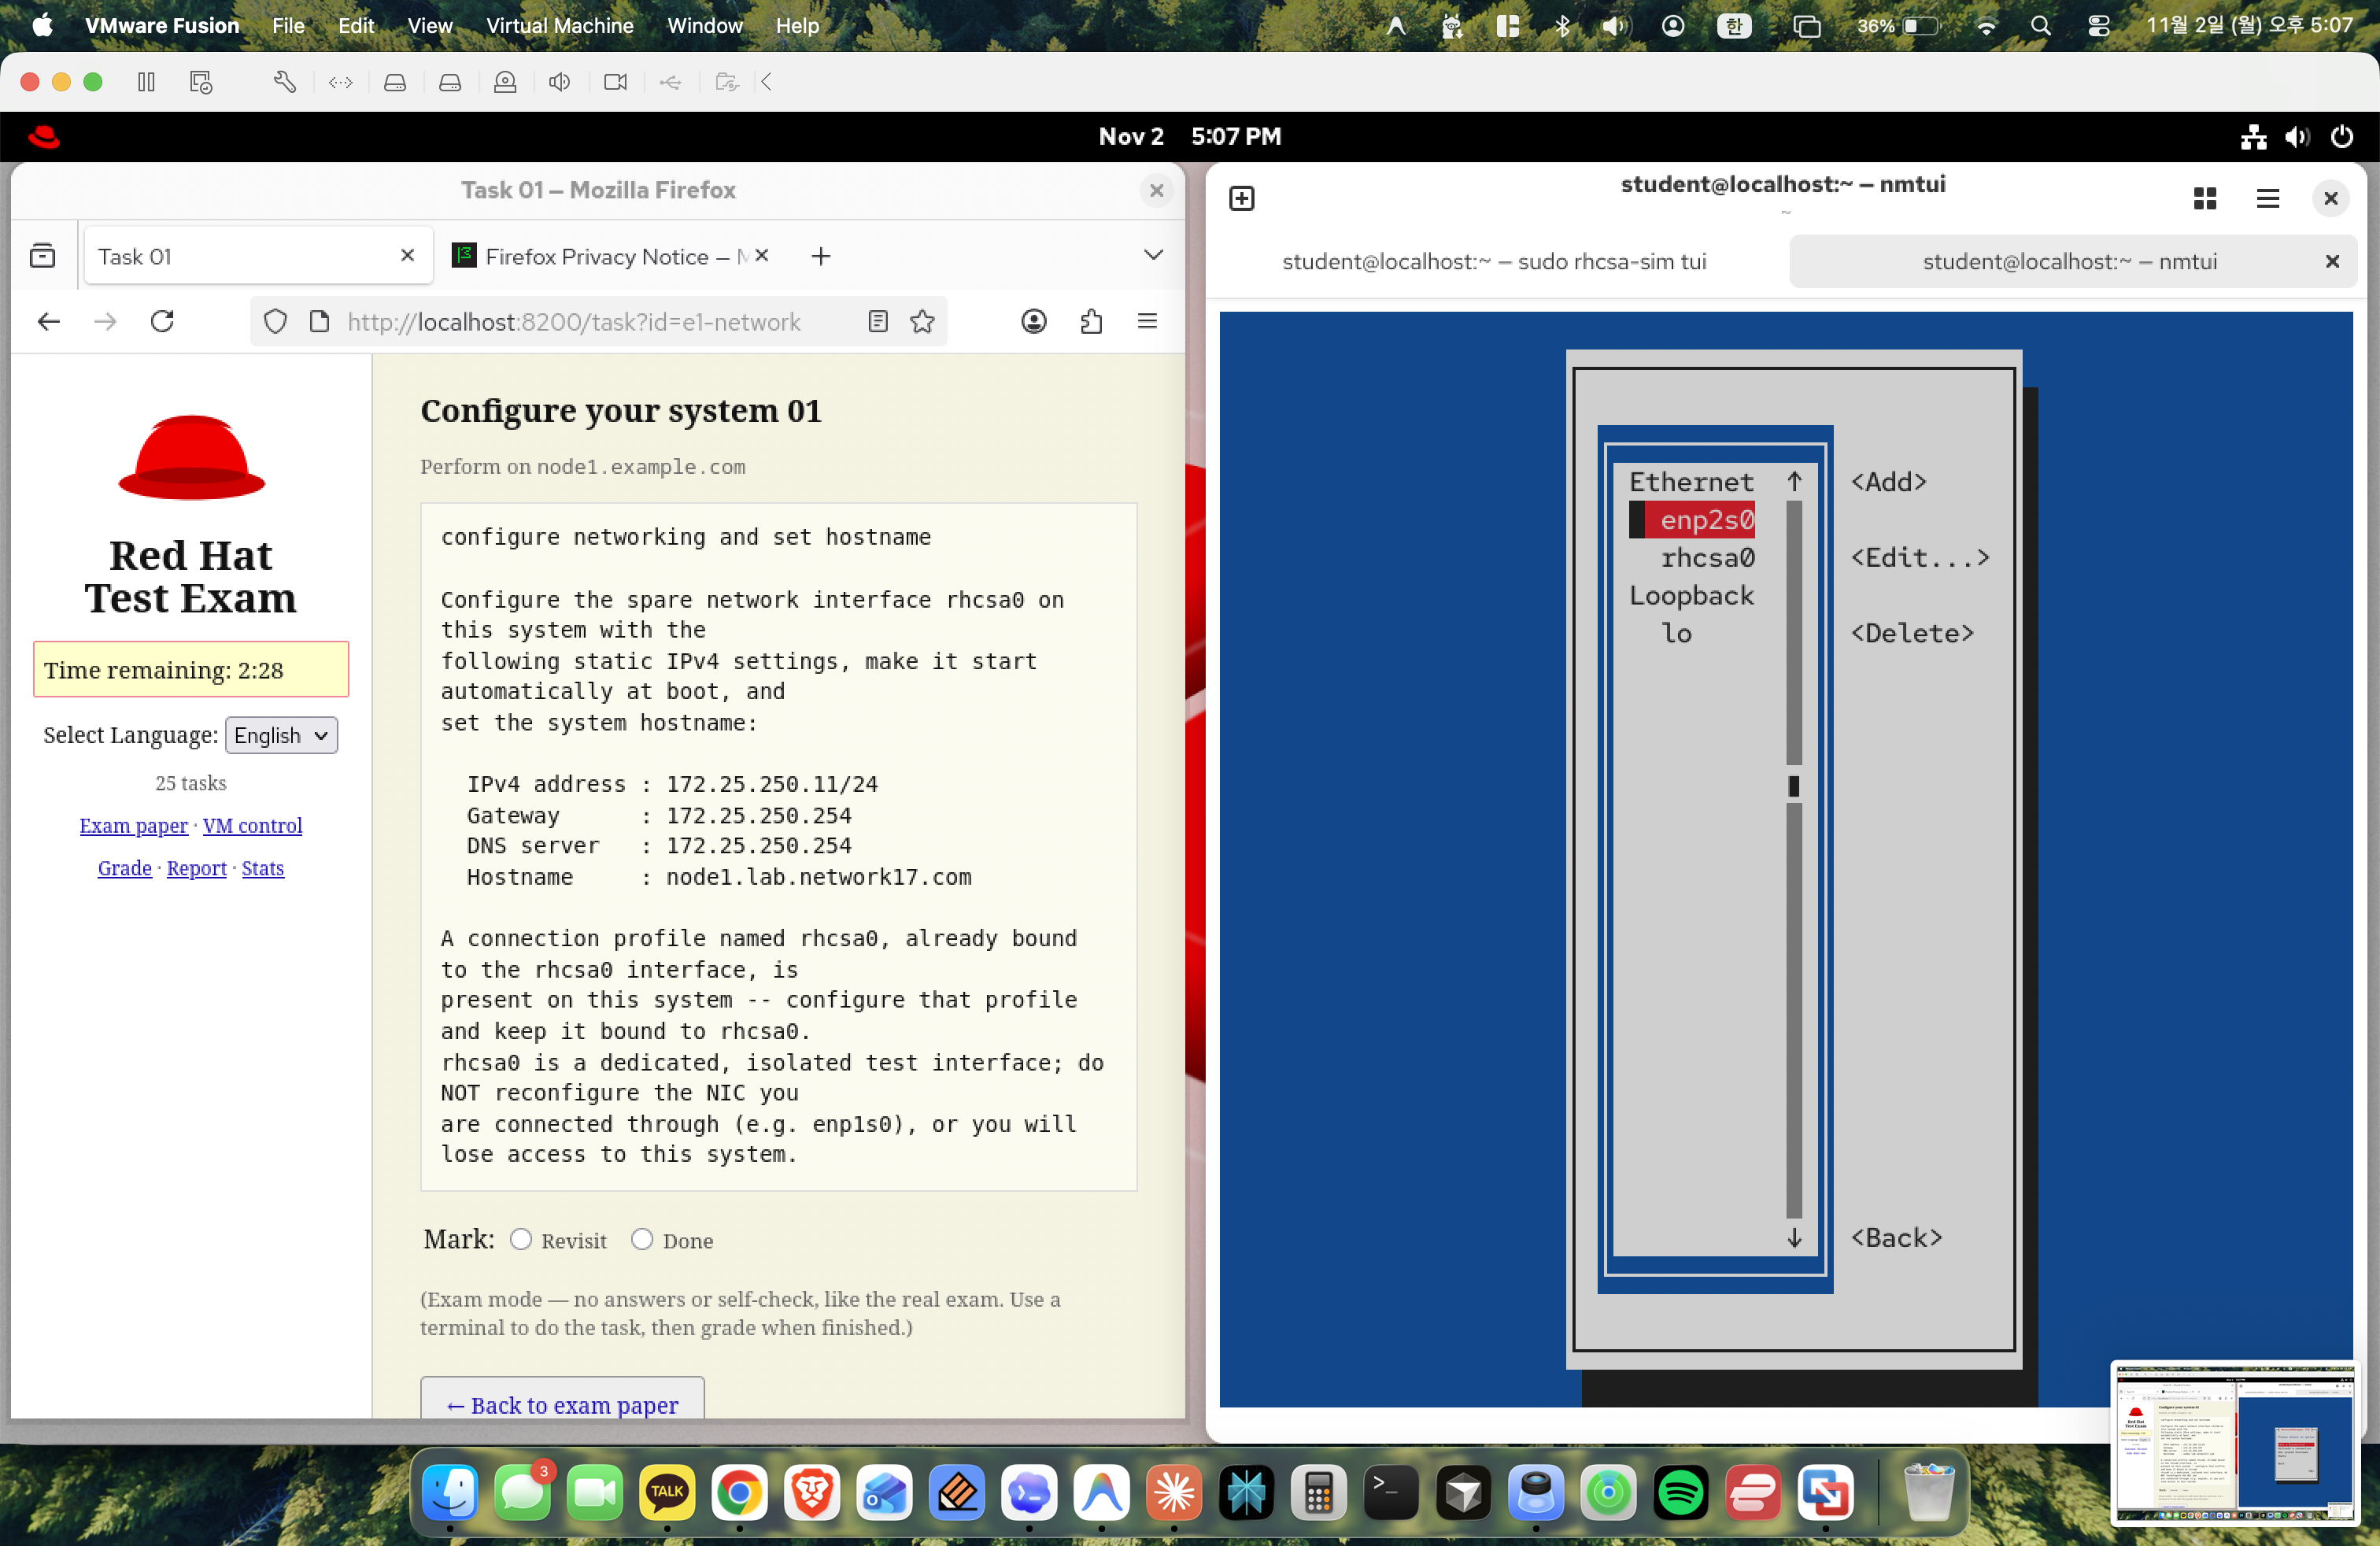
Figure 8: nmtui main menu options.
The menu provides three options: Edit a connection, Activate a connection, and Set system hostname. Selected Edit a connection to start configuring network parameters.
Step 9: Selecting Connection to Edit
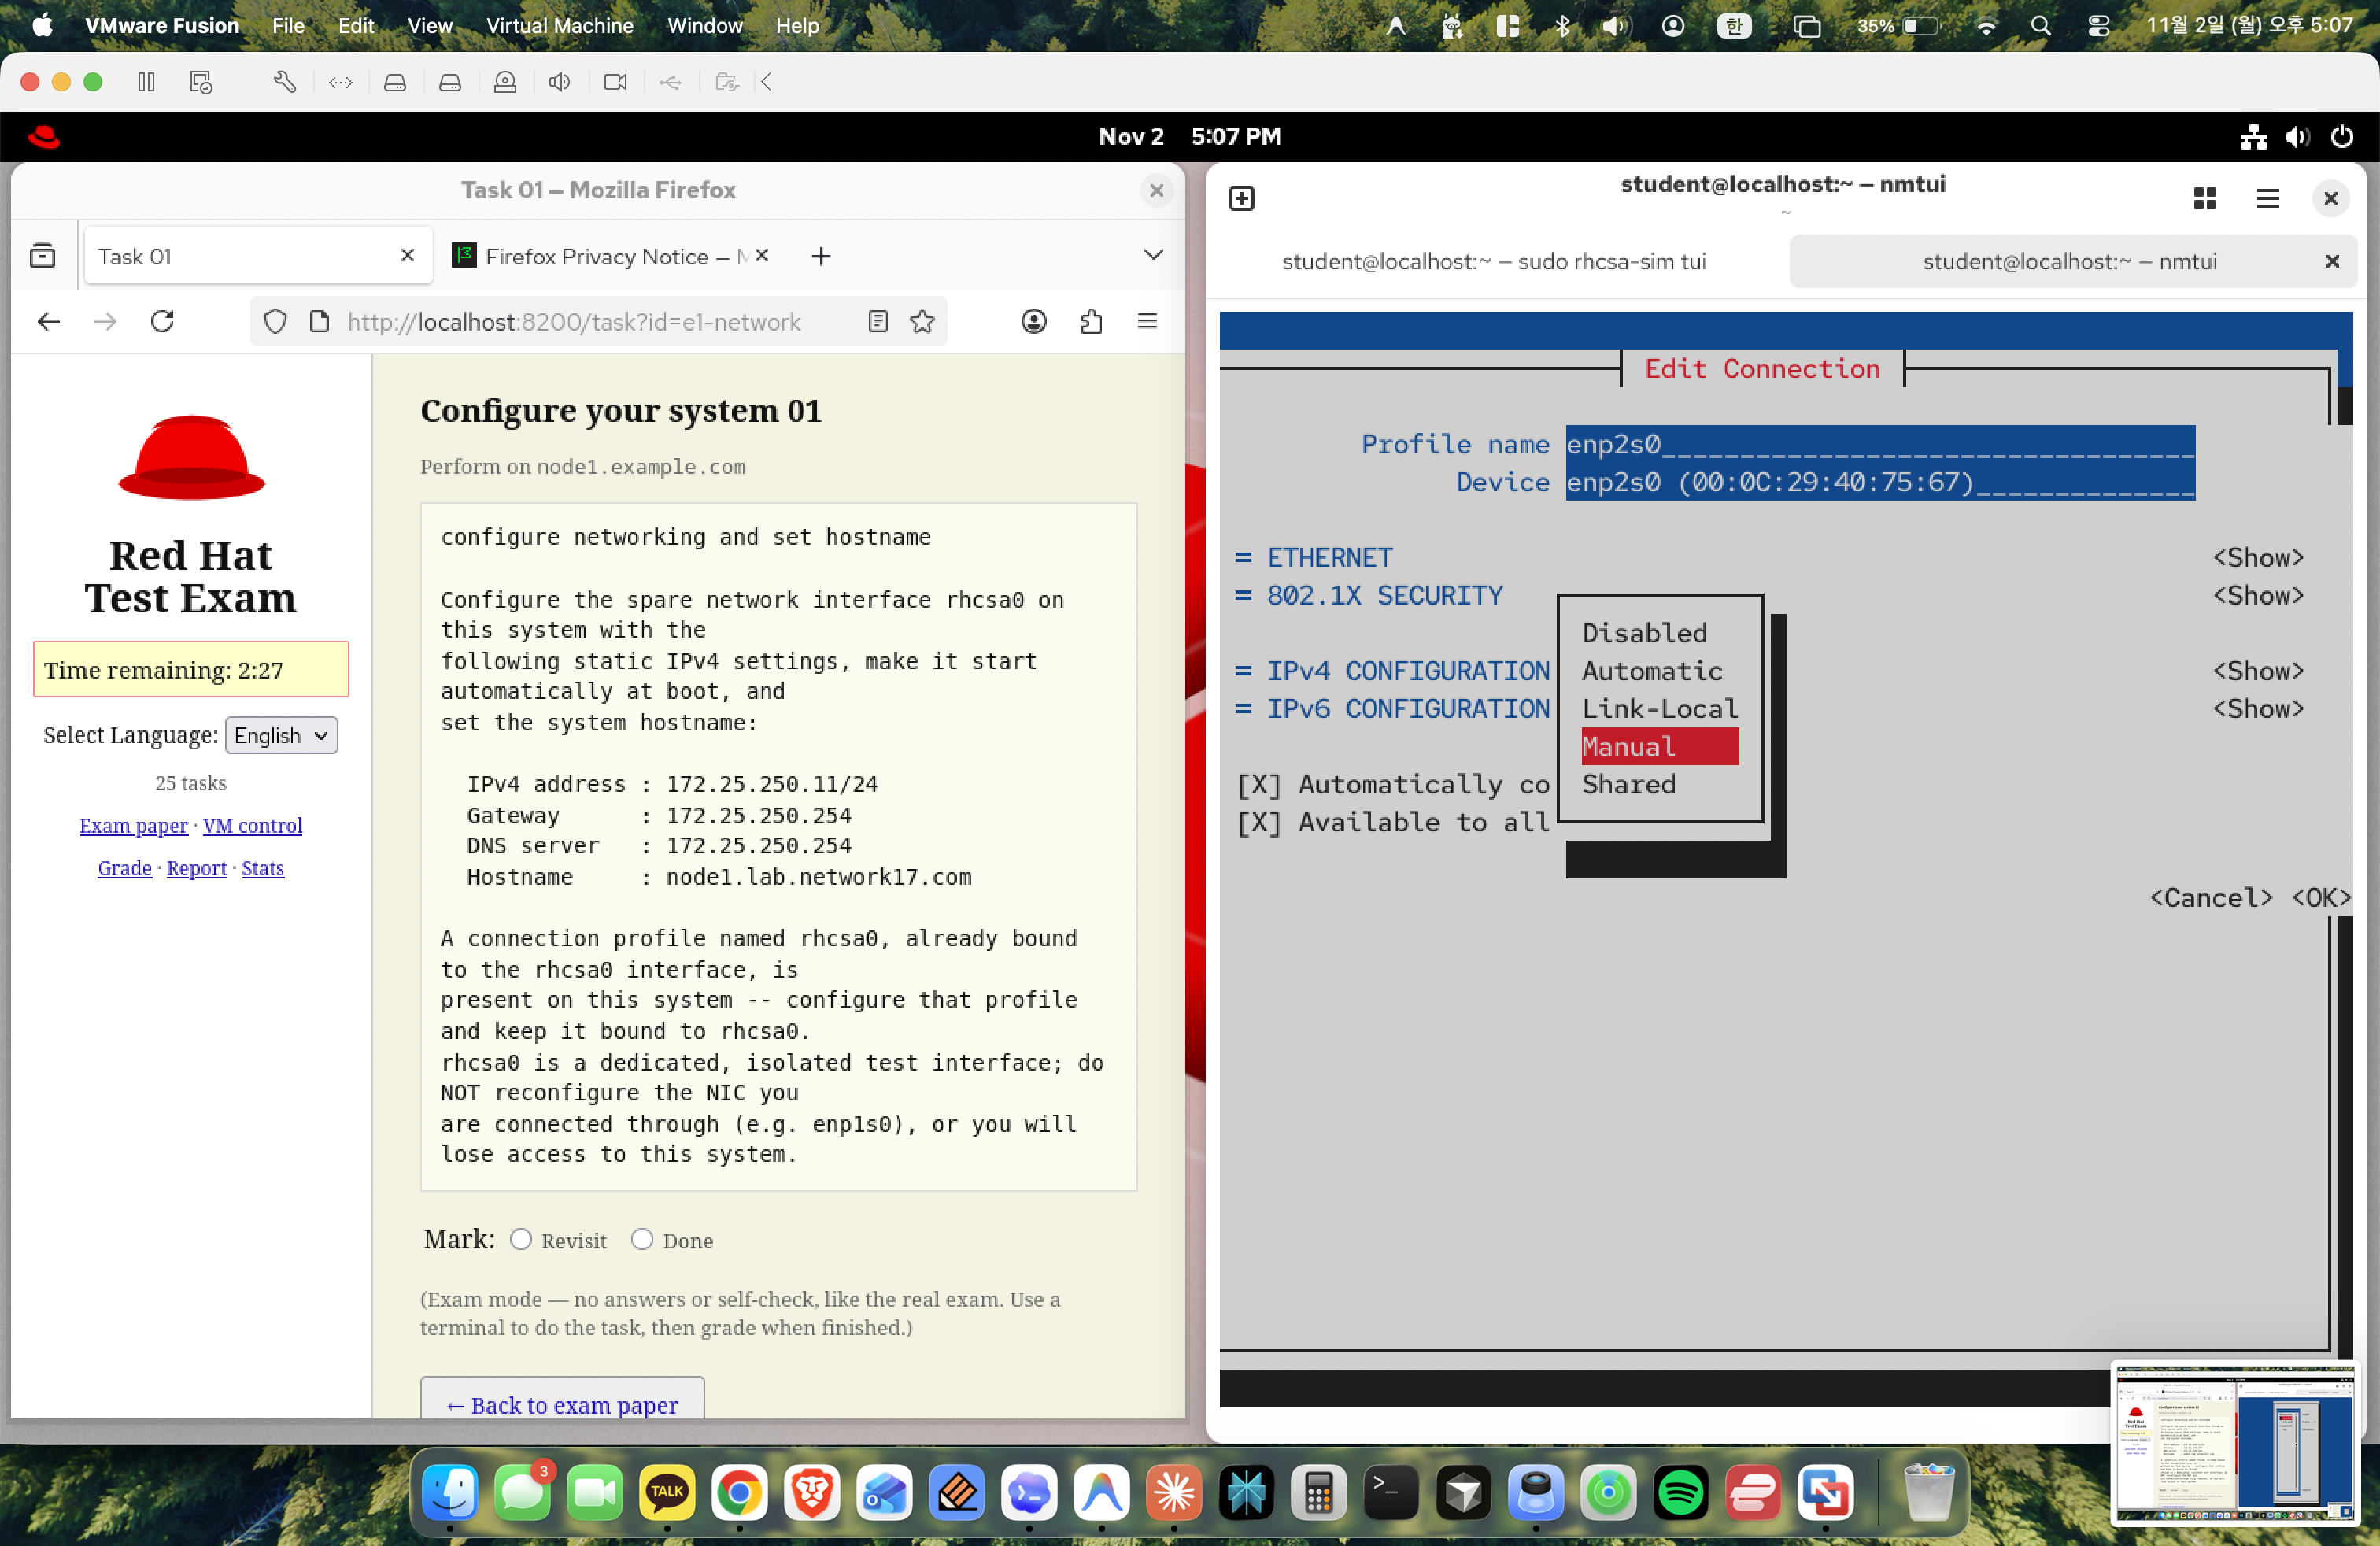
Figure 9: List of available network connections in nmtui.
The connection list shows available Ethernet connections (enp2s0 and rhcsa0). Selected <Edit> to configure connection details.
Step 10: Entering Static IPv4 Settings
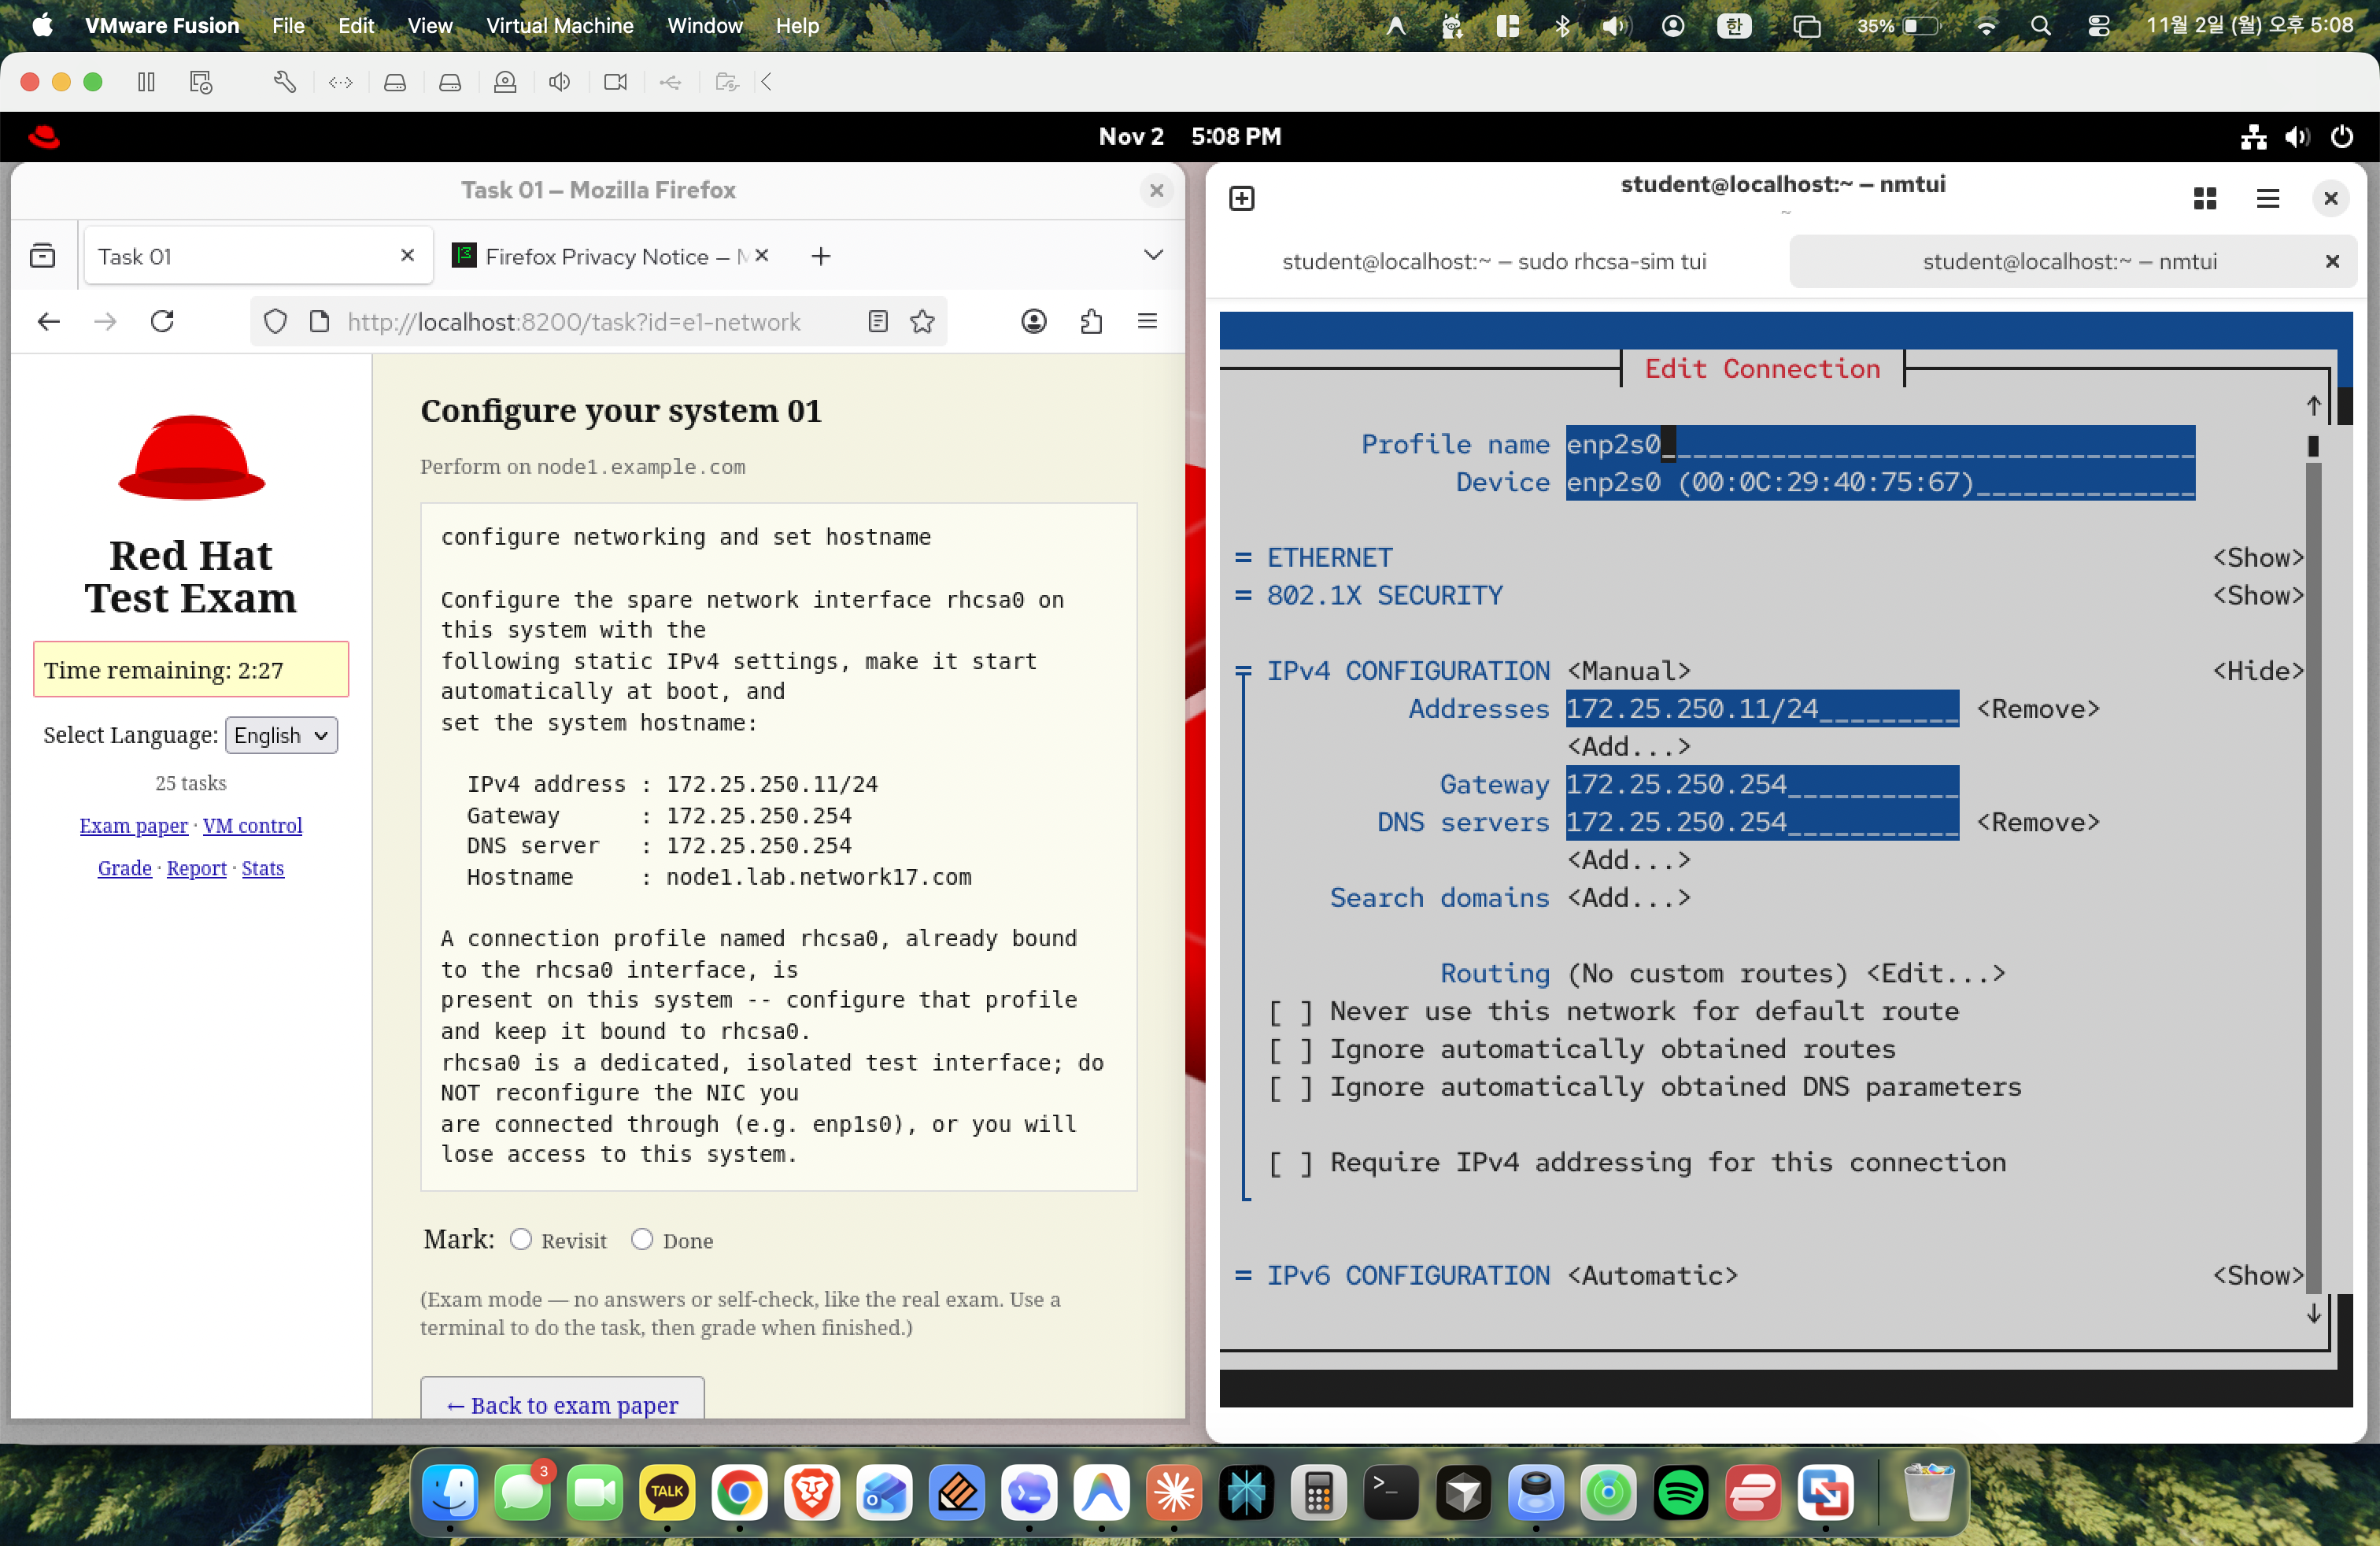
Figure 10: Entering manual IPv4 settings, gateway, and DNS servers.
Configured IPv4 settings to <Manual> and entered:
- Addresses:
172.25.250.11/24 - Gateway:
172.25.250.254 - DNS servers:
172.25.250.254 - Verified that Automatically connect is checked.
Step 11: Saving Connection Changes
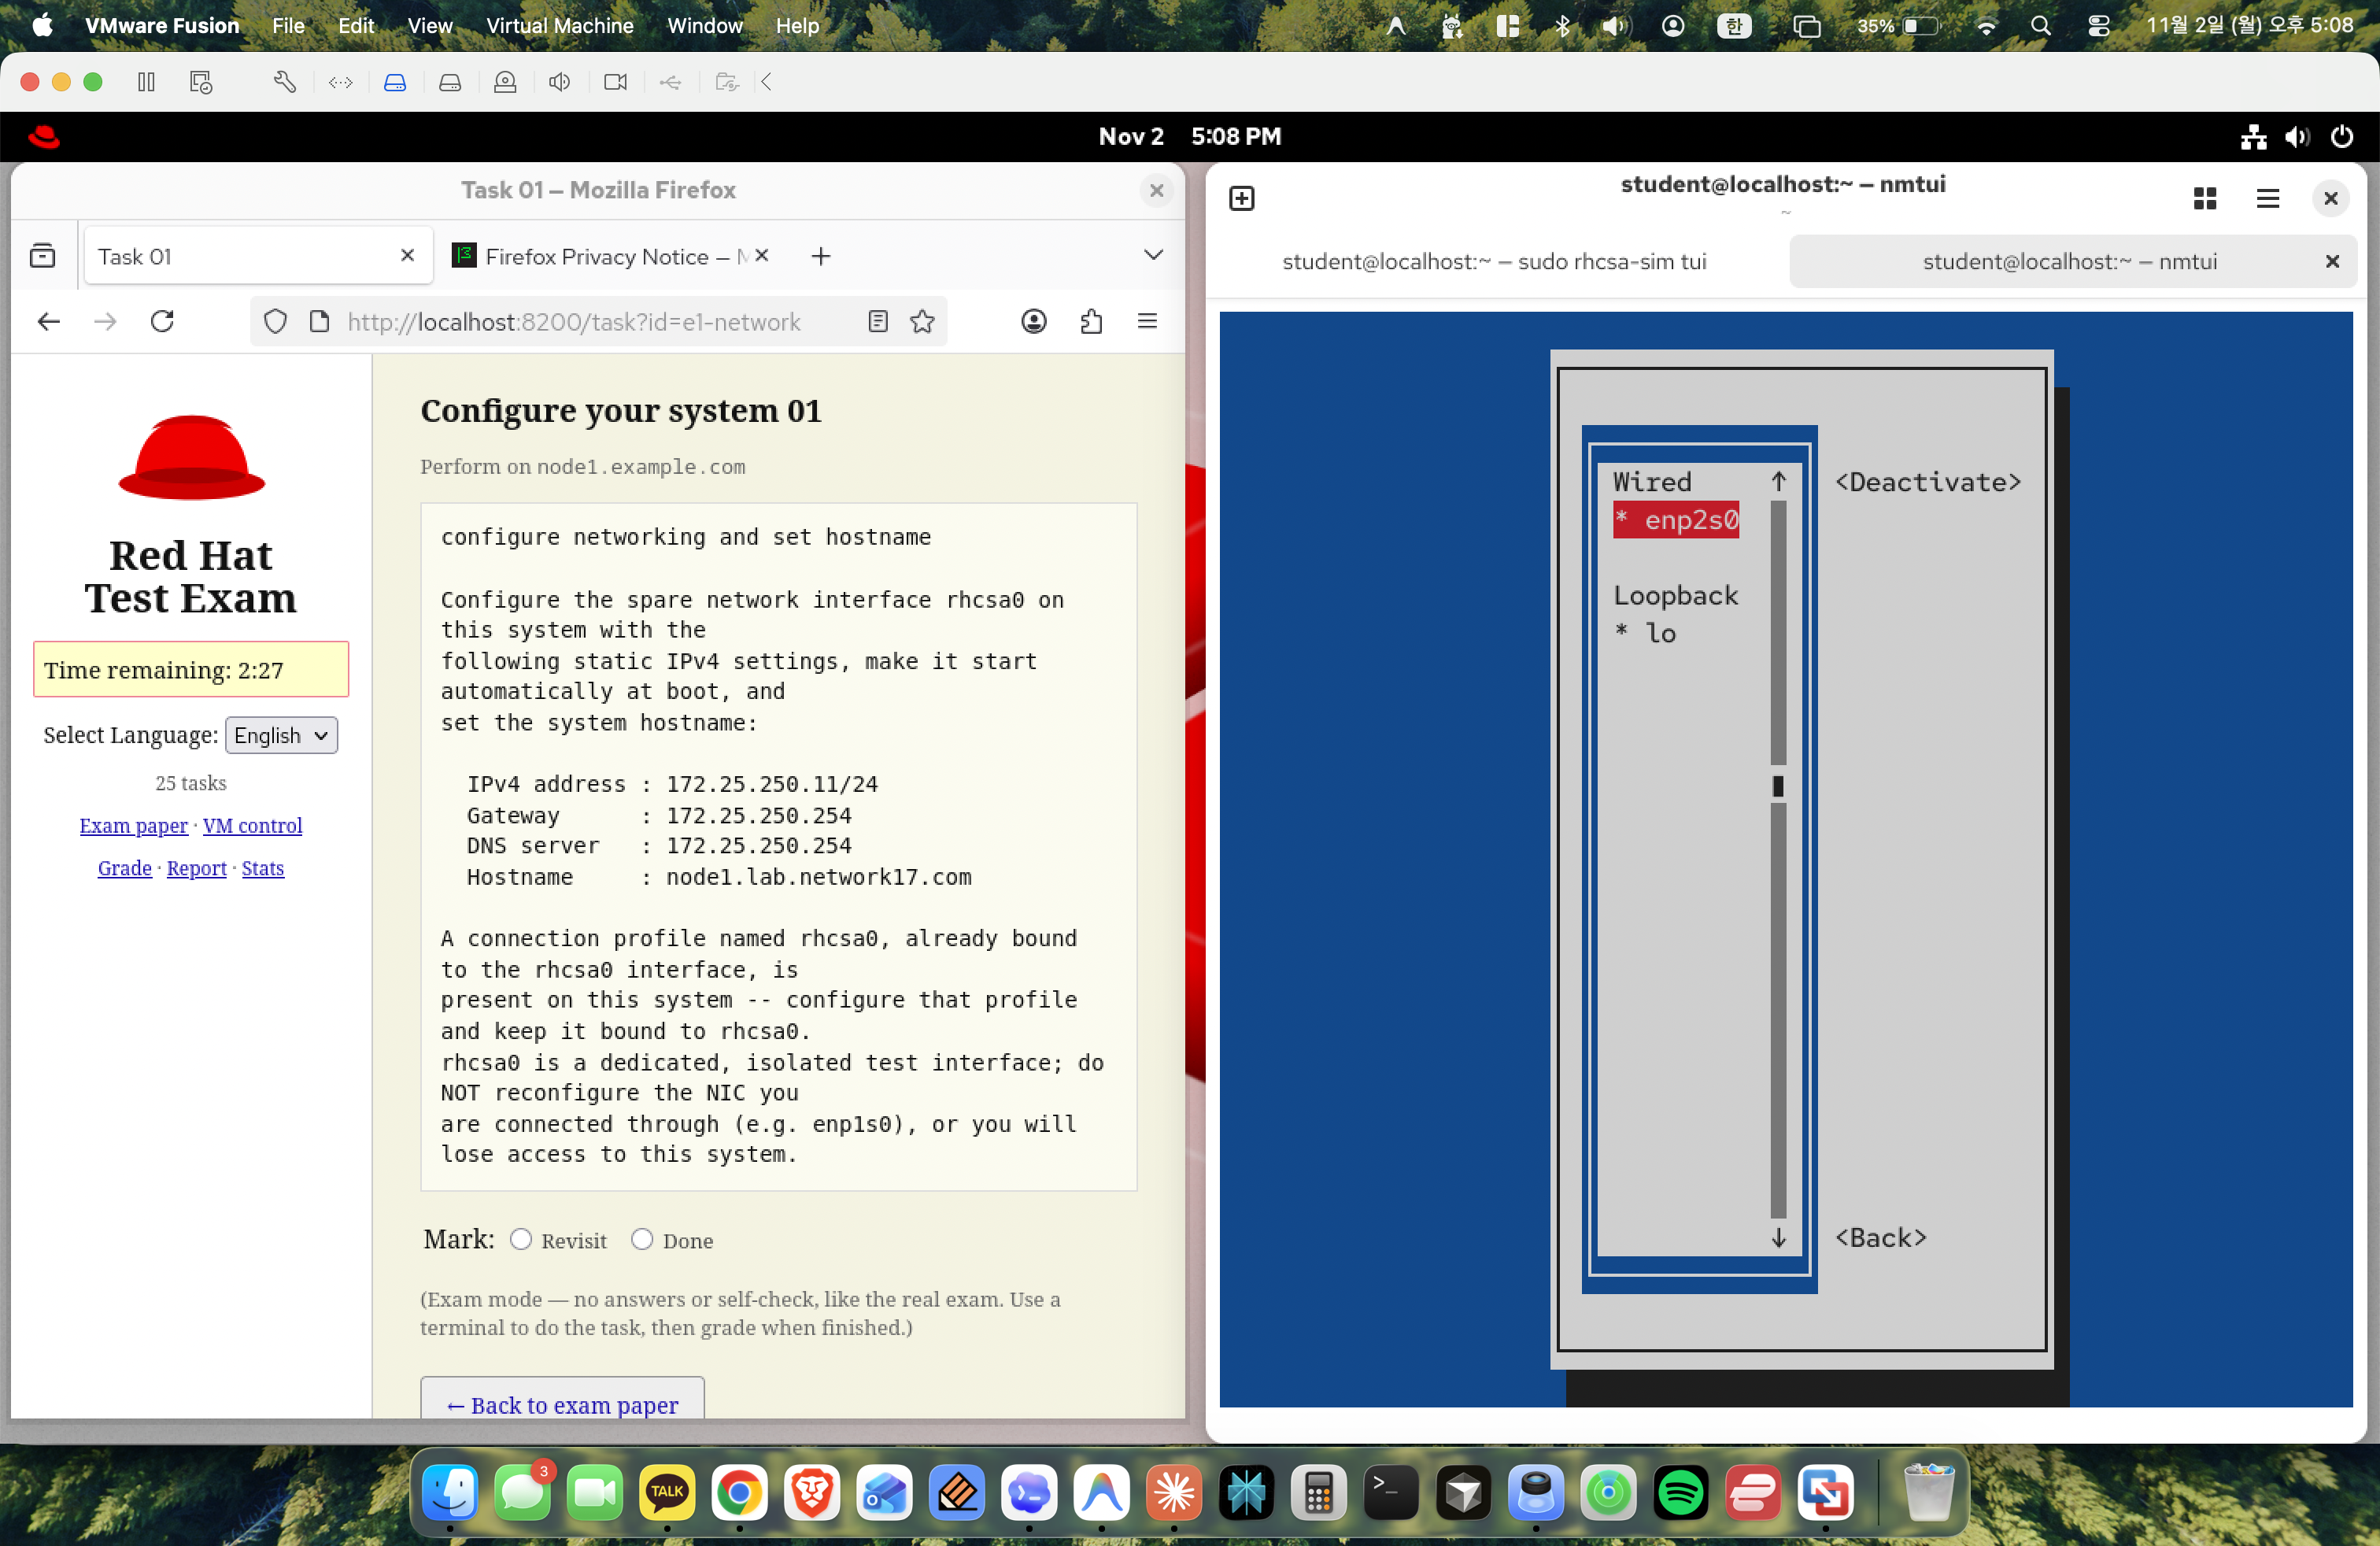
Figure 11: Returning to the connection list after saving.
Selected <OK> to save the configuration changes and returned to the connection menu.
Step 12: Setting System Hostname
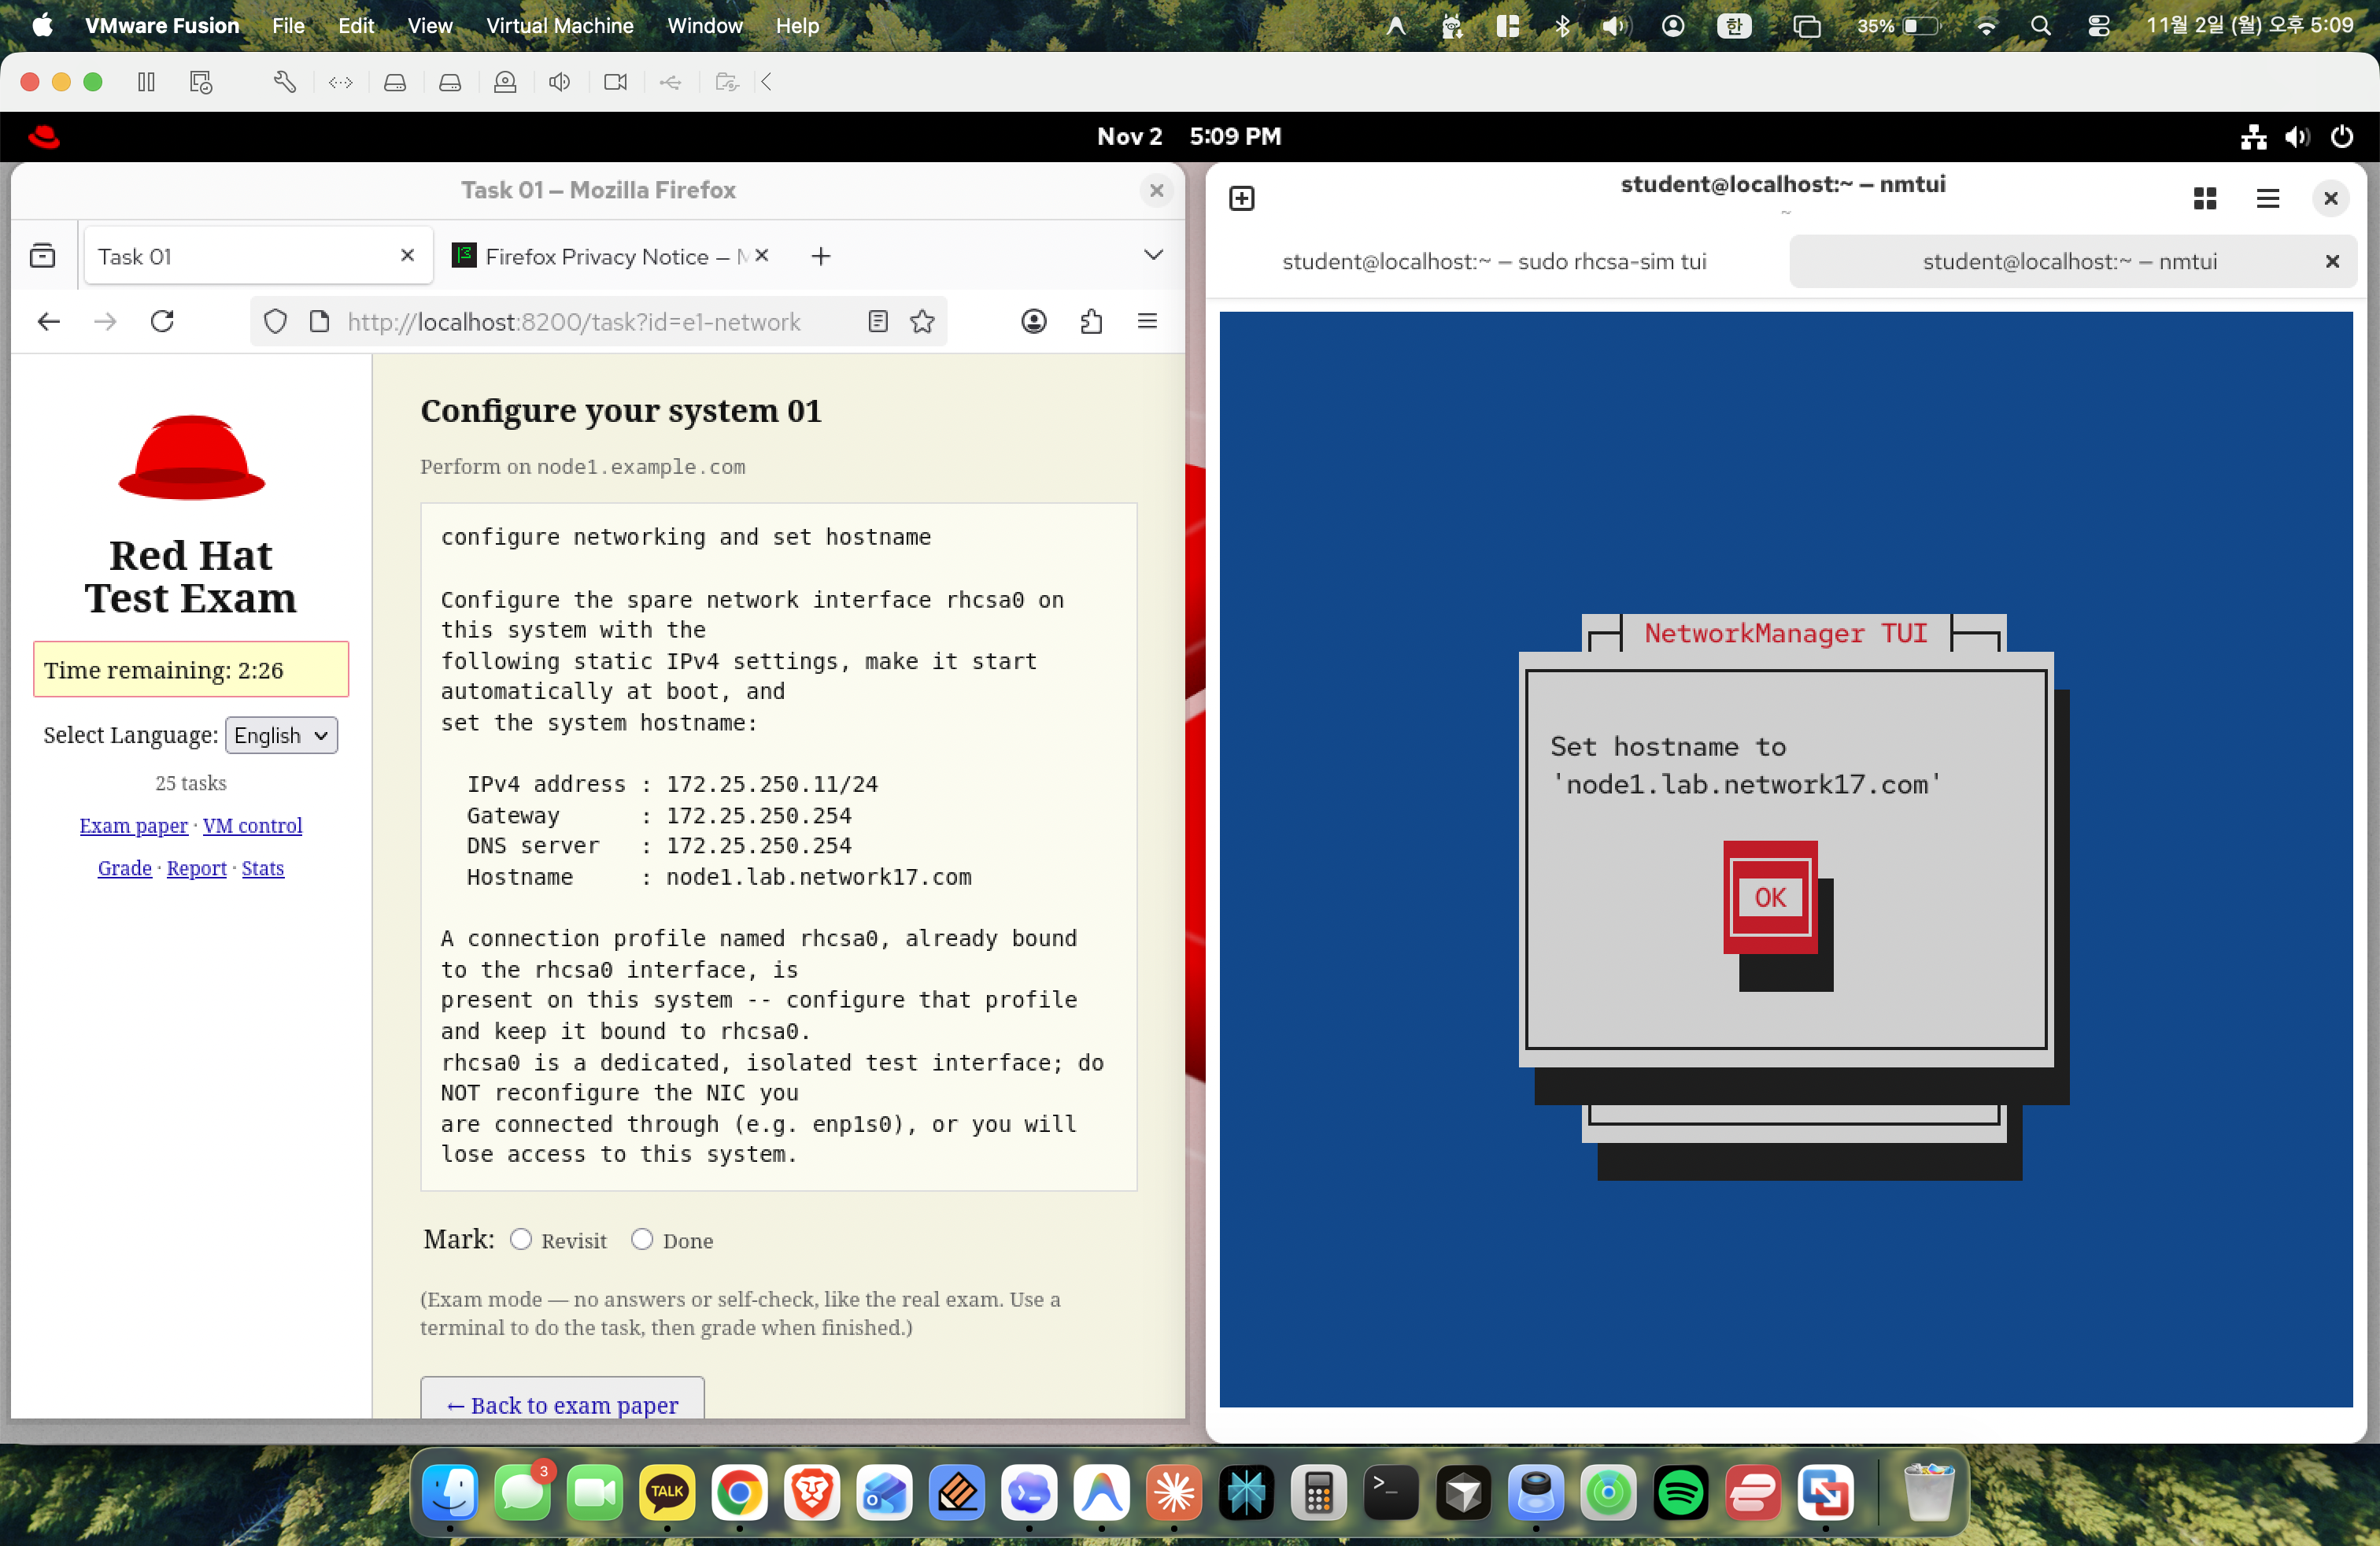
Figure 12: Entering the hostname node1.lab.network17.com in nmtui.
Navigated back to the main menu, selected Set system hostname, and entered node1.lab.network17.com.
Step 13: Hostname Confirmation
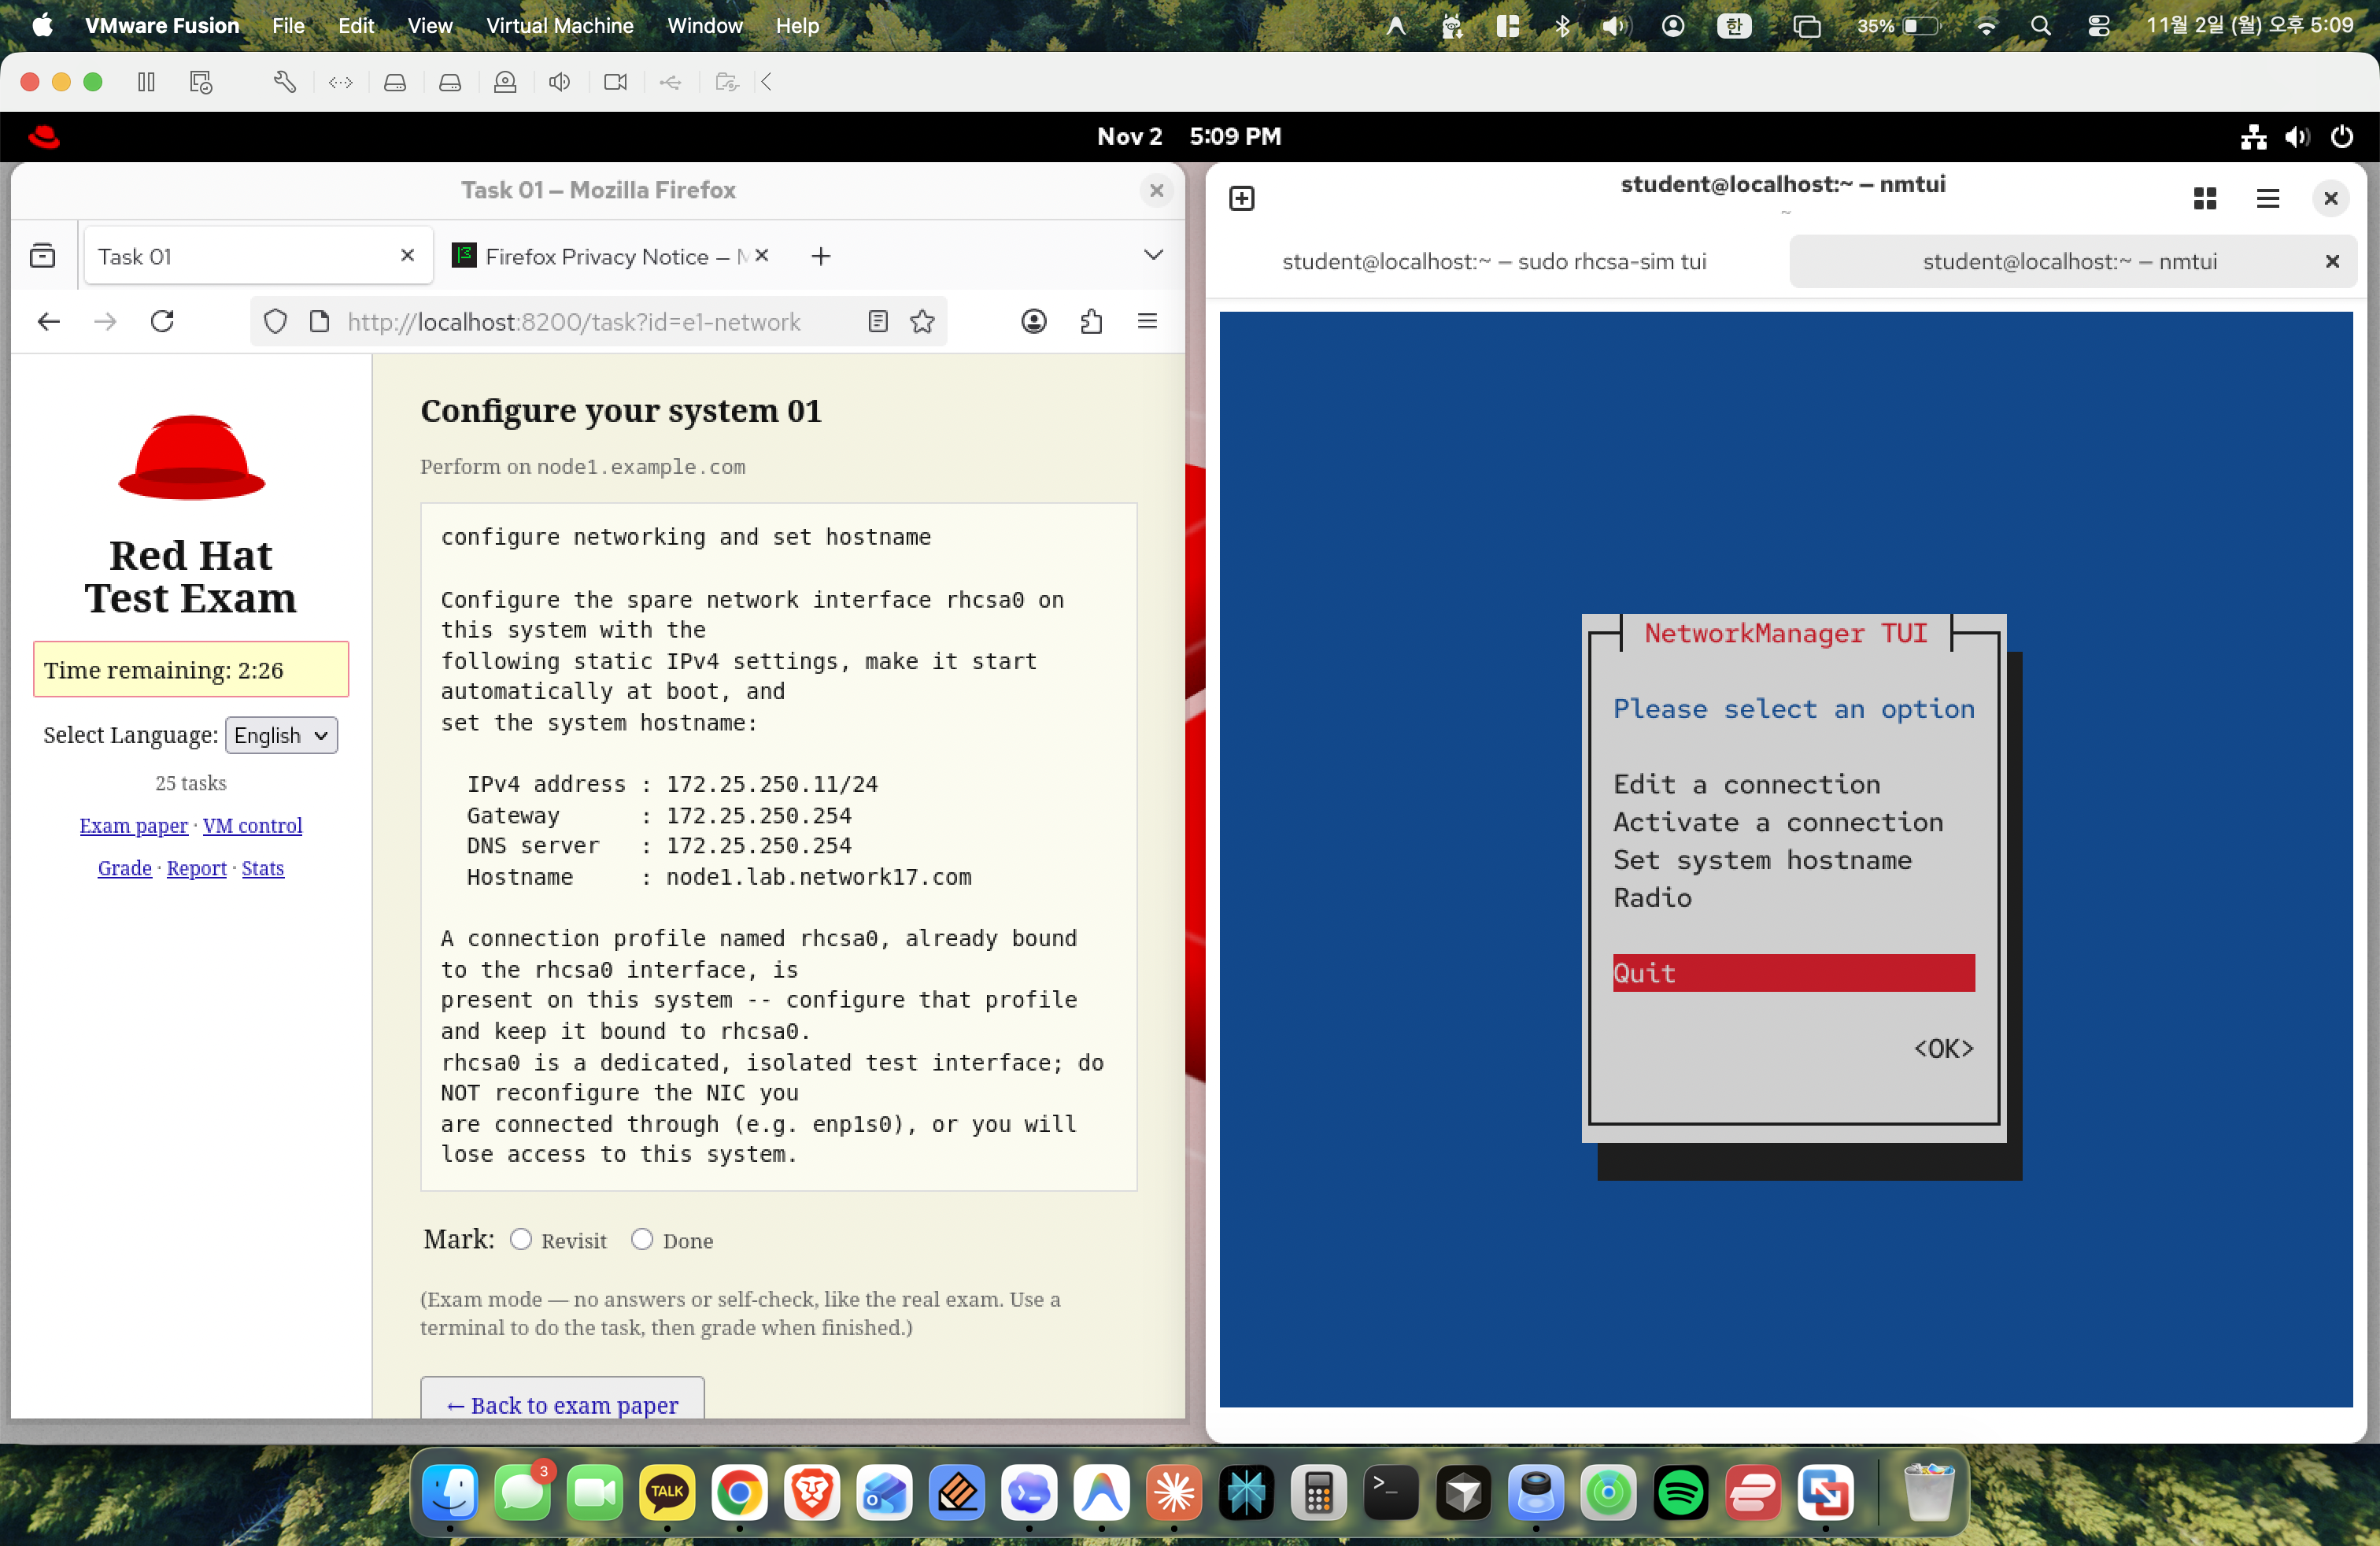
Figure 13: Confirmation popup confirming the hostname update.
Confirmed that the hostname was updated to node1.lab.network17.com. Selected <OK> and exited nmtui.
Step 14: Verifying IP Address Configuration
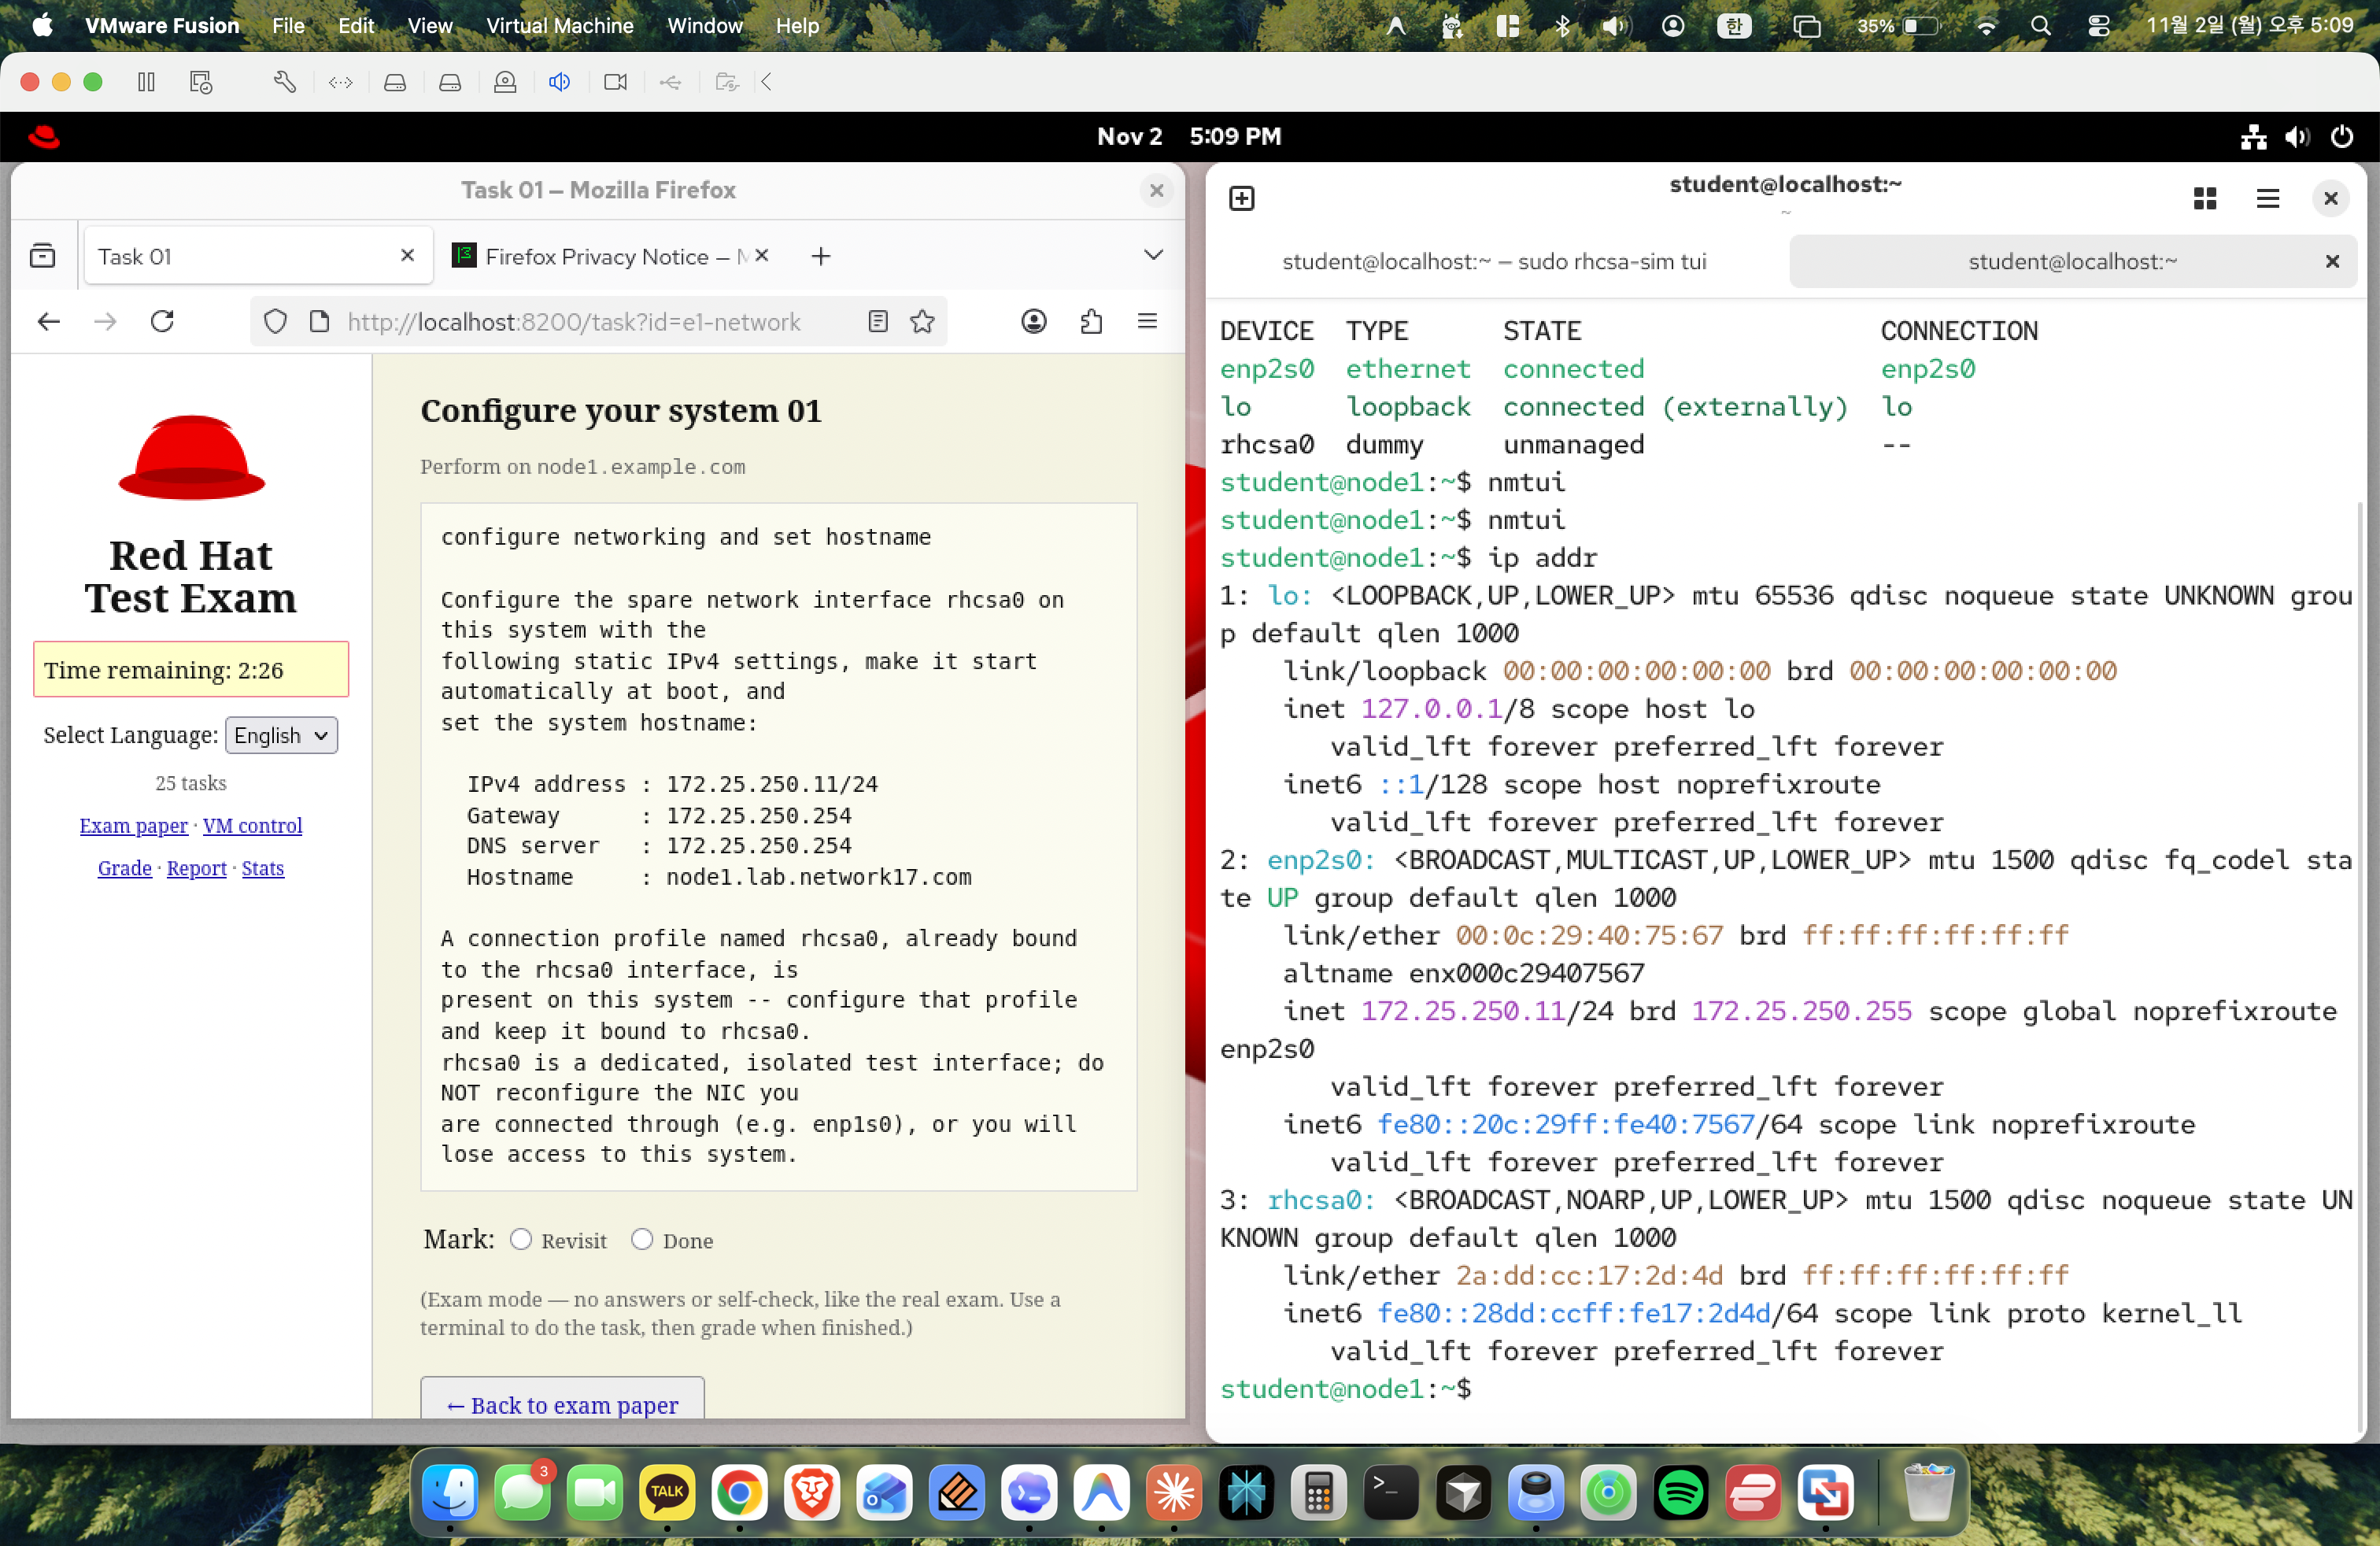
Figure 14: Checking IP addresses with ip addr.
Ran ip addr in the terminal to inspect the active network configuration:
1
ip addr
Checked the assigned IP addresses on each network interface to verify the changes.
Step 15: Verifying Routing Table
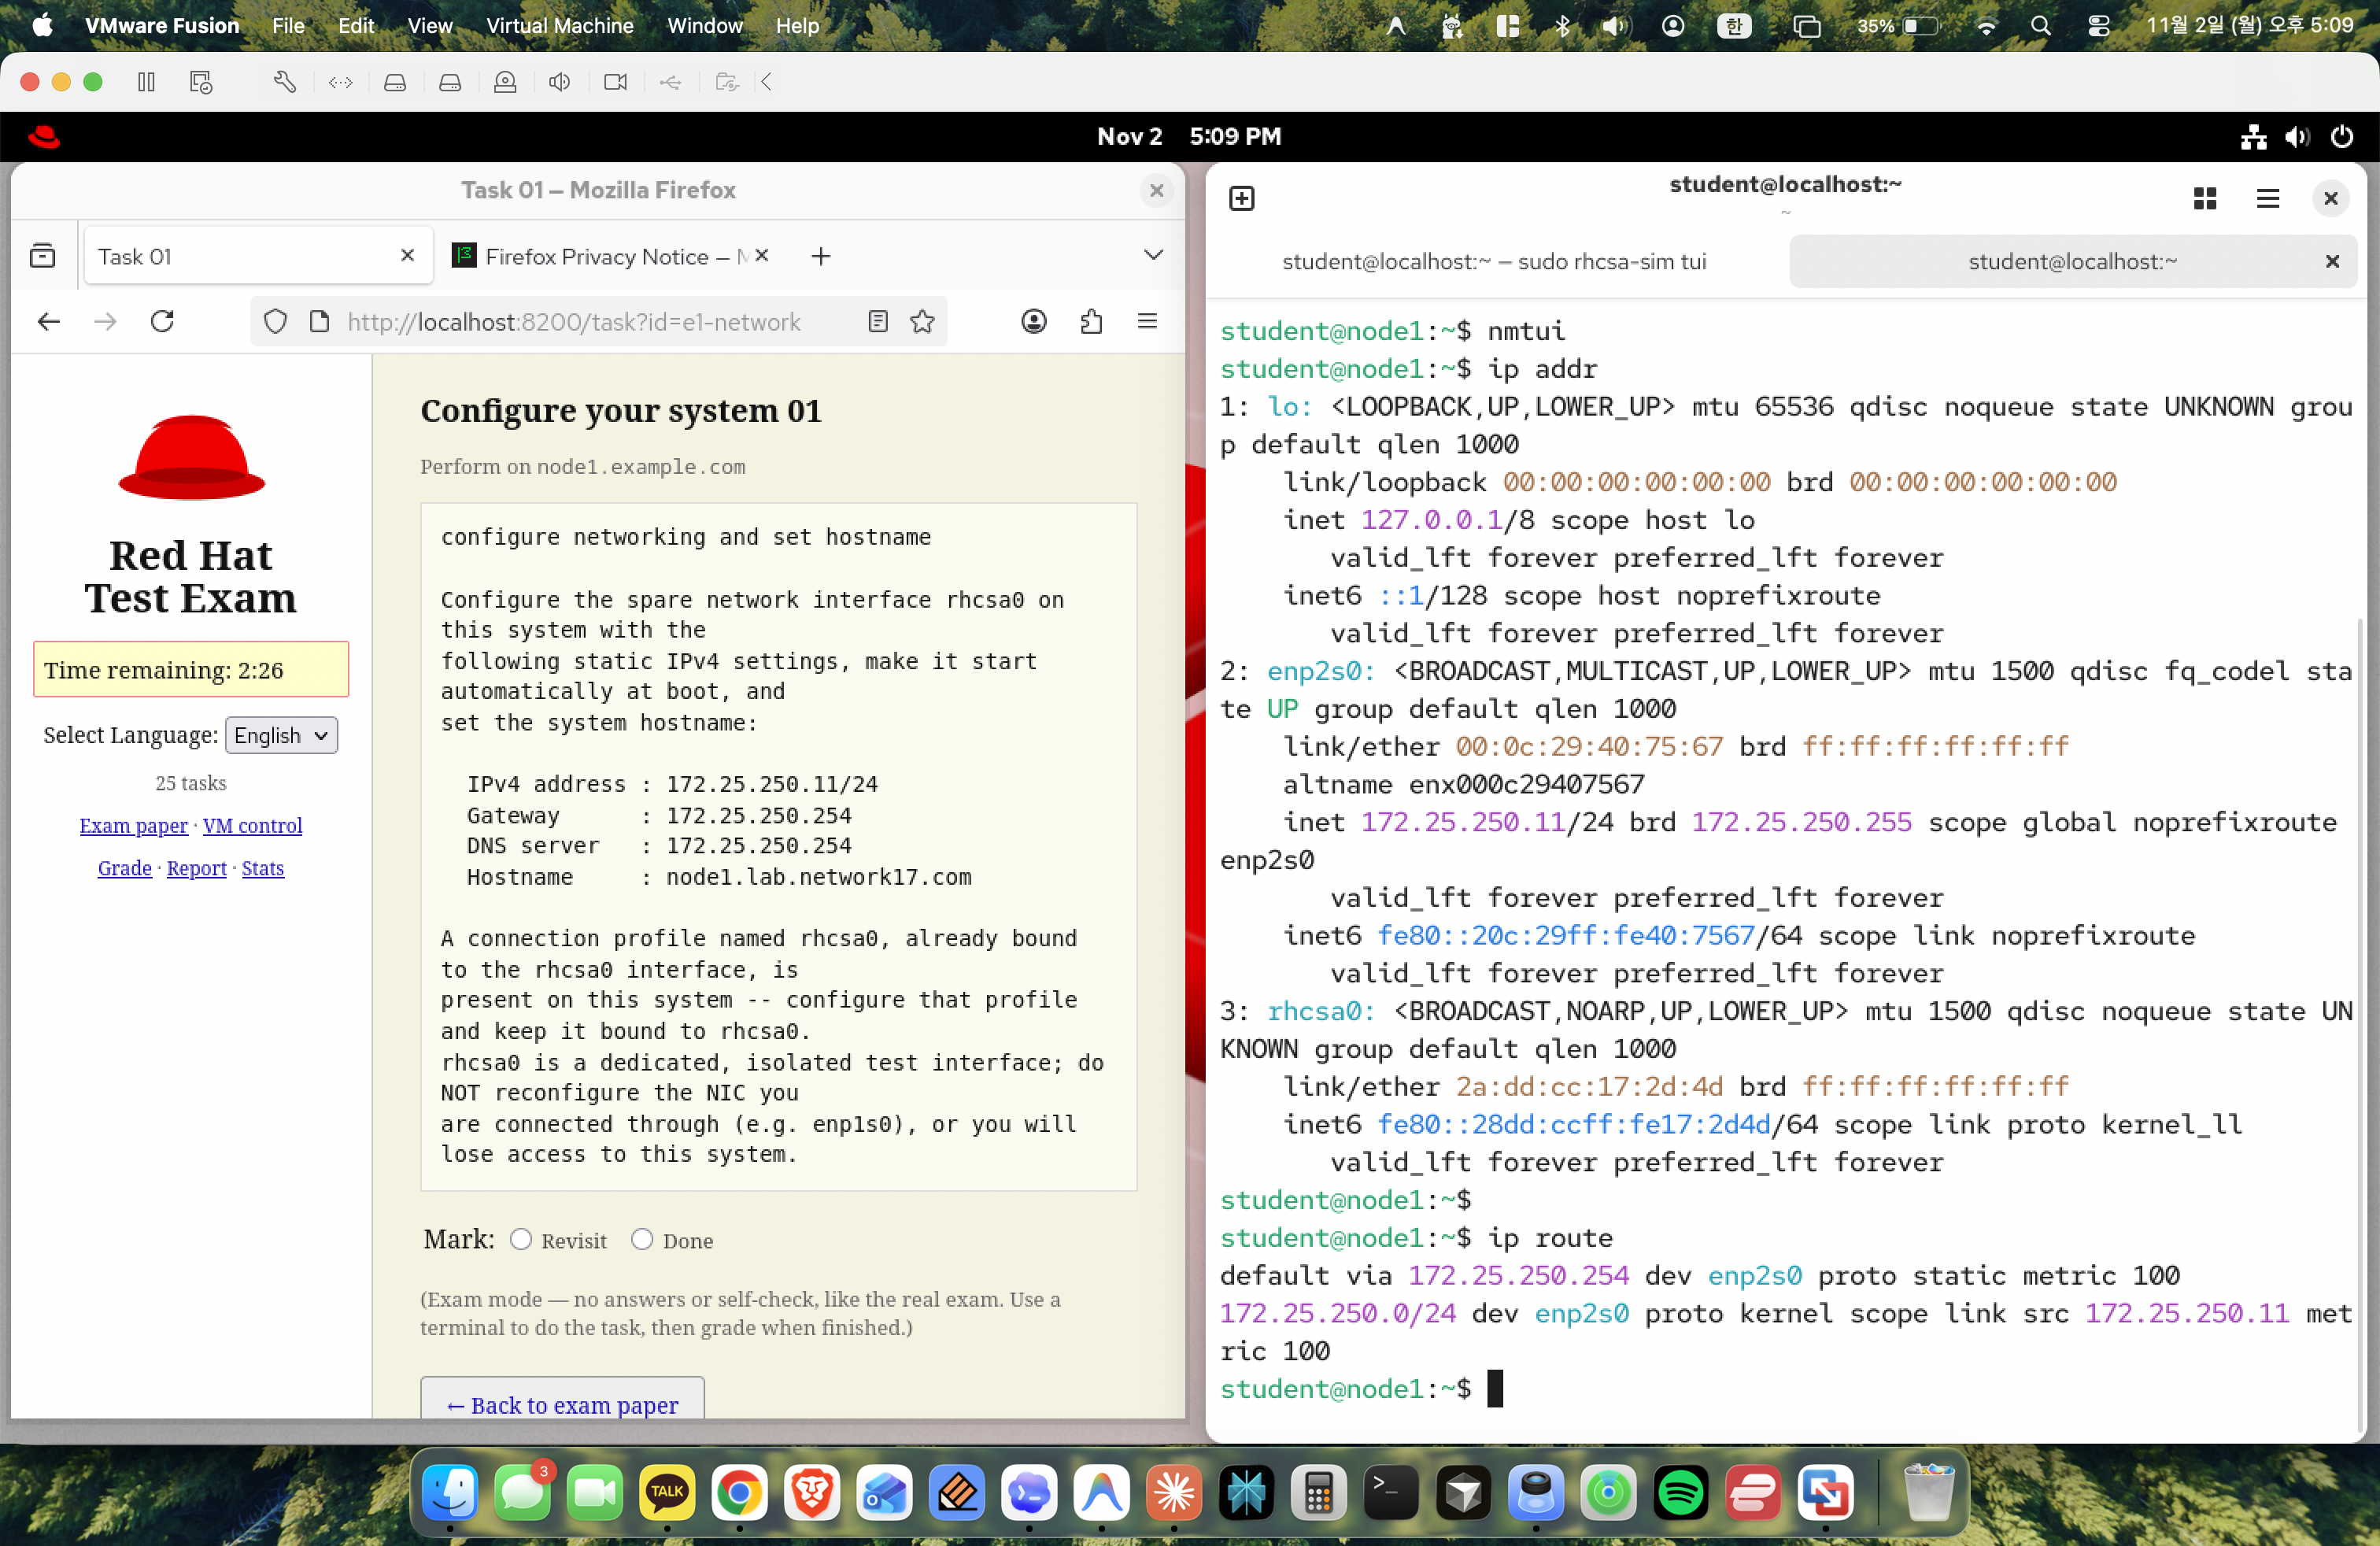
Figure 15: Inspecting the kernel routing table with ip route.
Ran ip route to check the default gateway and network routes:
1
ip route
Verified that the default route via 172.25.250.254 is in place.
Step 16: Verifying Hostname
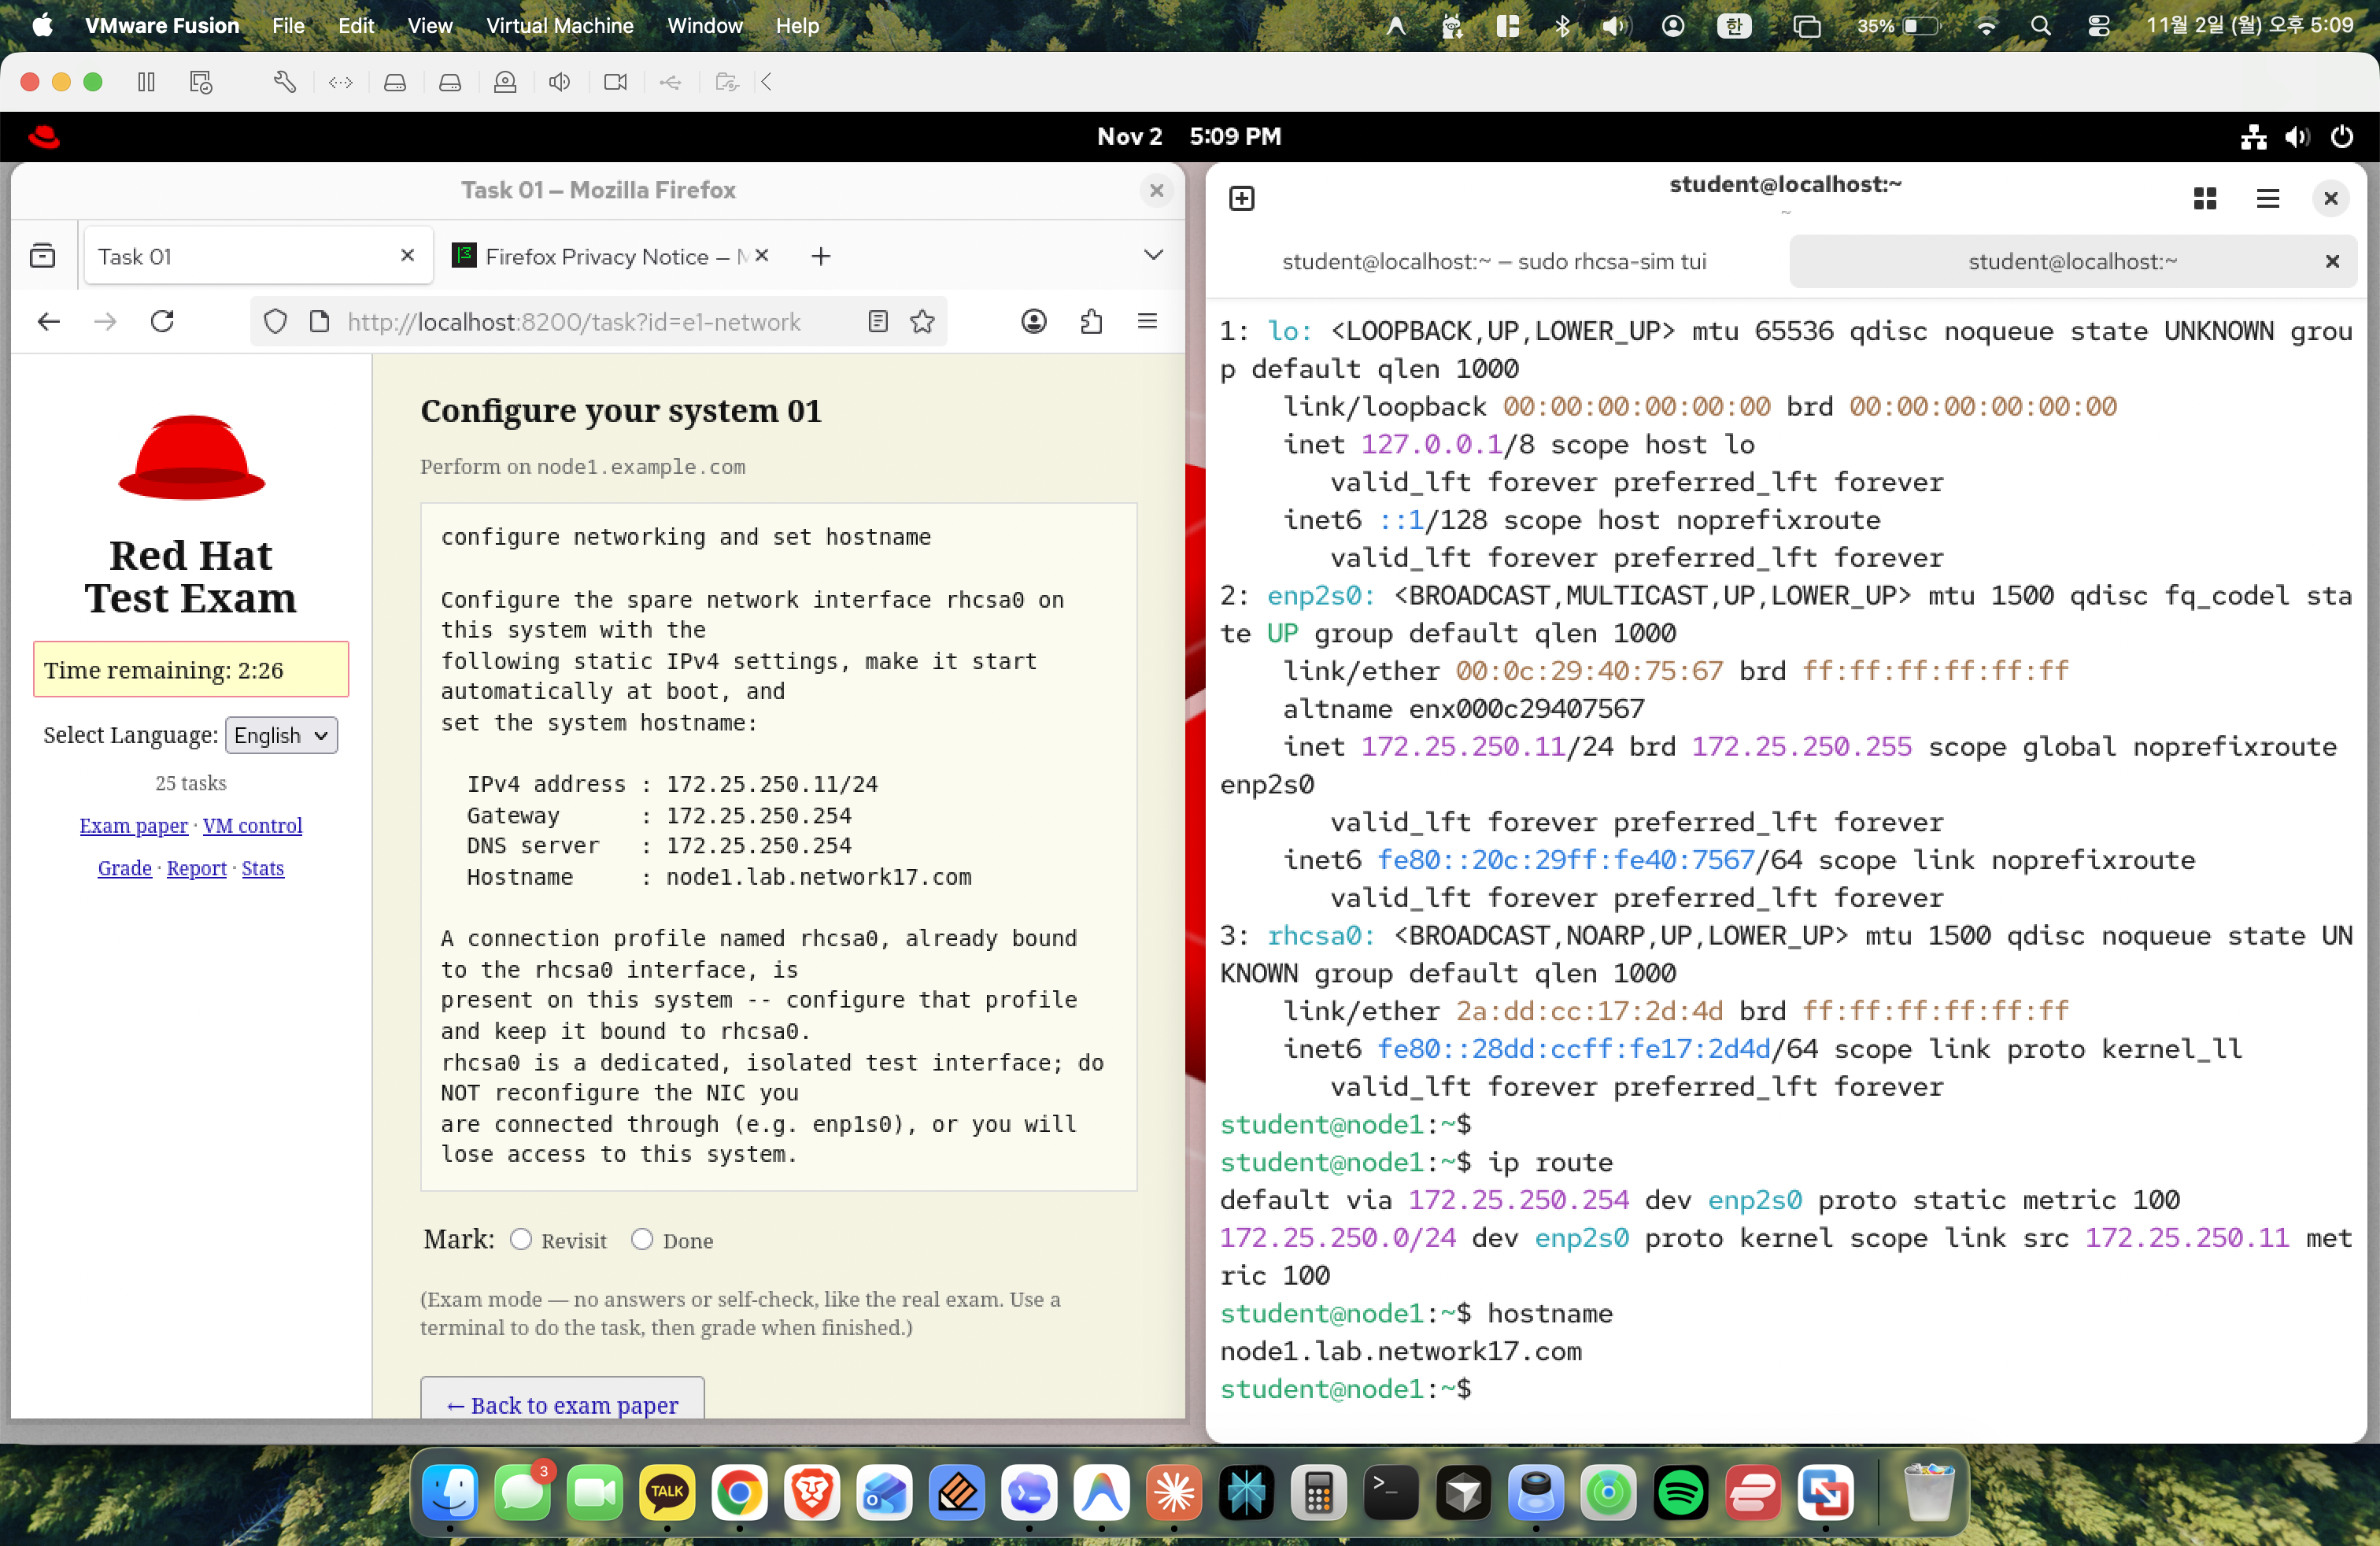
Figure 16: Checking the active system hostname.
Ran hostname to confirm the active hostname:
1
hostname
Output returned node1.lab.network17.com.
Step 17: Verifying DNS Configuration
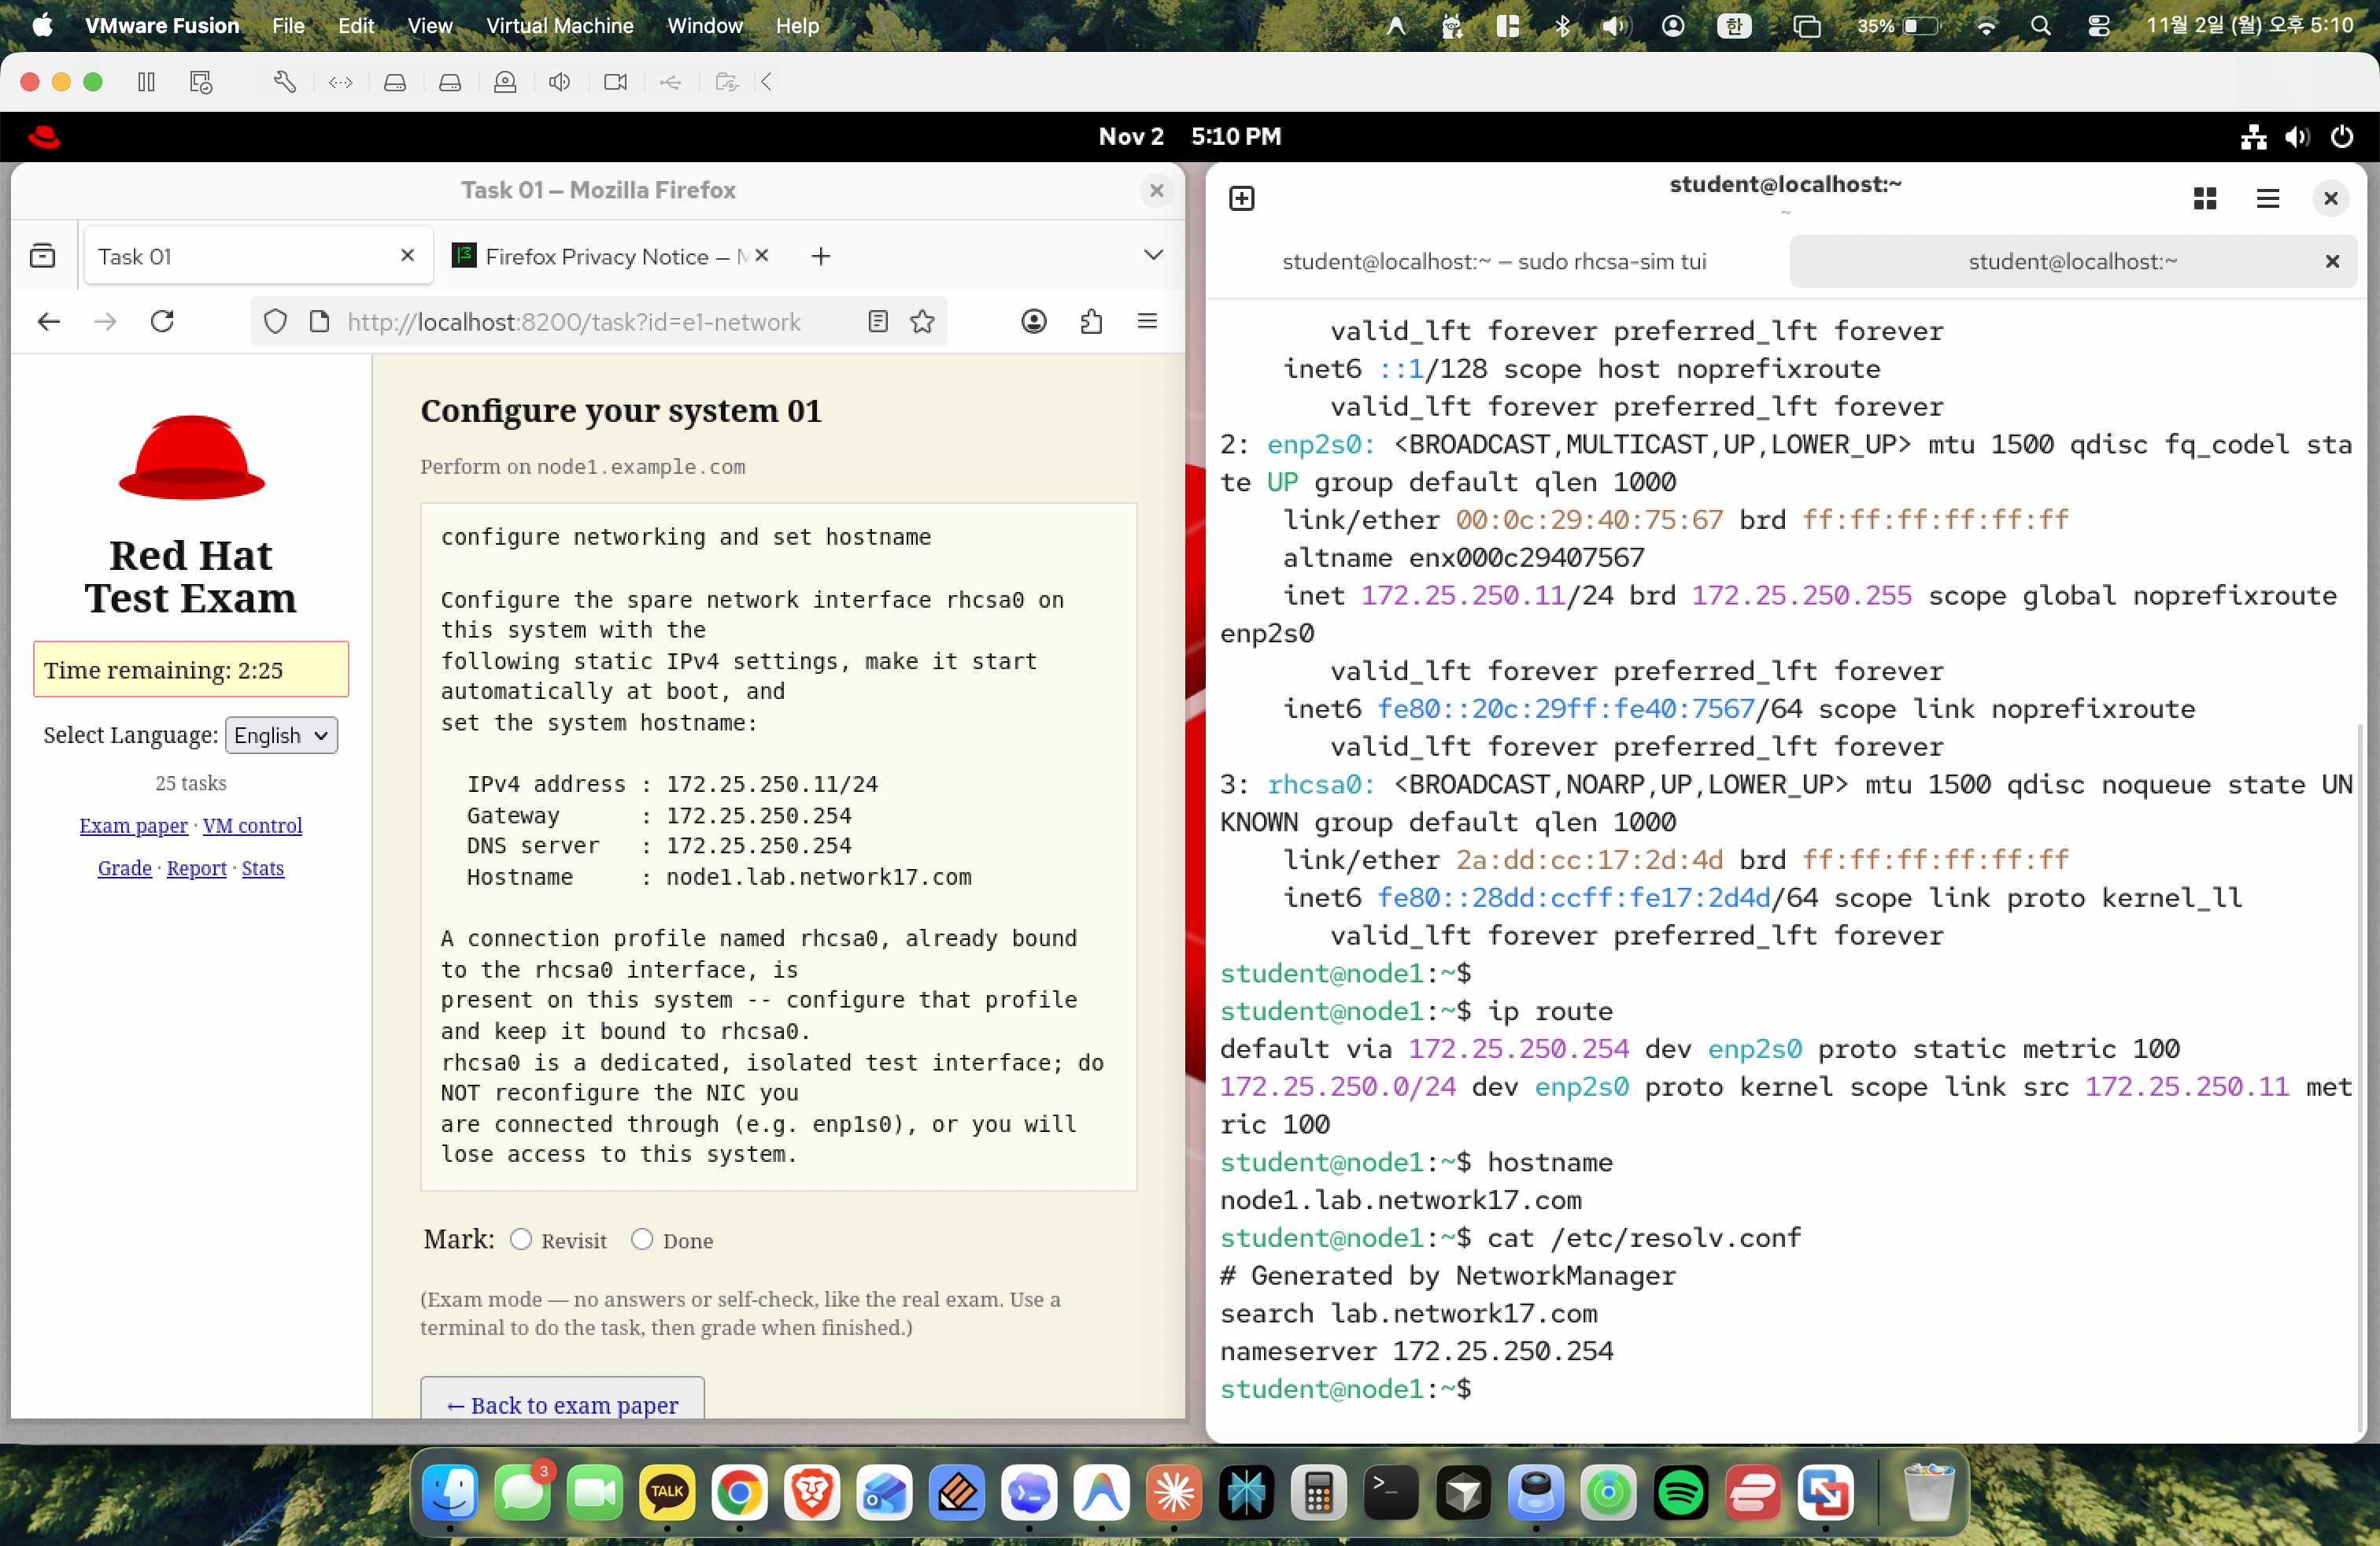
Figure 17: Checking /etc/resolv.conf for nameserver entries.
Checked /etc/resolv.conf to verify nameserver settings:
1
cat /etc/resolv.conf
Confirmed that nameserver 172.25.250.254 was generated by NetworkManager.
Step 18: Rebooting the System
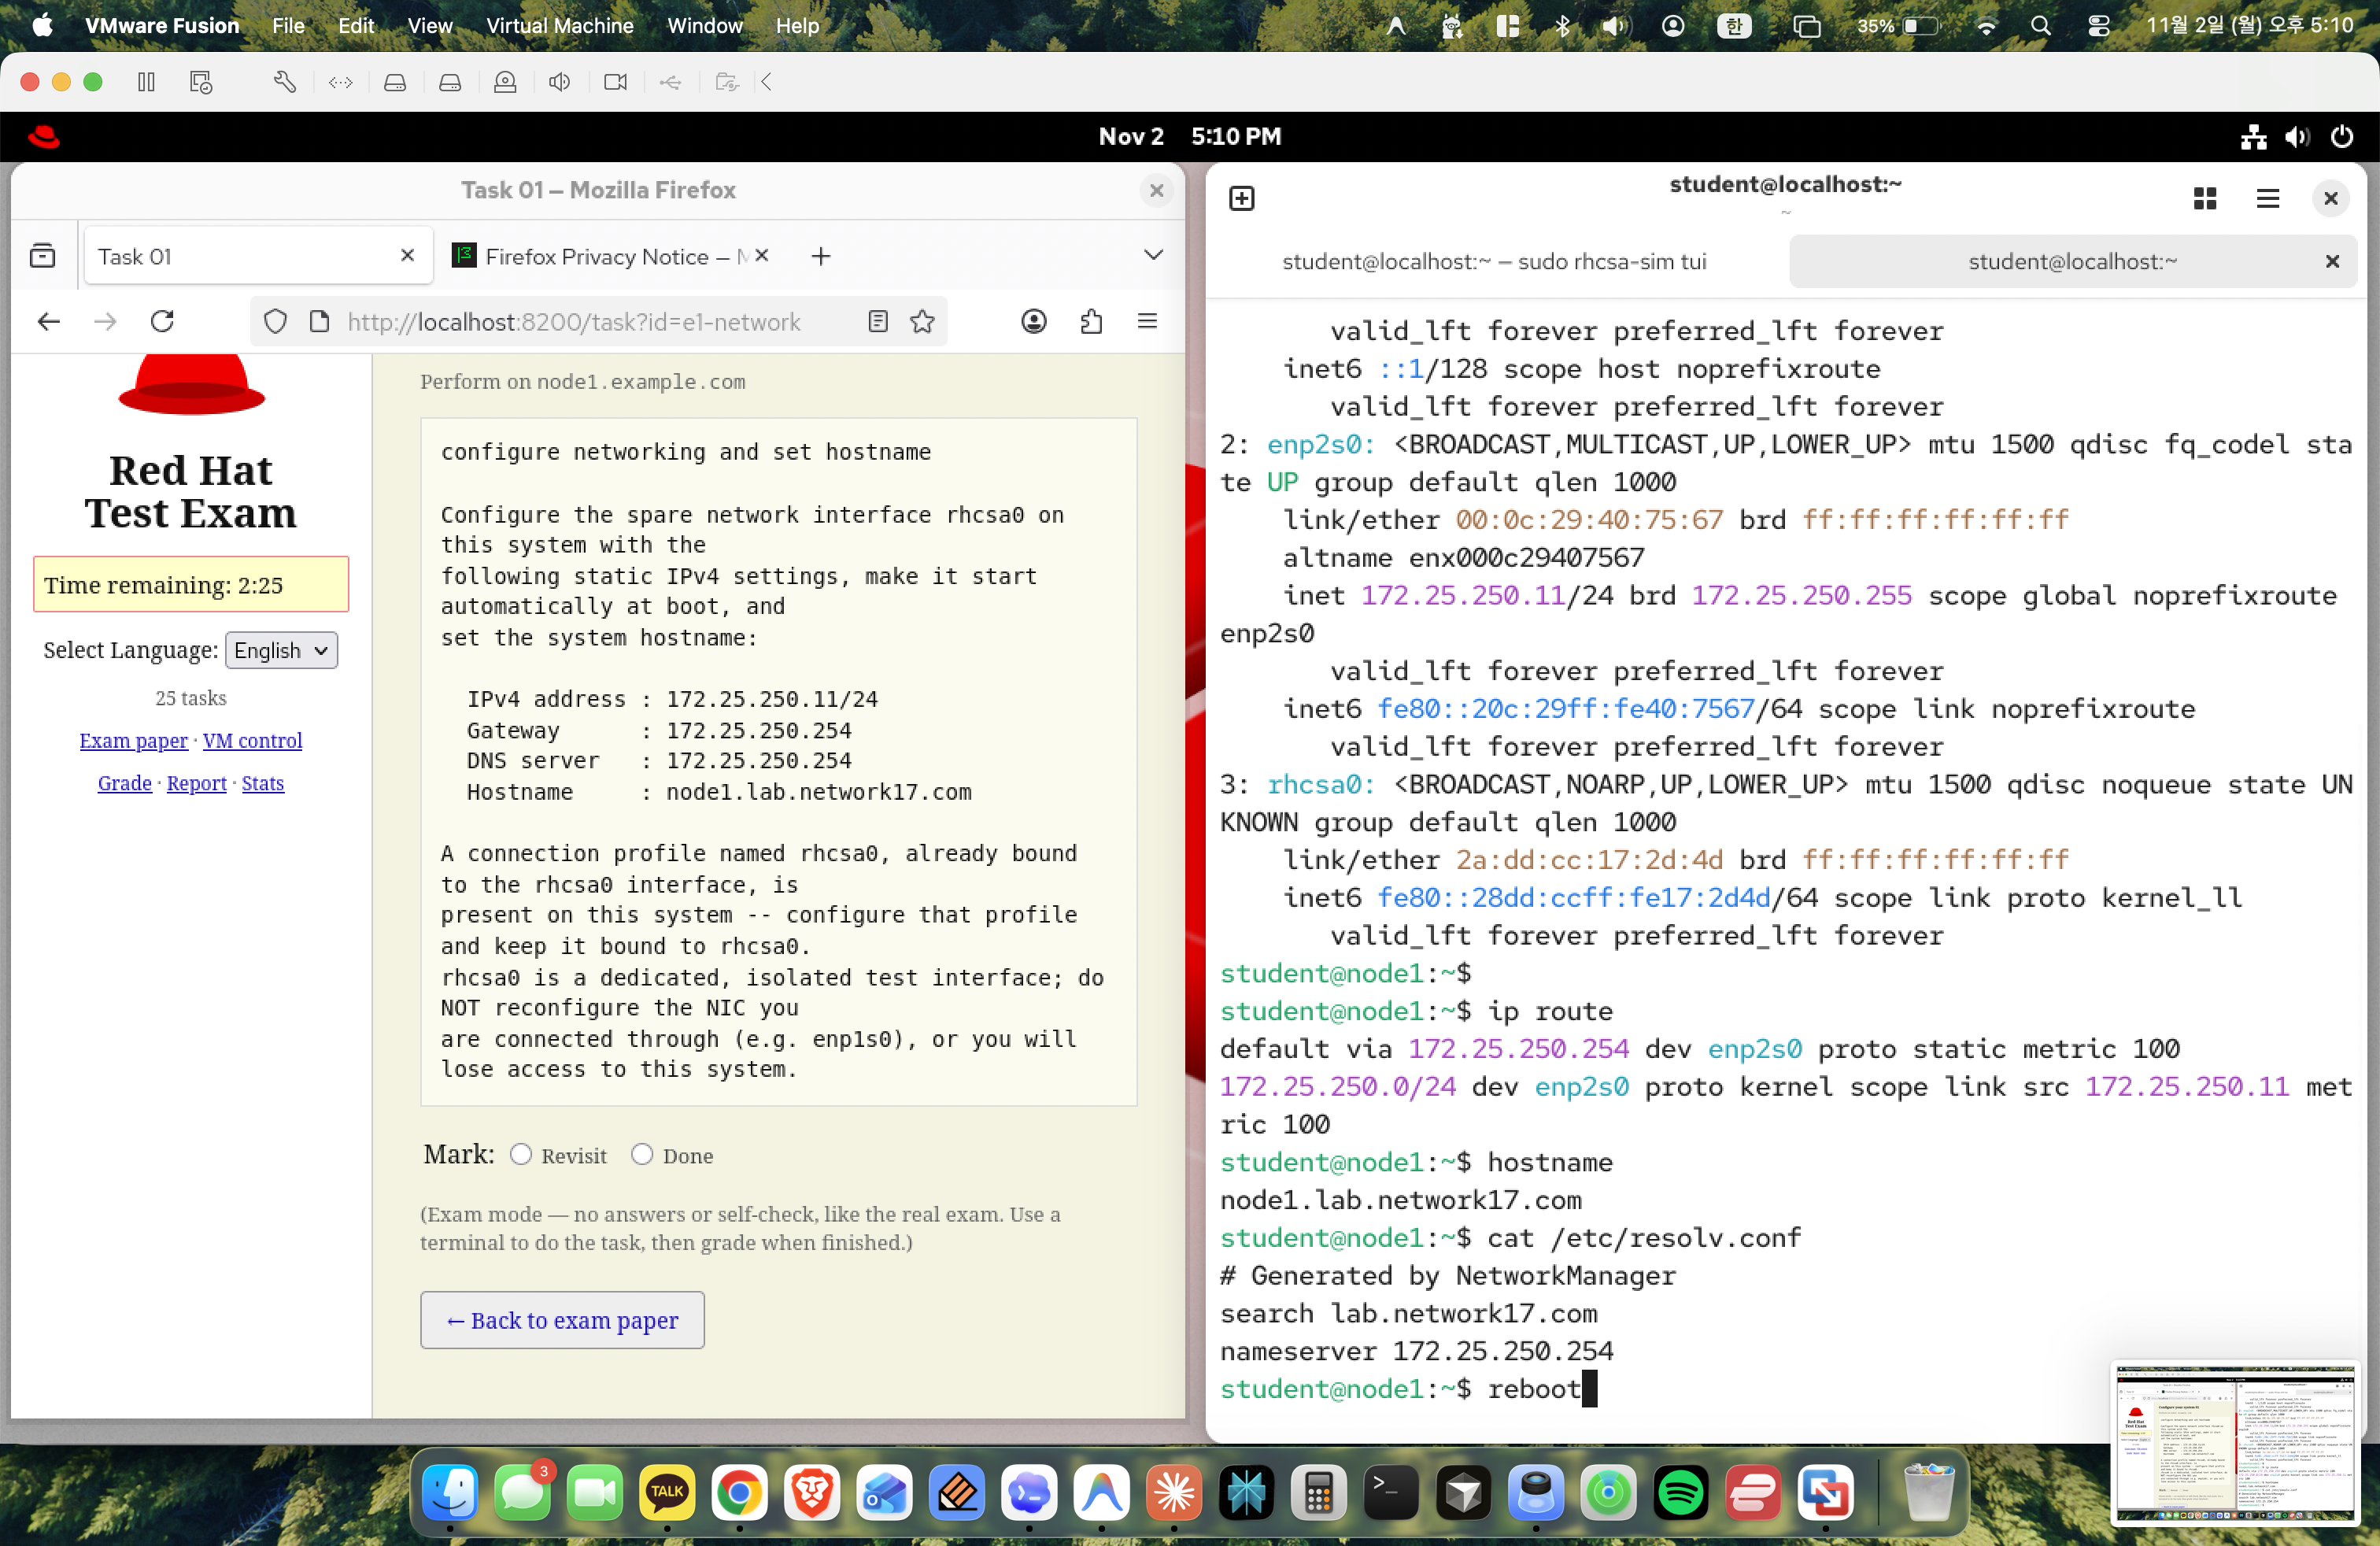
Figure 18: Executing the reboot command.
Issued the reboot command to restart the system:
1
reboot
Step 19: System Rebooting
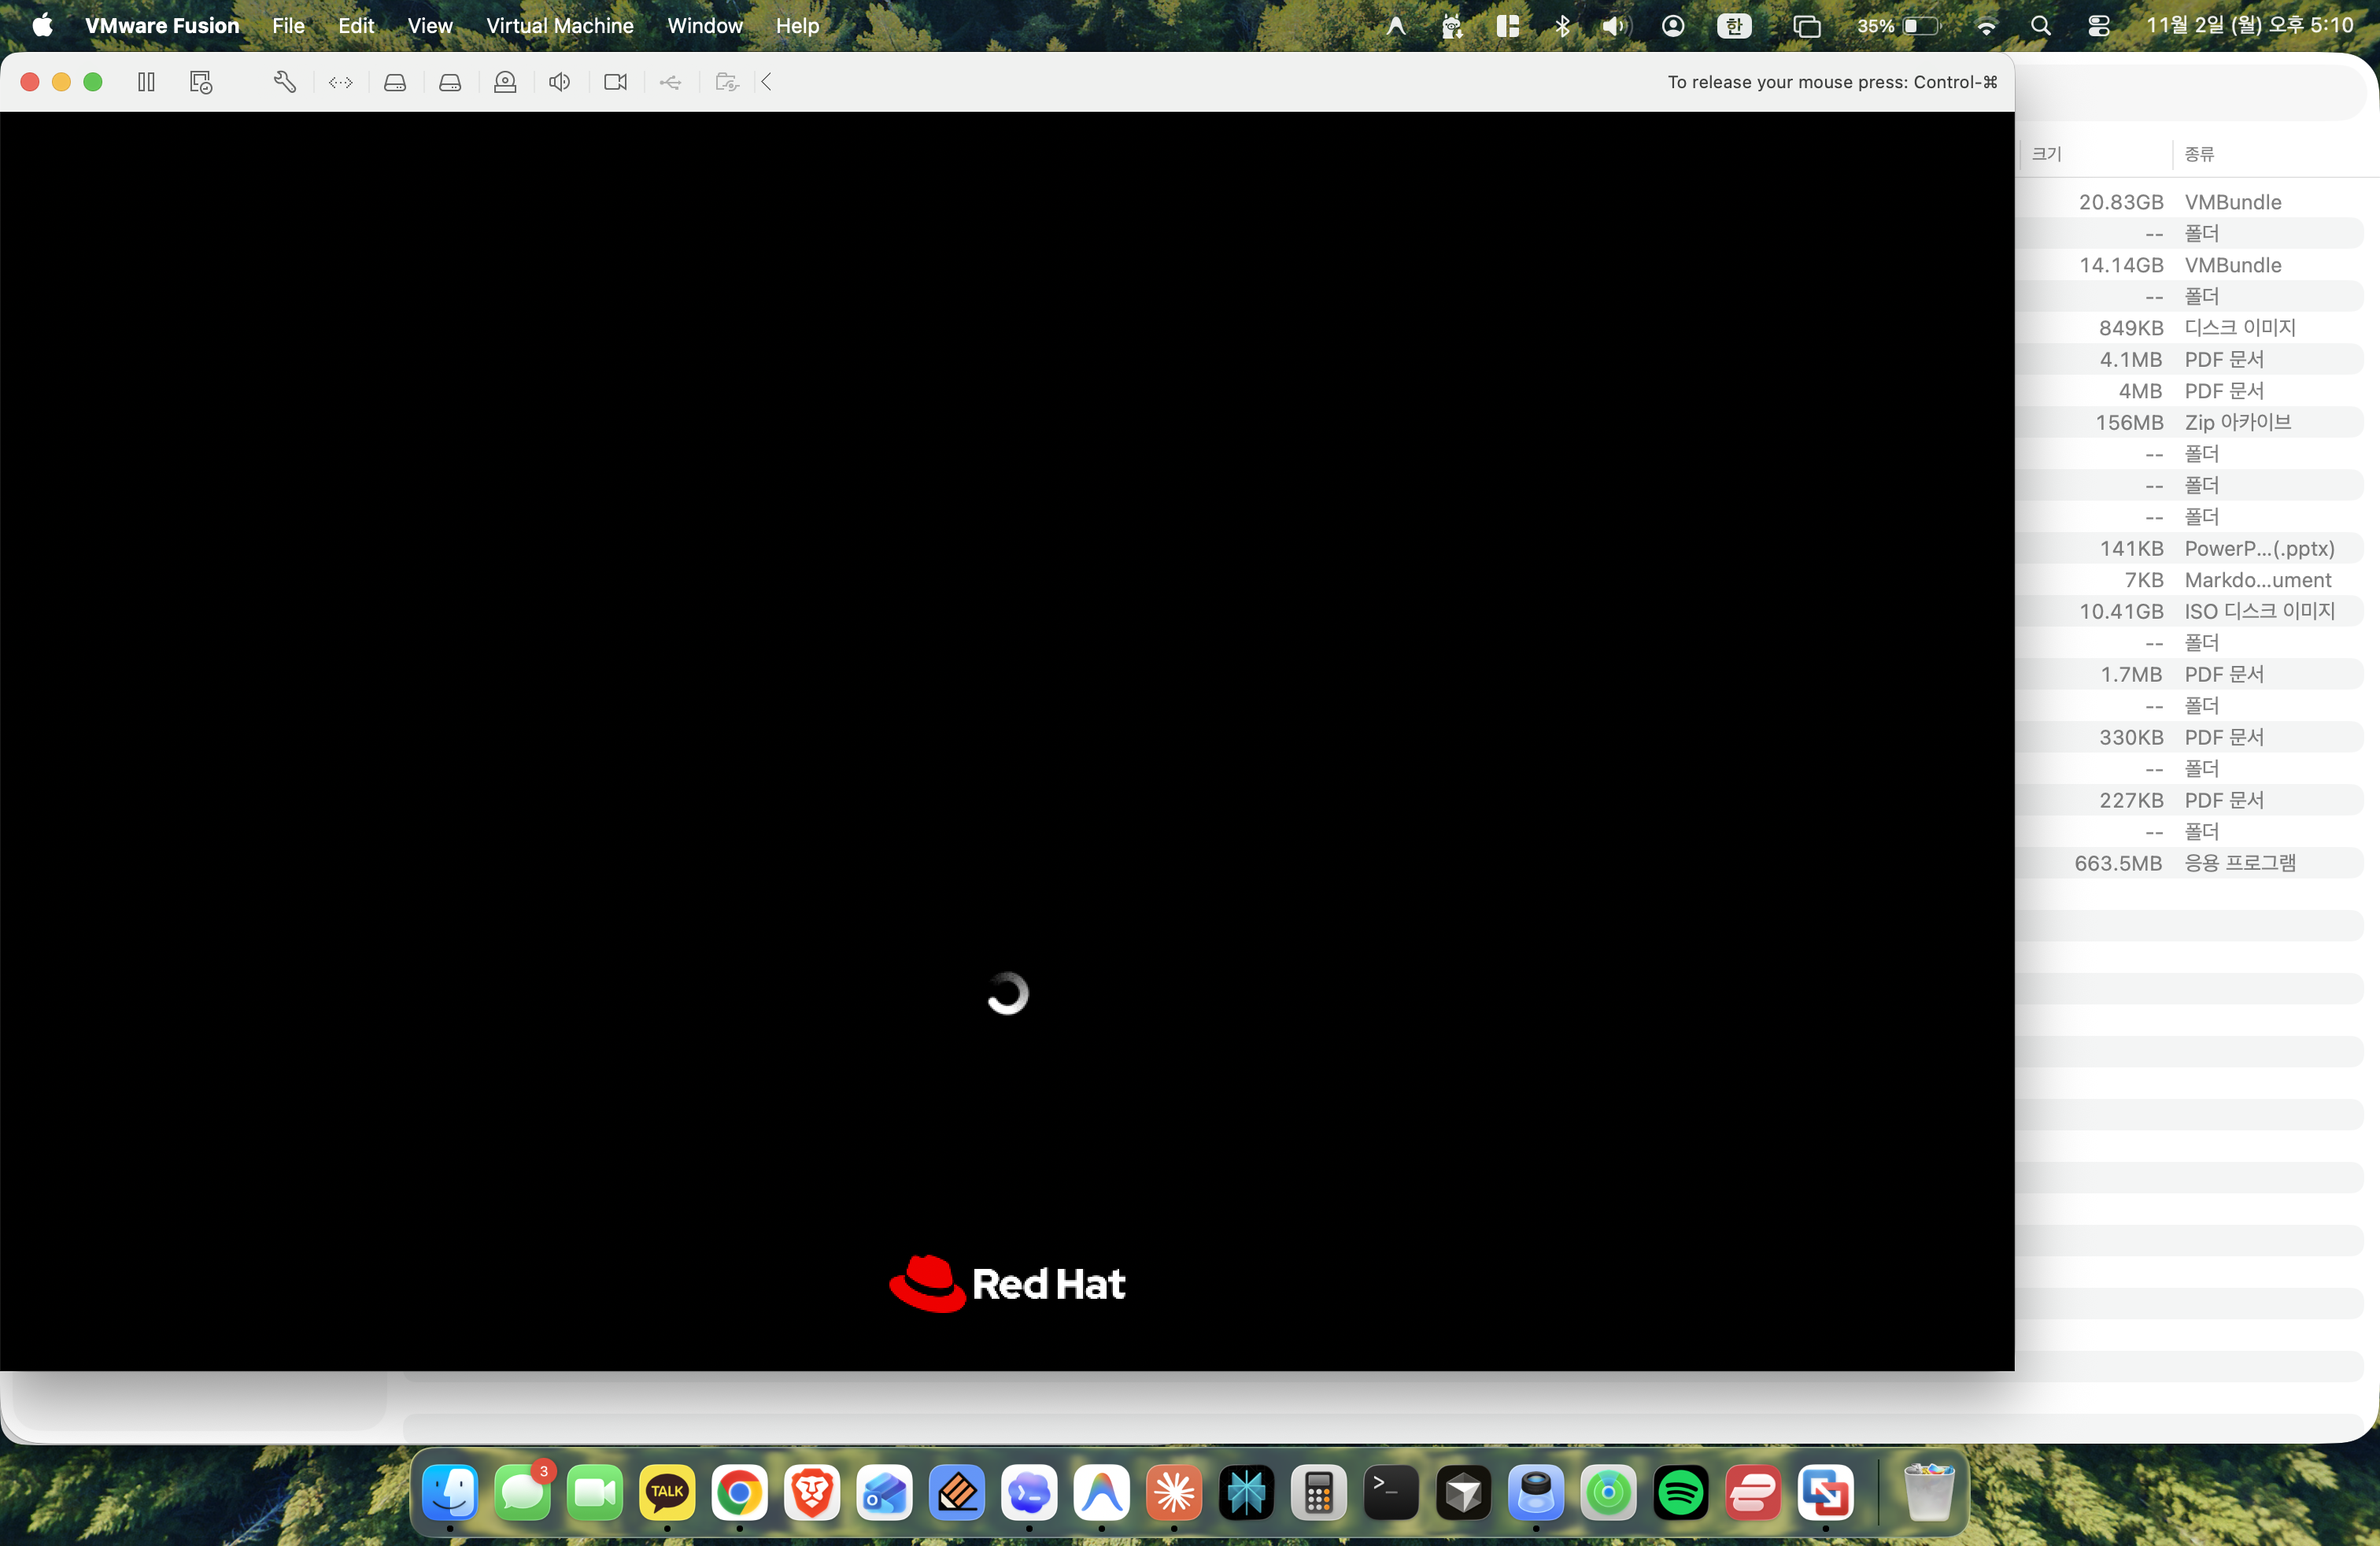
Figure 19: RHEL 9 rebooting.
If the network configuration remains intact after rebooting, then it’s a success!